To gain a deeper understanding of how you can protect partial content with MemberPress, please reference the below video:
Written Instructions:
MemberPress has a few ways of making it possible to protect a part of your page/post from unauthorized visitors.
1. Wrapping partial content codes around the content you want to hide
Step 1: Create and save a Partial rule under MemberPress -> Rules:
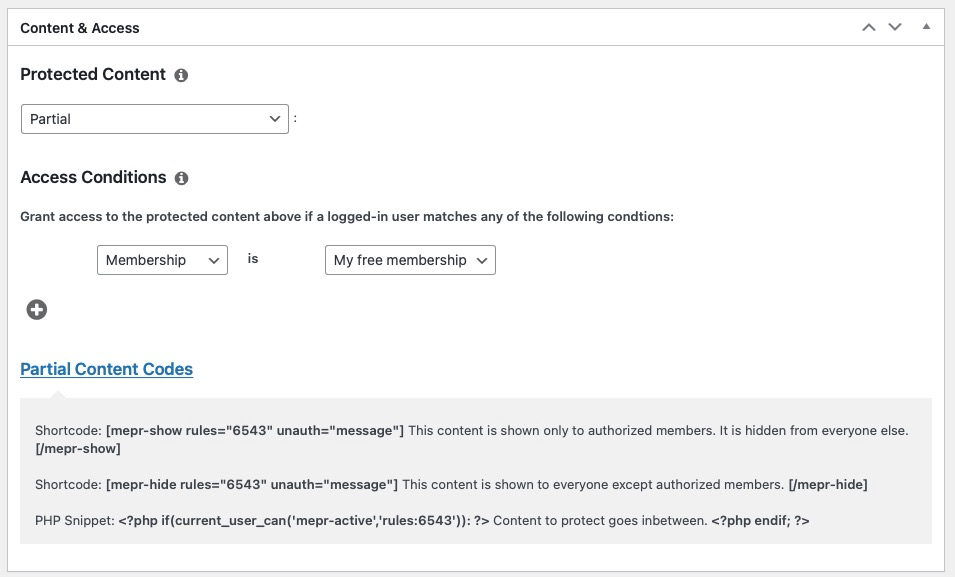
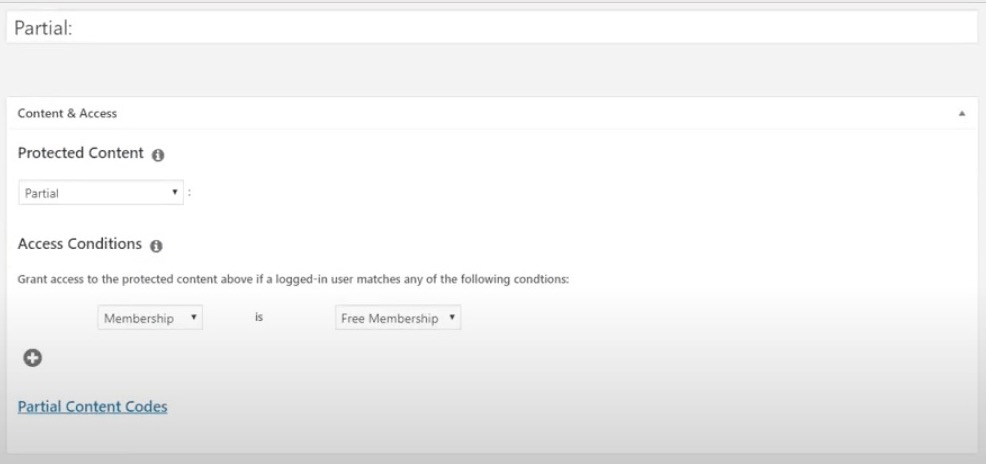 Step 2: Because it's a partial rule, you can use the partial content codes shown below the Access Conditions section:
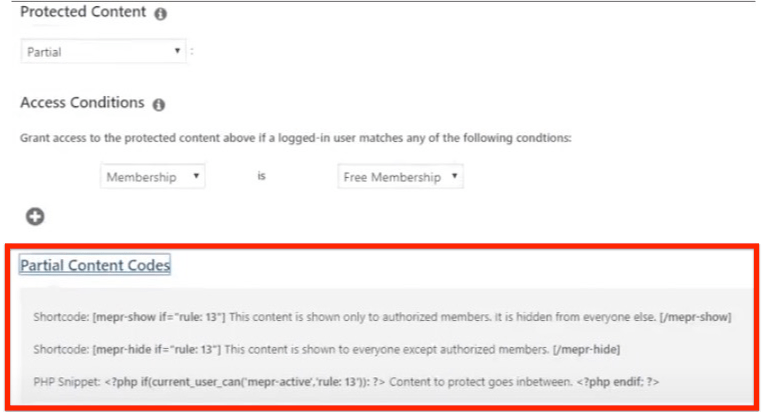 Anything between the shortcodes will be protected. If you want to show an unauthorized message and login form instead of the protected content, you can do so by adding “unauth=both”. For example:
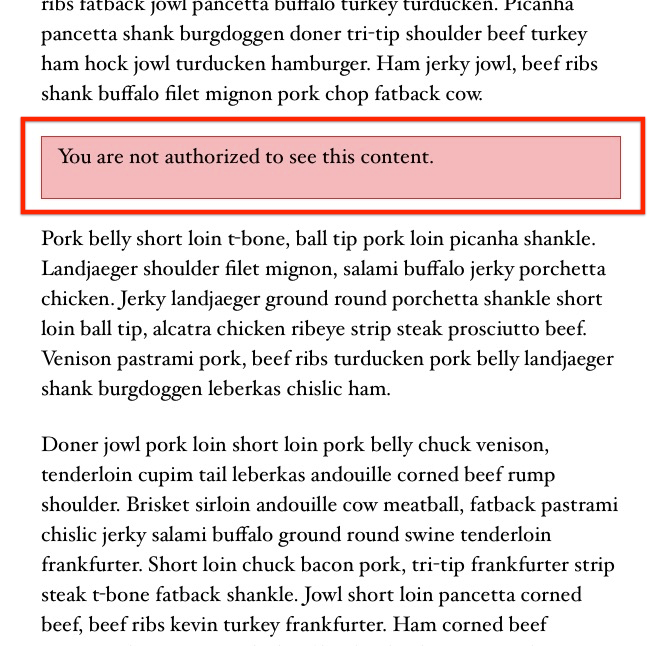
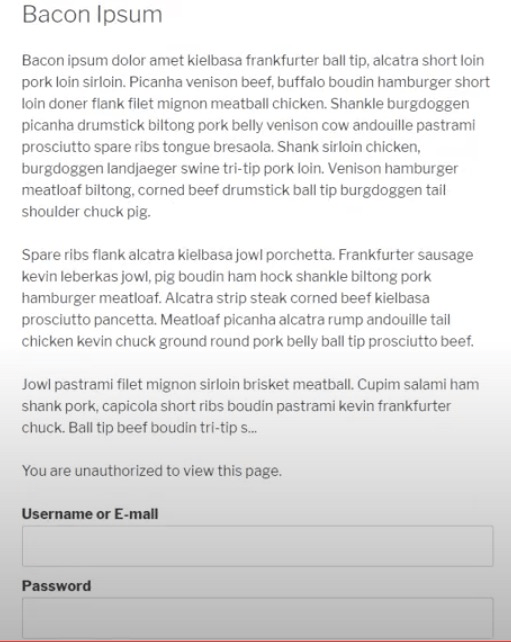
[mepr-show if ="rule:13" unauth="both"] </strong>This will be hidden<strong> [/mepr-show]Here, the protected content will look like this for your unauthorized users on the front end:
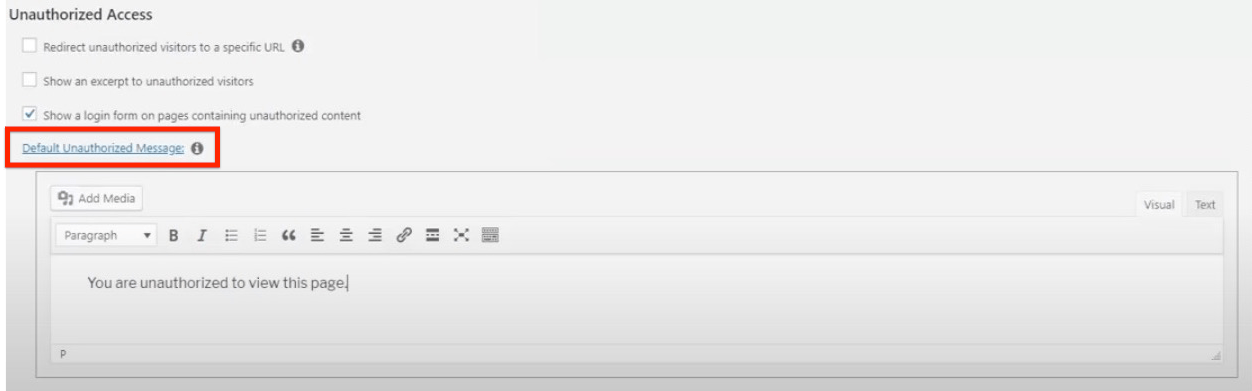
Step 3: You can set the global unauthorized message by clicking the “Default Unauthorized Message” link under MemberPress -> Settings -> Pages tab:
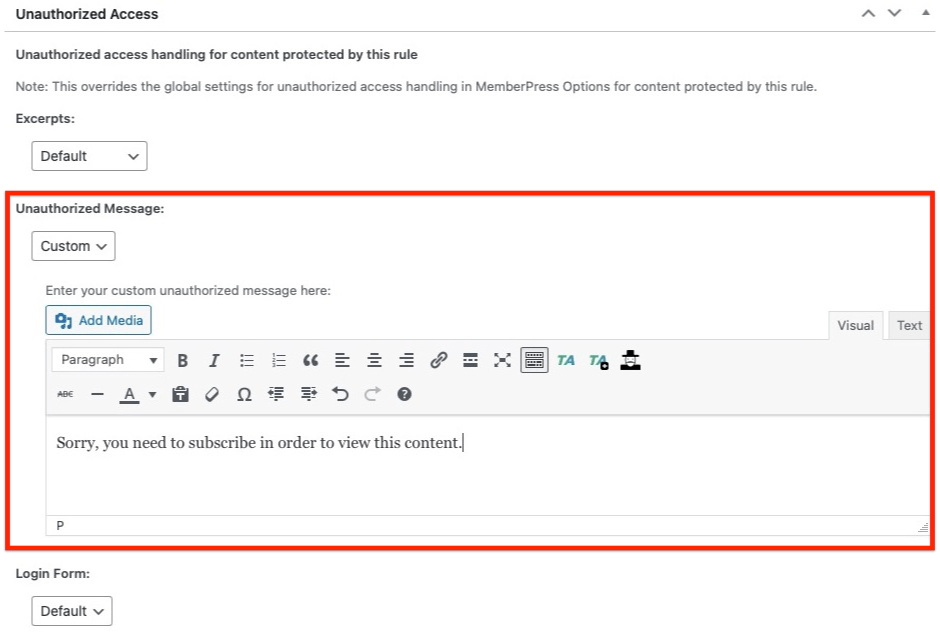
In case you have different memberships that are protecting different kinds of content, and you want each kind of content to show a different unauthorized message, you can override that message on your rule by setting a custom message that will be shown if a user gets triggered by this rule:
2. Using Excerpts to protect your partial content
One of the cleaner ways to protect your partial content is by defining excerpts under the Unauthorized Access section of your MemberPress rule.
PROTECTING A SINGLE POST WITH THE “MORE” TAG
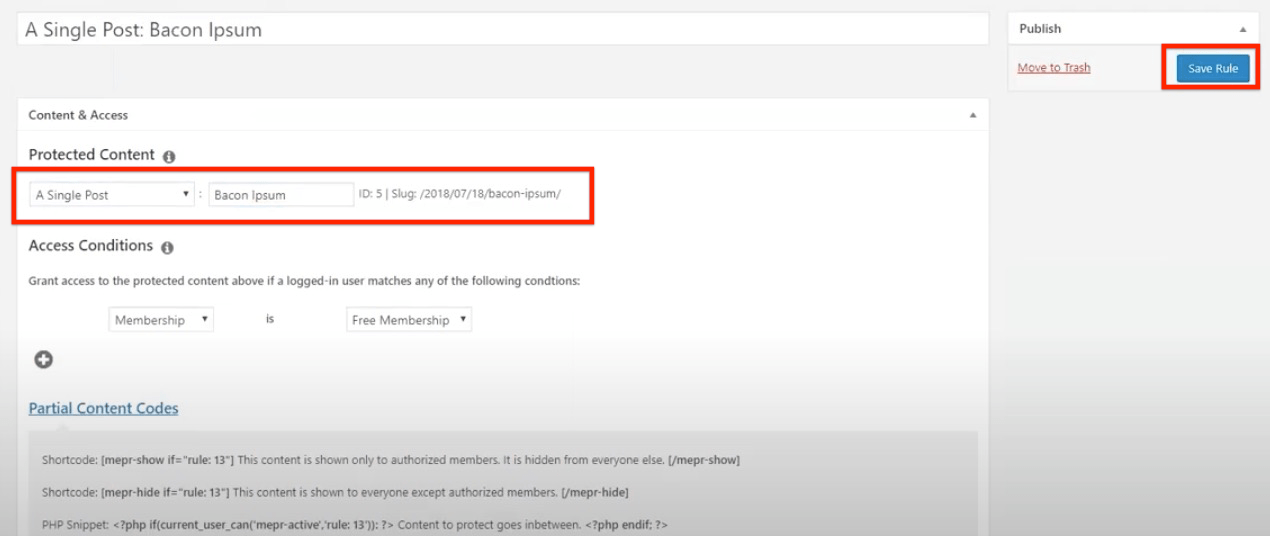
Step 1: If you've already created a Partial rule as described in the section above, Edit your Partial rule into “A Single Post rule” or create a new Single Post rule and hit the “Save Rule” button to save it:
Step 2: Under the “Unauthorized Access” section on the rule page, set the “More tag” from the “Excerpts” drop-down list:
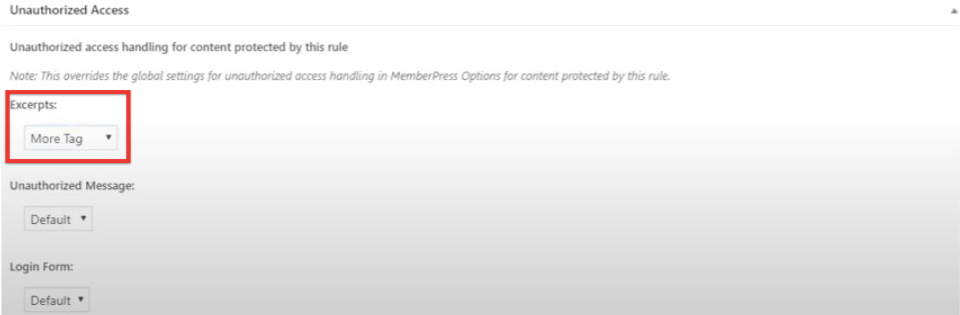
If set, everything above the More tag will be shown, and everything below the tag will be hidden from unauthorized users. The More tag is fully supported by WordPress and inserts an HTML comment called “More”.
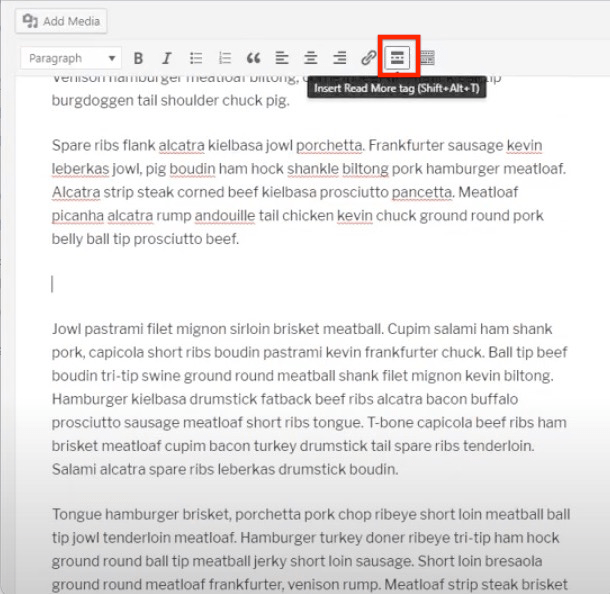
Step 3: To add the More tag, click on the “Insert Read More tag” icon within your editor:
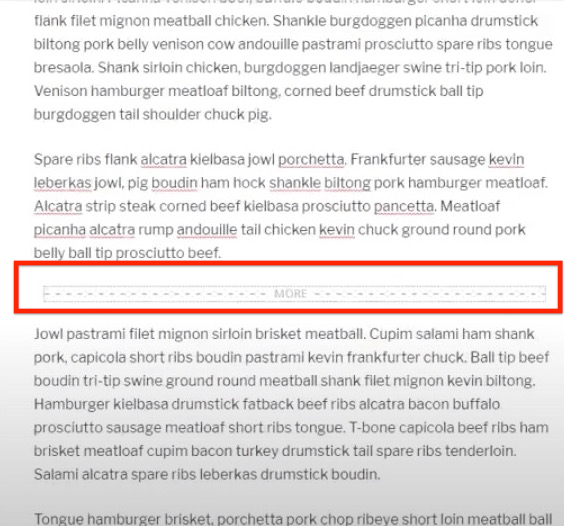
The More tag should be successfully inserted into your post:
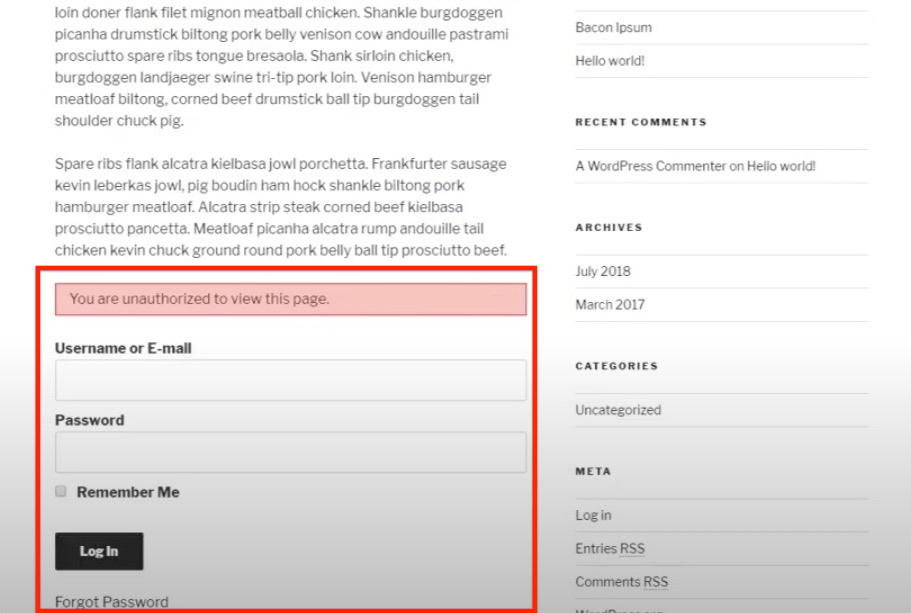
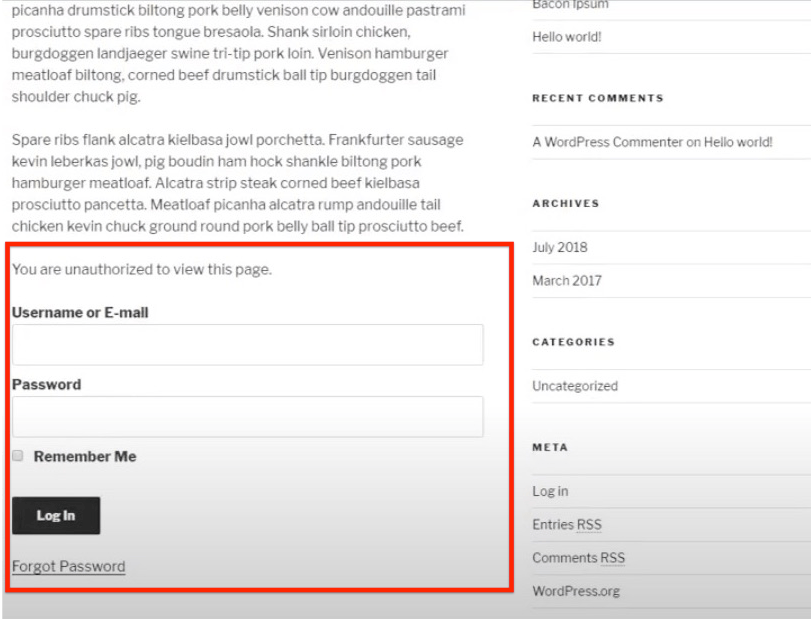
If you look at your post on the front end in an incognito window, you will see that the unauthorized message and the login form are shown instead of the content below the More tag:
 This works well and is very convenient if you have one post that you need to protect in this way. But what if you had hundreds of posts that needed to be protected without having to create a rule for every single post? You can achieve this by tagging the posts; read on to see how.
PROTECTING MULTIPLE POSTS WITH THE “MORE” TAG USING ONE RULE
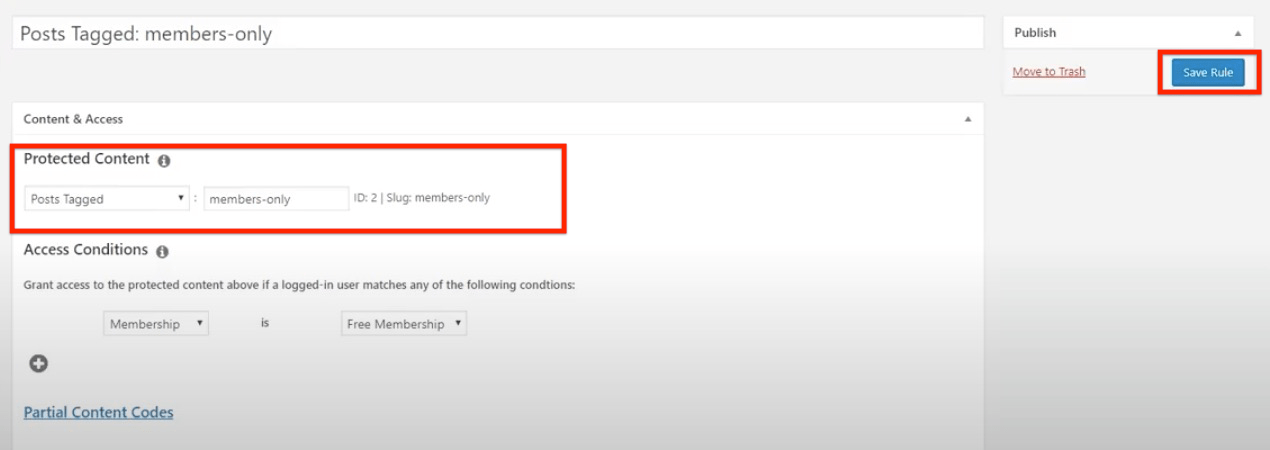
Step 1: Edit your Single Post rule into the Posts Tagged rule, type in “members-only”, for instance, and hit the “Save Rule” button to save it:
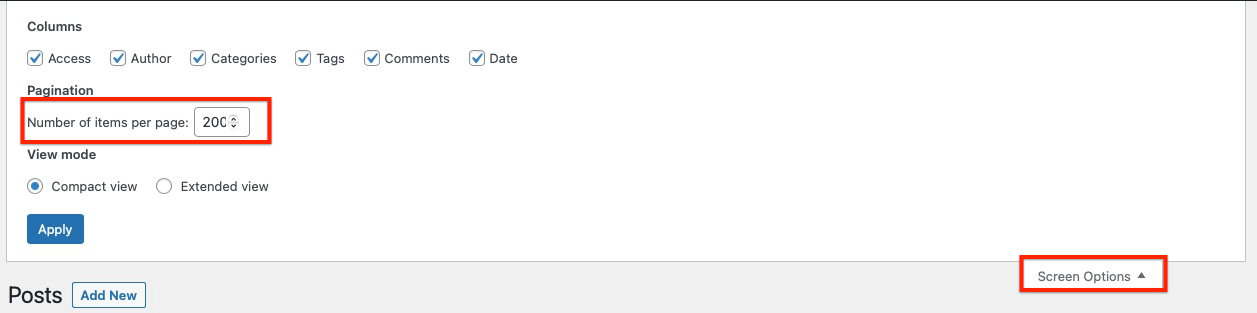
Step 2. Go to your Posts page, click on the “Screen Options”, and set the number of posts you want to show per page:
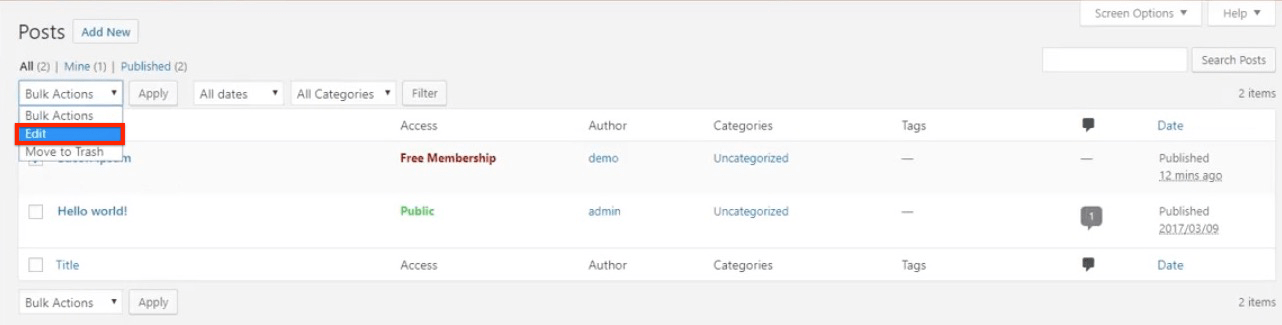
Step 3. Select all posts you want to tag select the “Edit” option from the “Bulk Actions” drop-down menu and hit the “Apply” button:
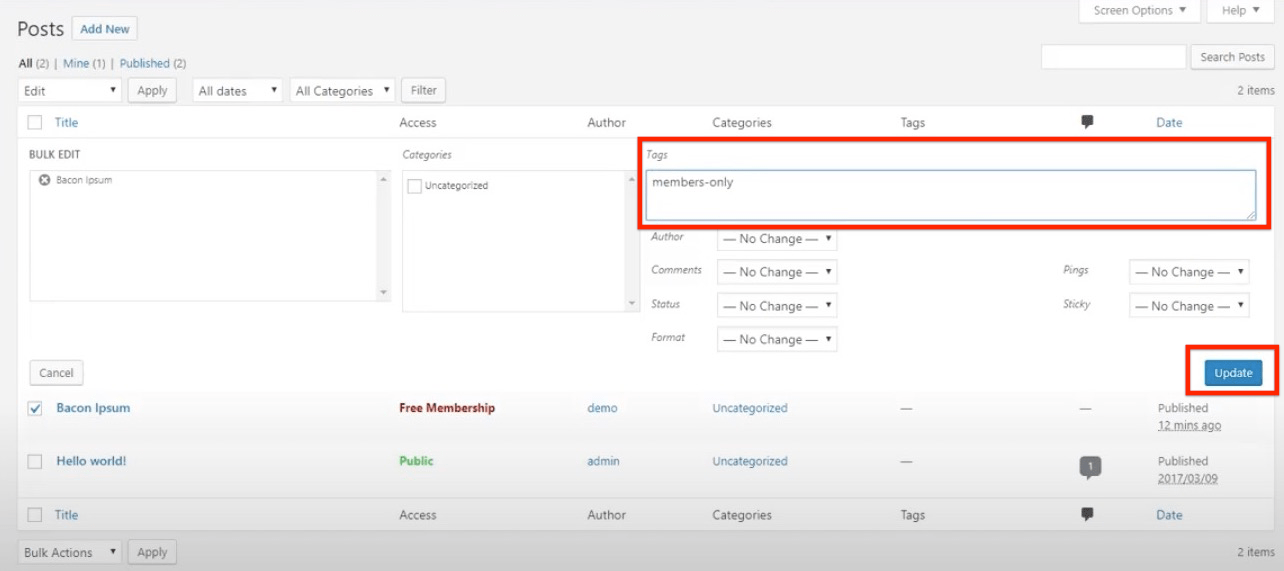
Step 4. Add the “members-only” tag, then hit the “Update” button:
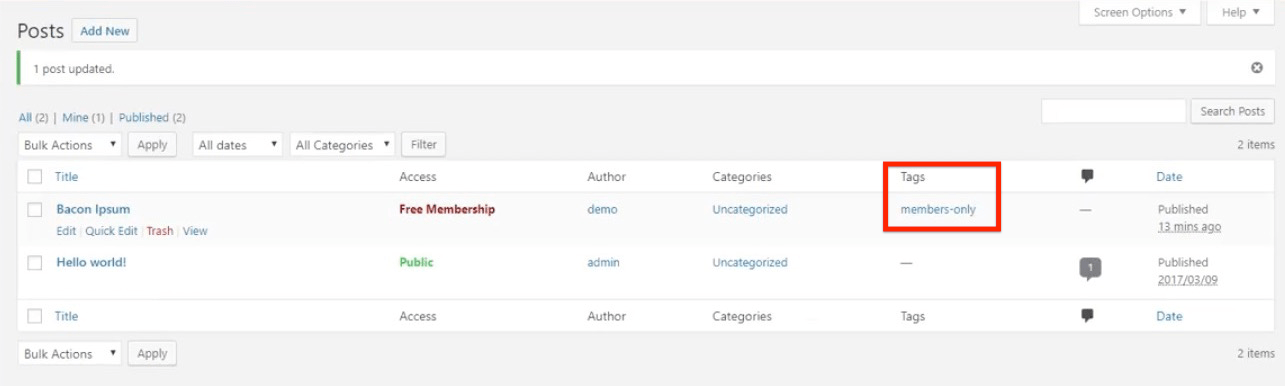
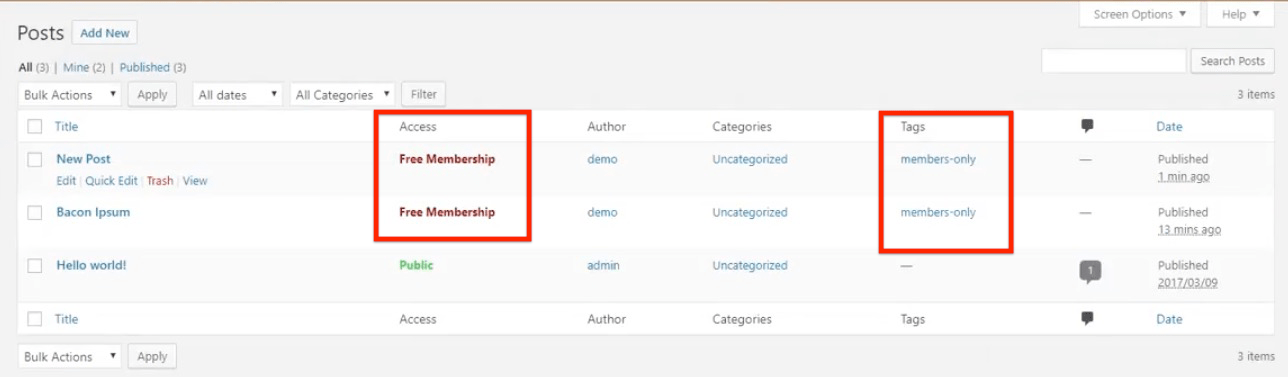
 You will notice that all your selected posts on the Posts page have the “members-only tag” now:
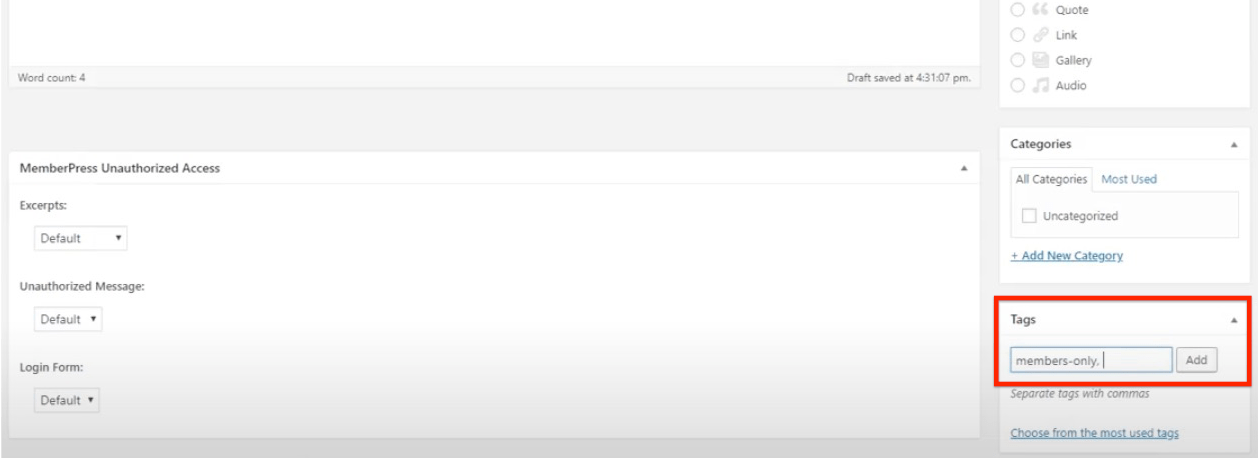
Step 5: Add a new post and assign it the “members-only” tag :
The newly created post will automatically get protected like all the other posts that were assigned the “members-only” tag:
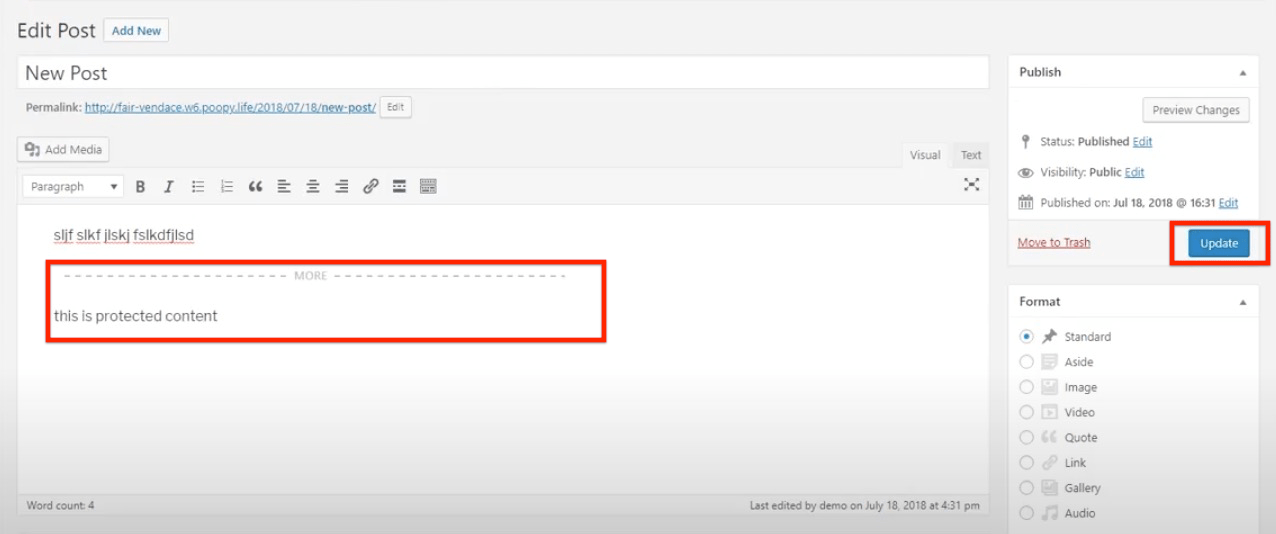
Step 6: Add the More tag to your post to ensure that everything under the tag is protected, then click the “Update” button to update it:
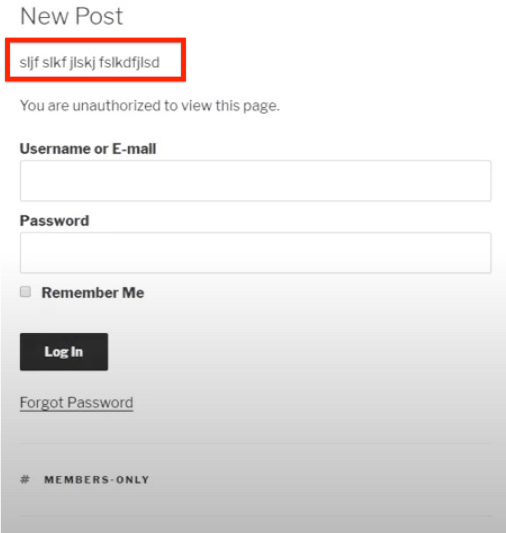
Your post will show only the content above the more tag and the unauthorized message with the login form will be shown below the tag:
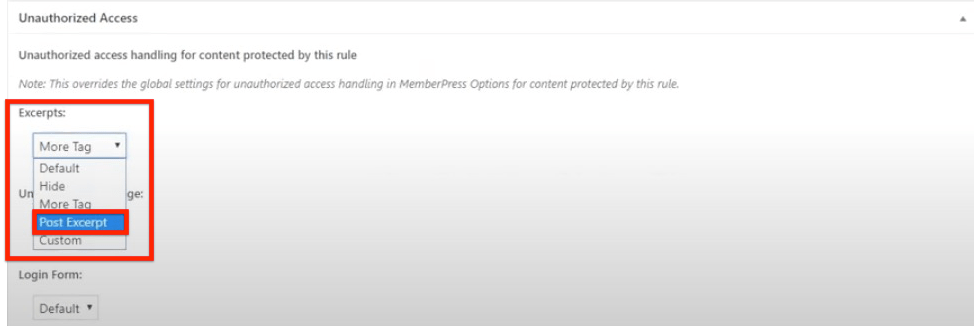
ADDING POST EXCERPT
Step 1: Under the “Unauthorized Access” section on the rule page, select the “Post Excerpt” option from the “Excerpts” drop-down list:
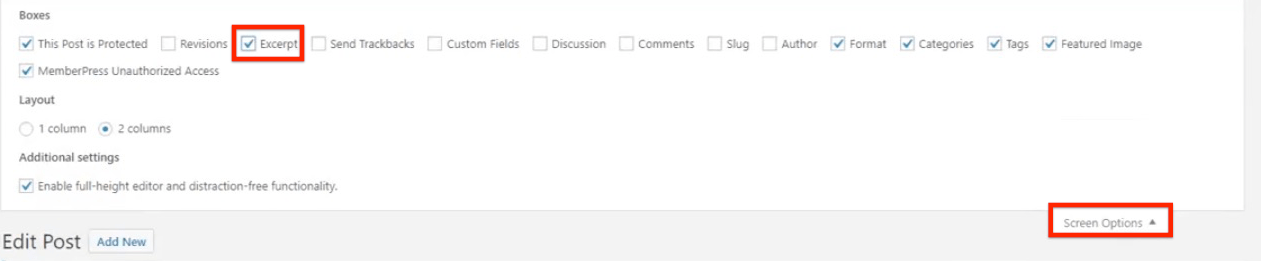
Step 2: Go to your post page and enable the excerpts by checking the “Excerpt” checkbox under the “Screen Options”:
Step 3: Copy and paste a part of your post's content into the “Excerpt” box on the Post page:
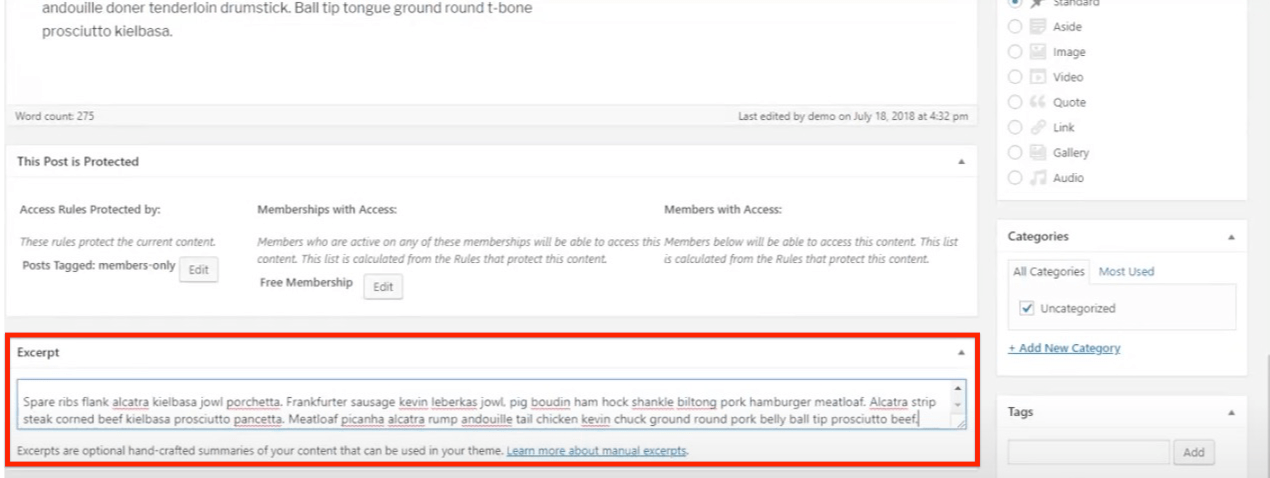
Your unauthorized users will see whatever content you have within the Excerpt box.
SETTING CUSTOM EXCERPT (SHOW X NUMBERS OF POST CHARACTERS)
Step 1: Under the “Unauthorized Access” section on the rule page, select the “Custom” option from the Excerpts drop-down list, set the number of characters you'd like to be shown to unauthorized users, and save the rule:
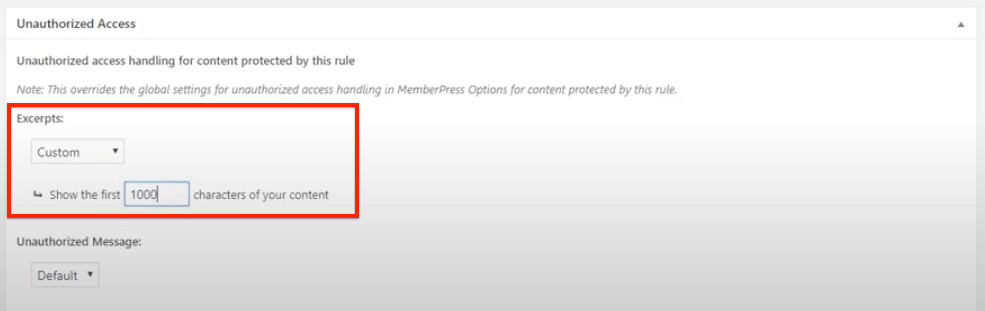
This way, your unauthorized users will see only the first 1000 characters of the post (notice the triple dots at the end of the excerpt), followed by the unauthorized message and the login form:
3. Protecting your partial content in the Gutenberg editor
This method is very similar to the wrapping partial content codes method. The only difference is that you need to wrap your content between the Gutenberg shortcode blocks.
Step 1: Create a partial rule:
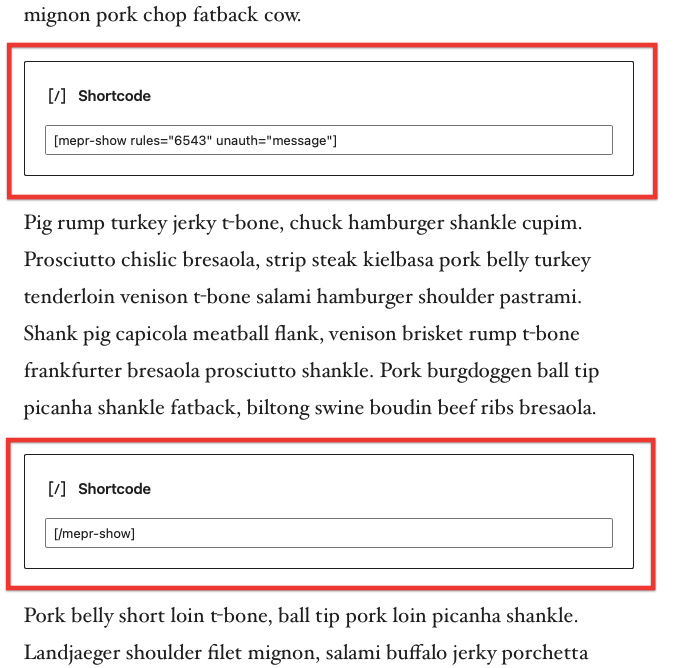
Step 2: Insert the Shortcode block into your post, above the post section you'd like to protect from unauthorized visitors:
Step 3: Paste the opening partial content code into the shortcode box:
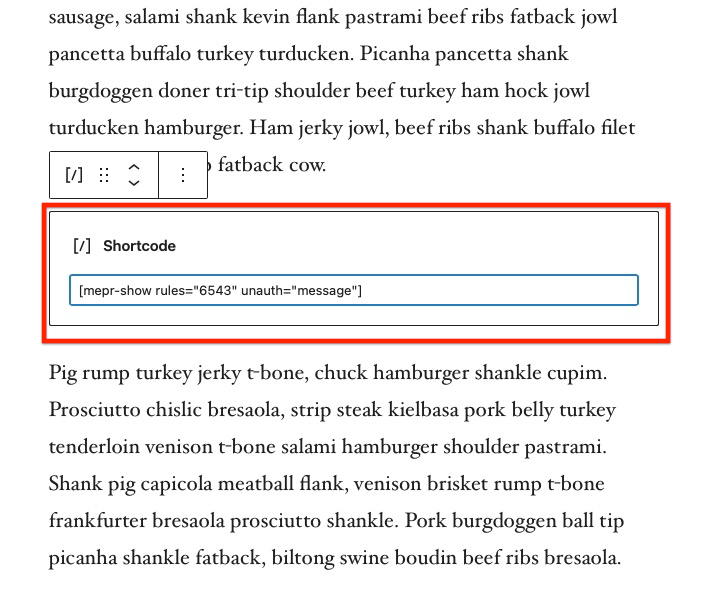
Step 4: Insert another Shortcode block into your post, below the post section you'd like to protect from unauthorized visitors and paste the closing shortcode so that the protected content is nested between two shortcode blocks:
All unauthorized visitors will not be able to see the protected content and will be shown the unauthorized message instead: