Often times you may want to automatically add a new MemberPress subscriber to your MailChimp list, upon having a ‘Complete' Transaction. Our MemberPress and Zapier integration make this pretty simple to do.
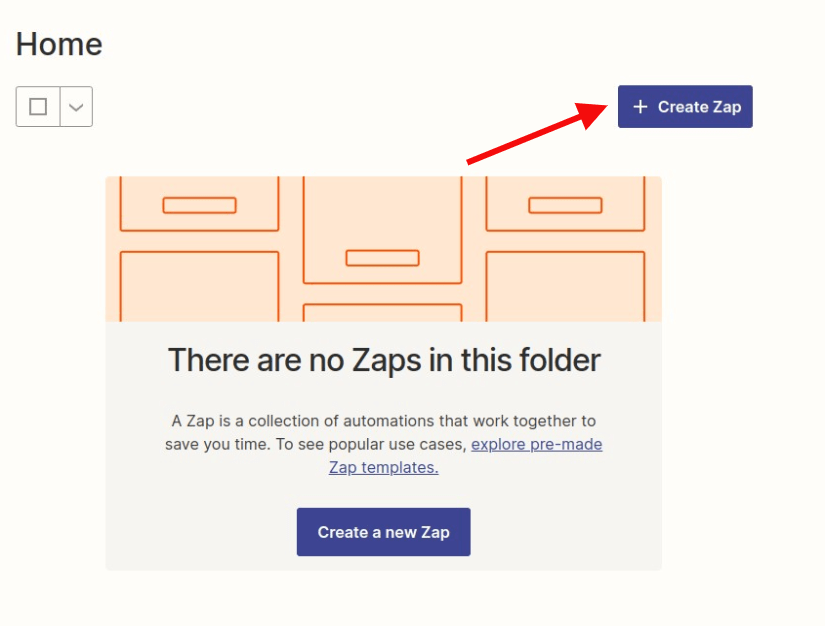
Step:1 Login and Start Creating a Zap
Log in to your Zapier account and click on the “Create Zap” button in the top right corner.
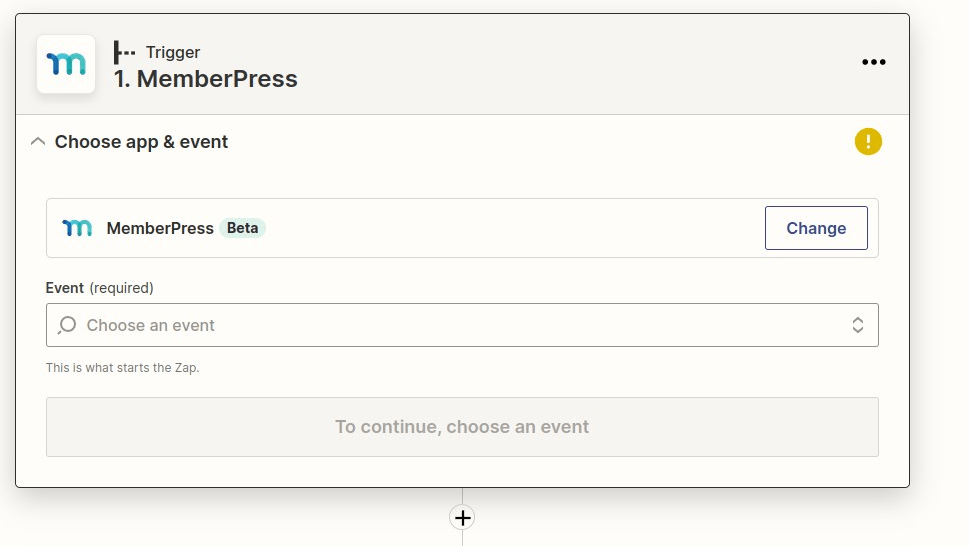
Step 2: Creating a MemberPress Trigger
Search for MemberPress in the search bar and then click on it once you find it.
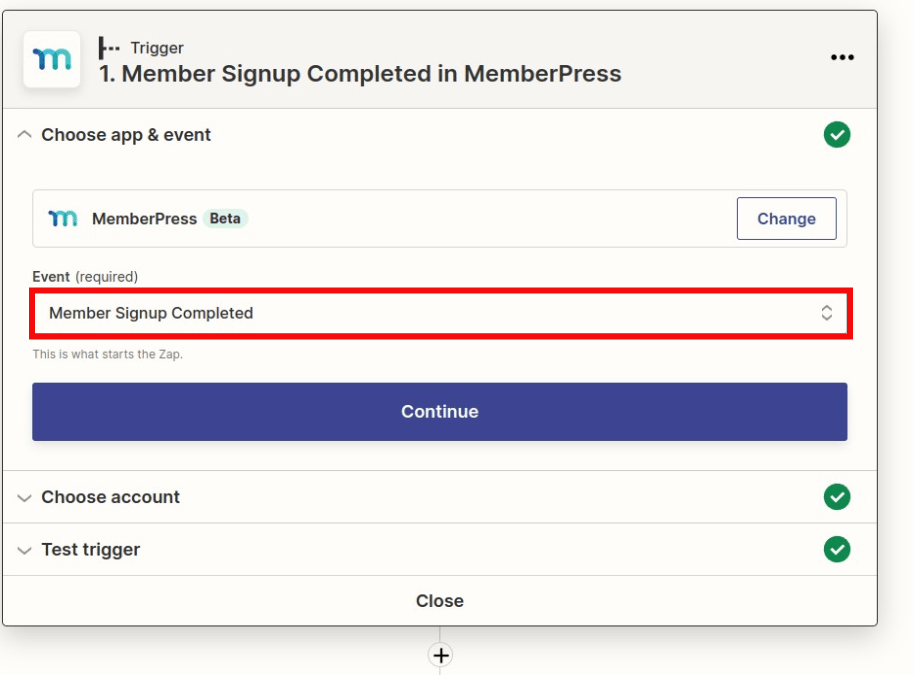
Next, you will click on the Member Signup Completed trigger option. Then click on the Continue button
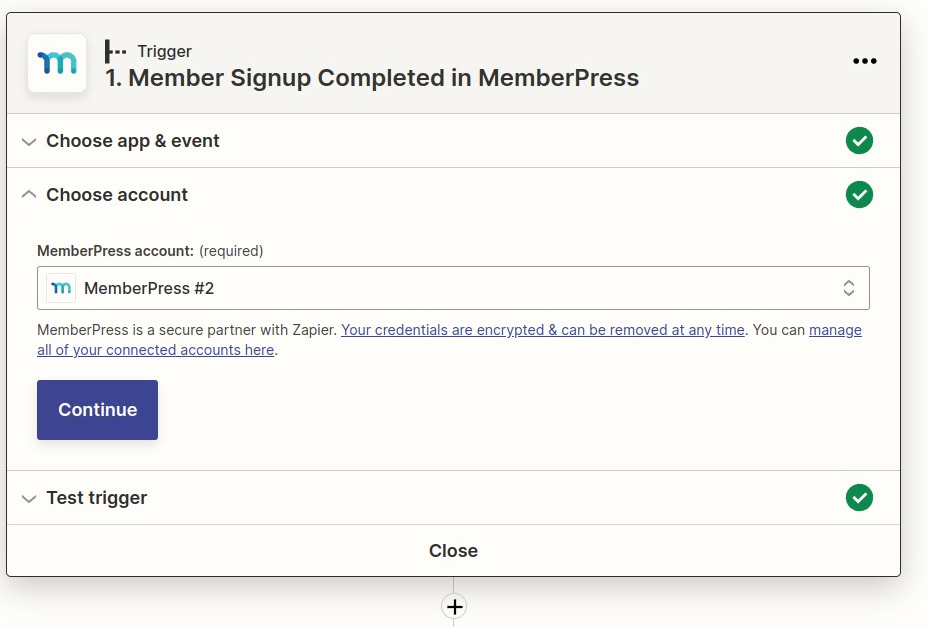
Select your MemberPress account, then click on the Continue button.
Note: If you haven't connected your MemberPress account yet, click on the Connect an Account button to connect it before moving forward with this step.
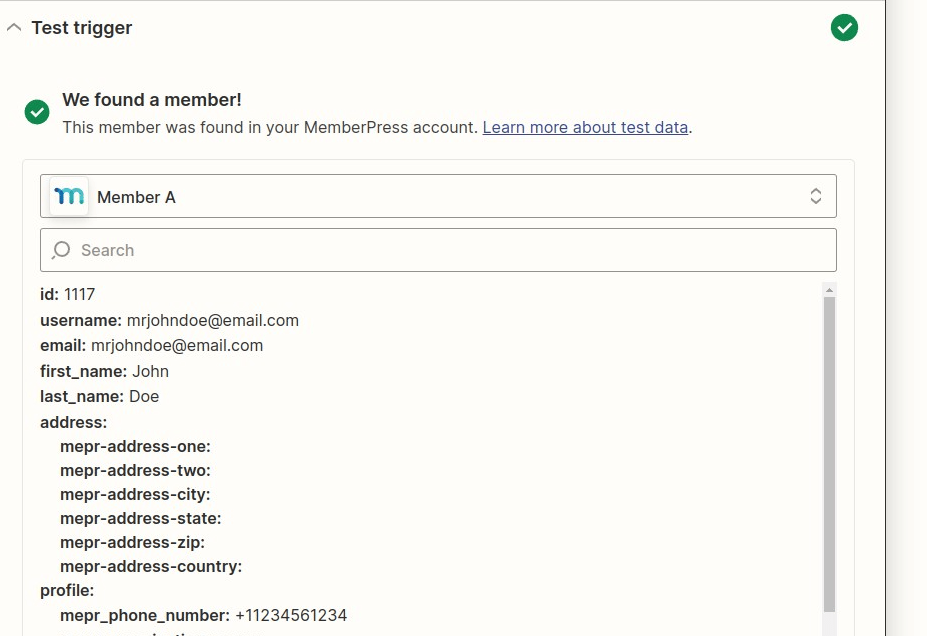
Test the trigger so Zapier can pull down the latest member who successfully signed up on your site. When finished, click Continue.
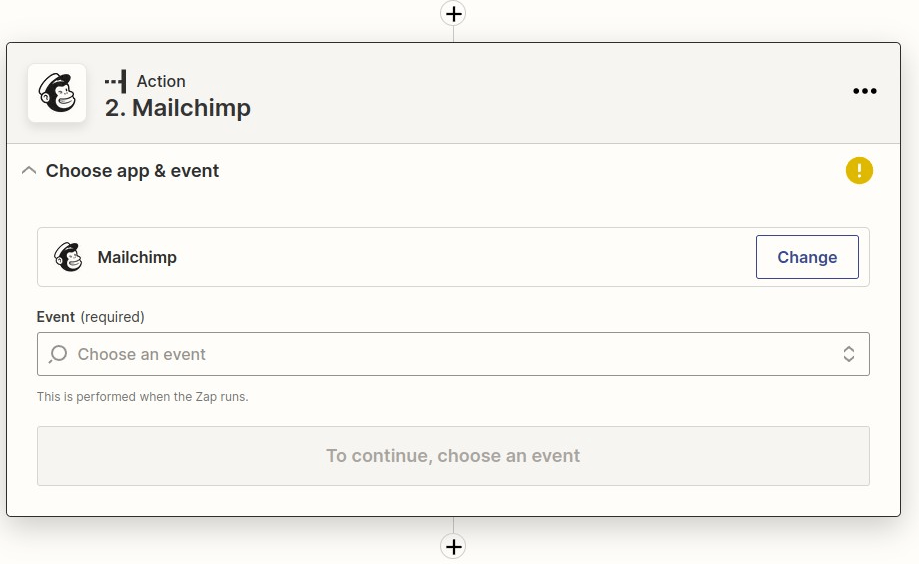
Step 3: Creating a MailChimp Action Trigger
Search for MailChimp and select it from the drop-down list.
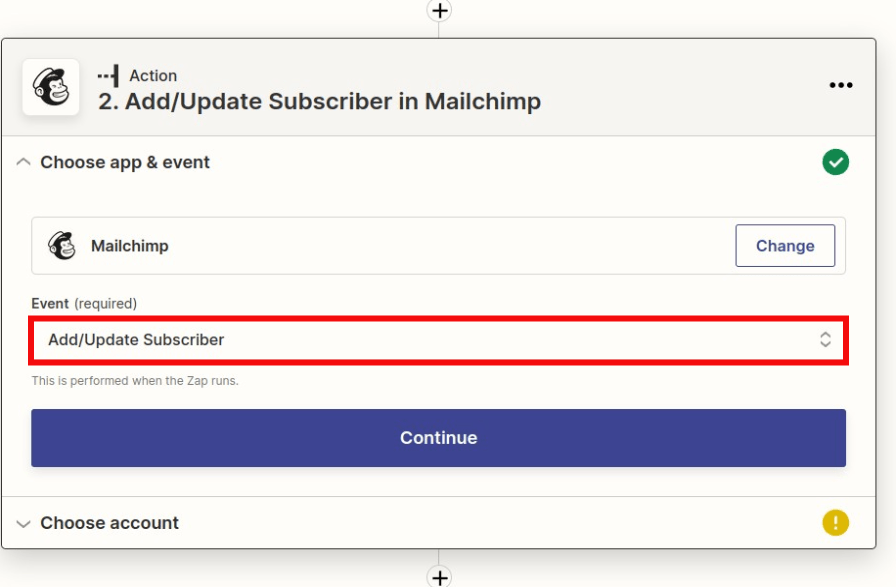
On the following page, select Add/Update Subscriber then click on the Continue button.
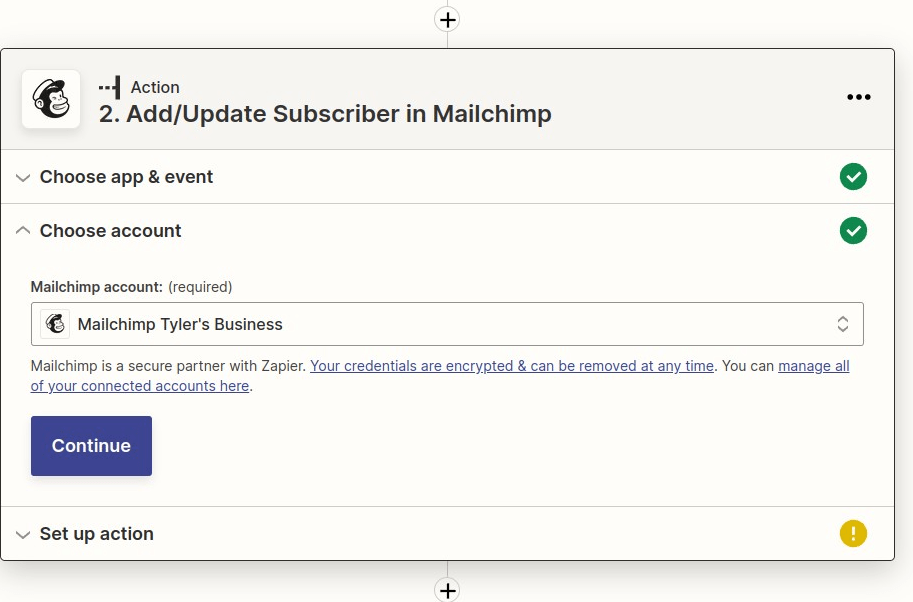
Next, you'll want to either select the MailChimp account you currently have connected or connect a new account.
Once connected, click on the Continue button.
On this page, you will need to select the required fields for the subscriber. Select the Audience list retrieved from your MailChimp account. Click the drop-down option in the Subscriber Email field to select the “Email” field value. Set the “Update Existing” to “no” so that updates aren't made to an existing email address already found on your MailChimp list.
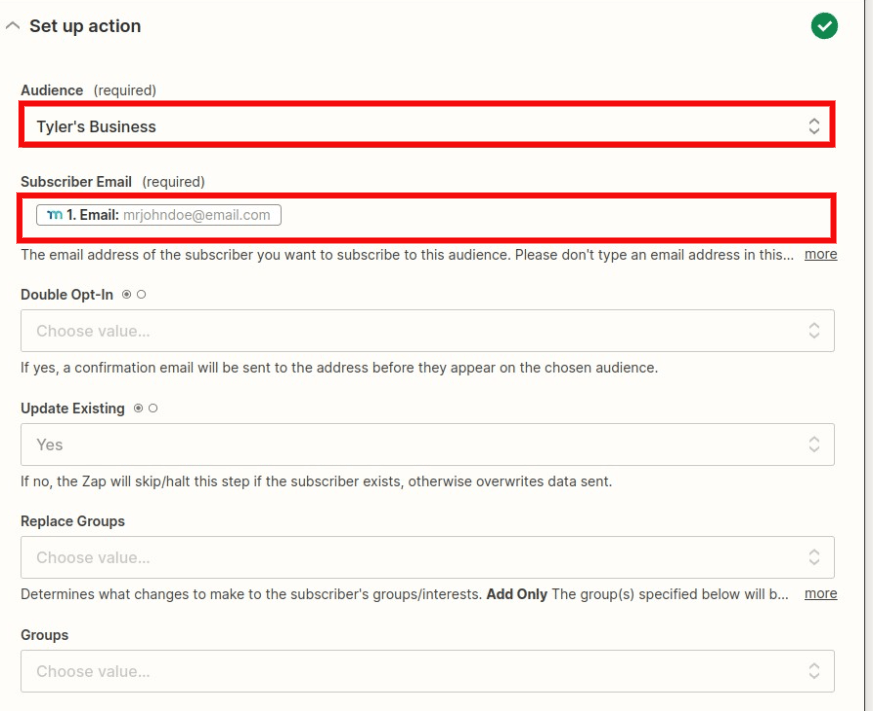
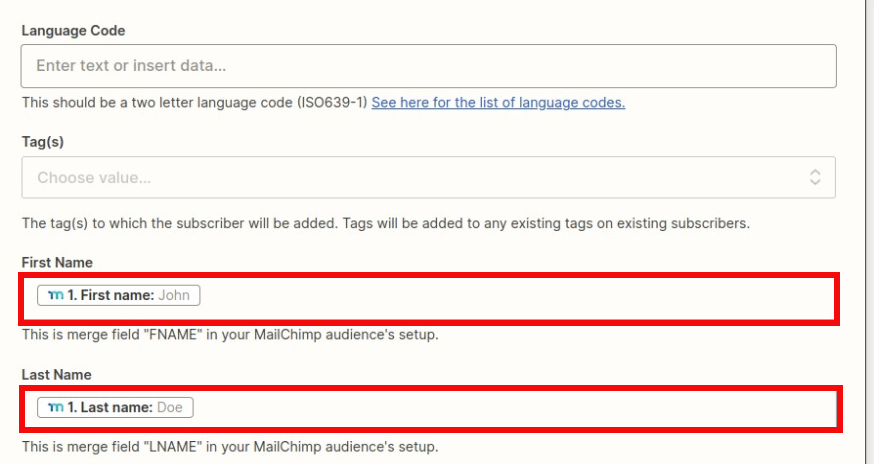
Scroll down a little further on that page and include other optional subscriber value fields like the First Name and Last Name. Then click the “Continue” button to save your selections.
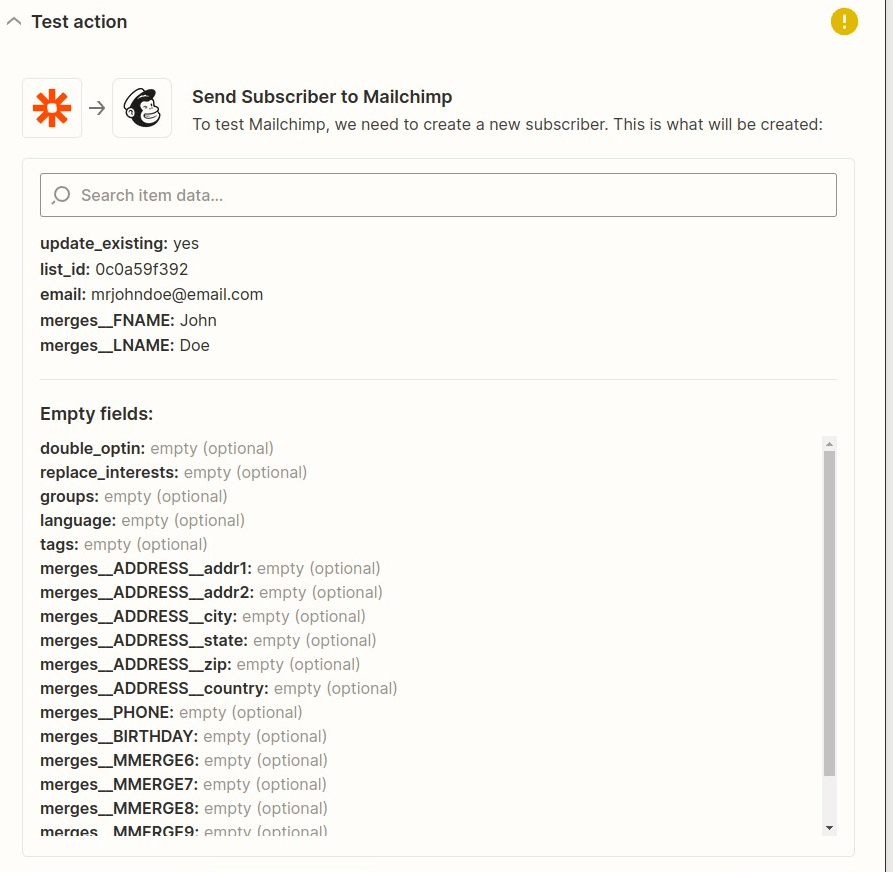
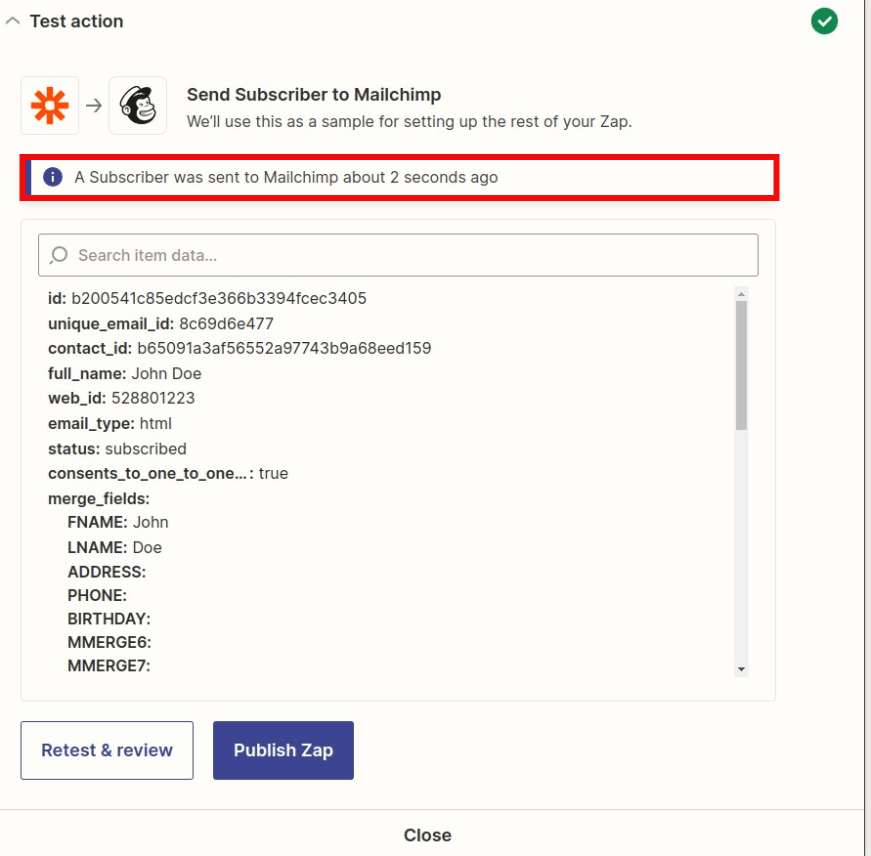
On the following page, you can then test to make sure that your test subscriber gets added correctly to your MailChimp list by testing the action. Double-check your MailChimp list to see if the subscriber was added.
Once verified, you can click on the Publish Zap button to turn on your Zap.
Once you have done that, try to do a live signup in MemberPress as a test subscriber, and make sure that the email address and name get added to your MailChimp Audience list.


