First, click the “Create Zap” button on the top right of your Zapier page.
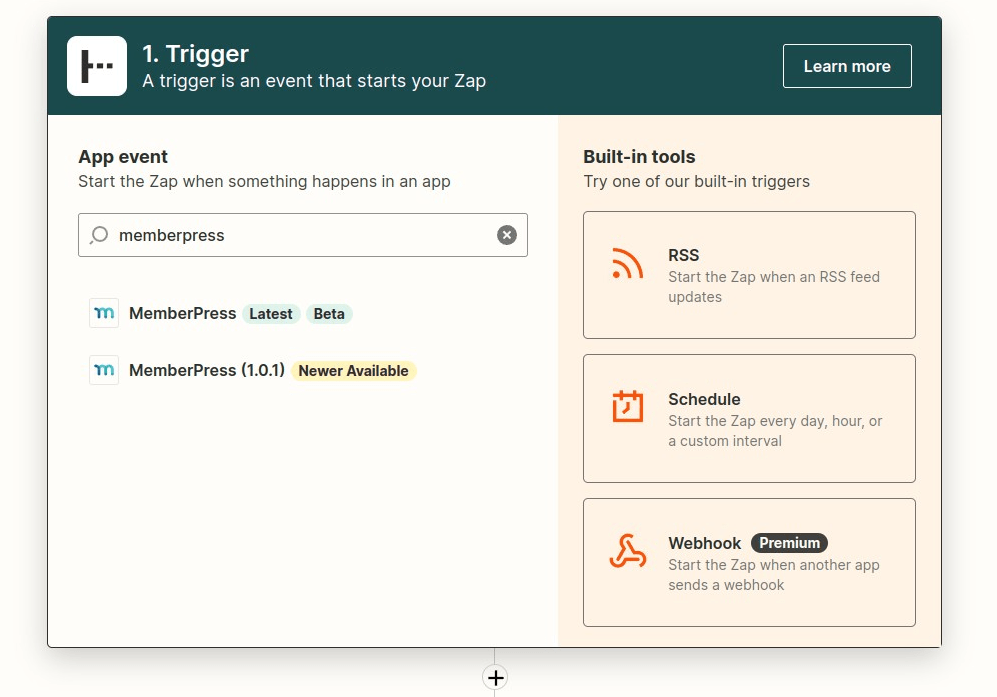
Choose MemberPress as your Trigger App.
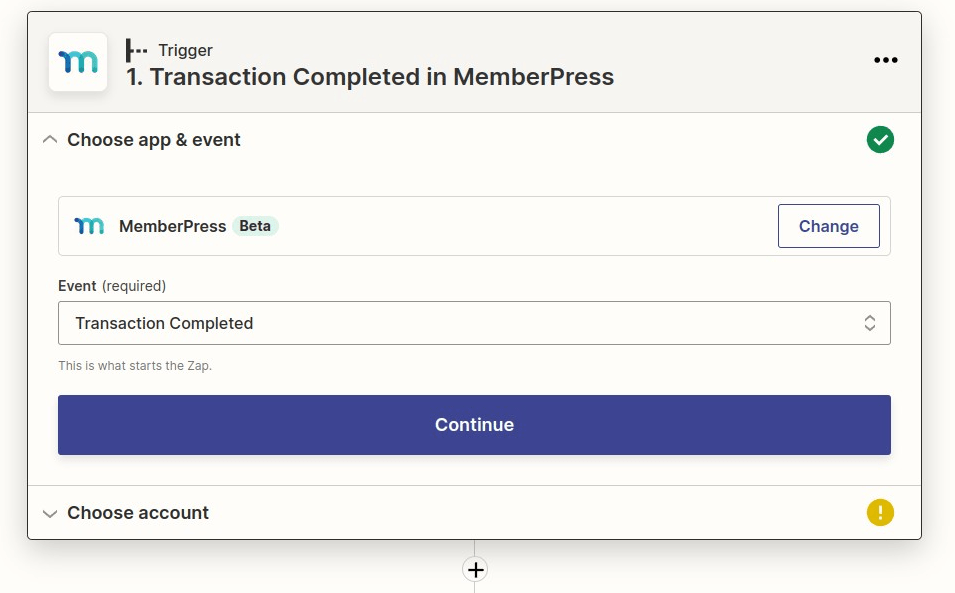
Select “Transaction Completed” as your trigger and continue.
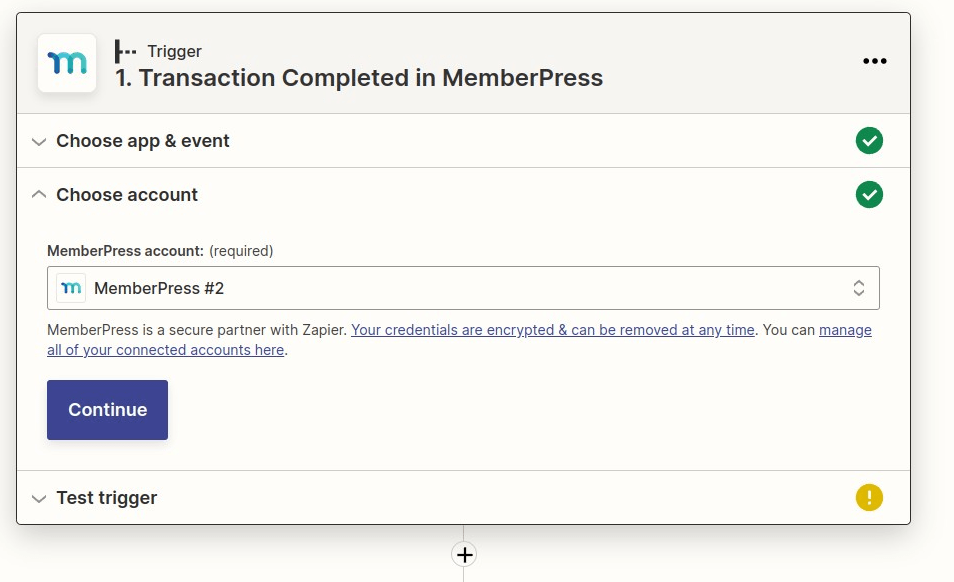
Select your MemberPress account (you can test its connection here if you wish) and continue
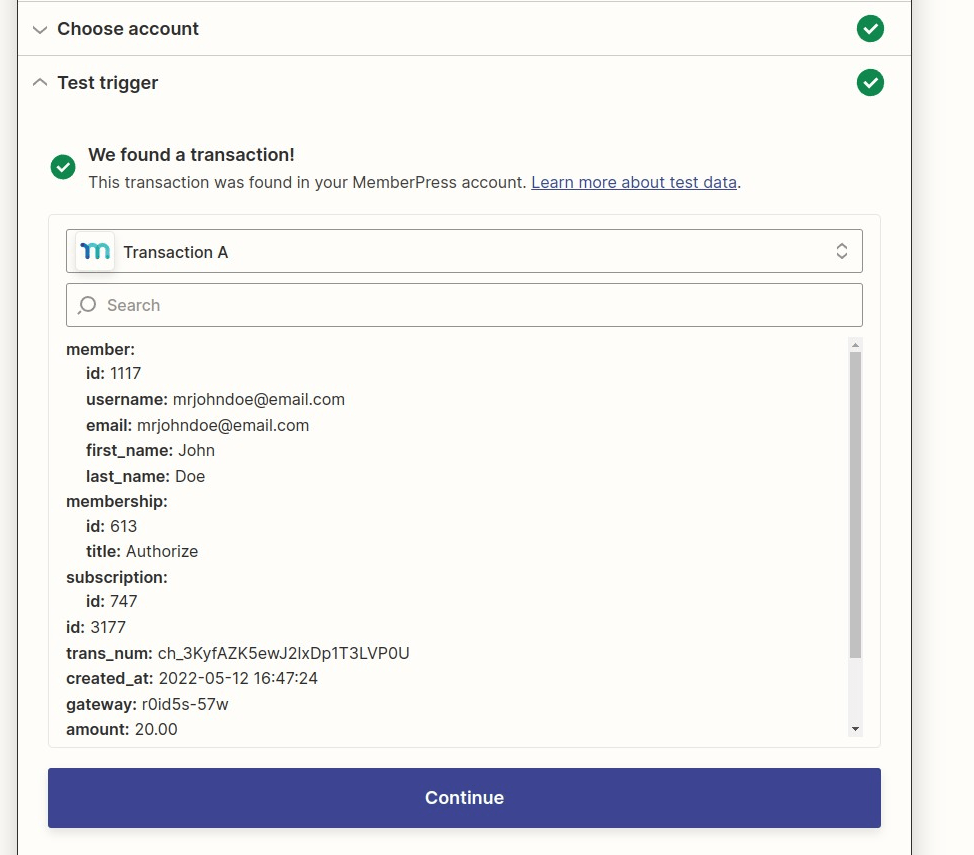
Test your trigger so that Zapier can pull in the latest transaction which has been completed on your site. Continue.
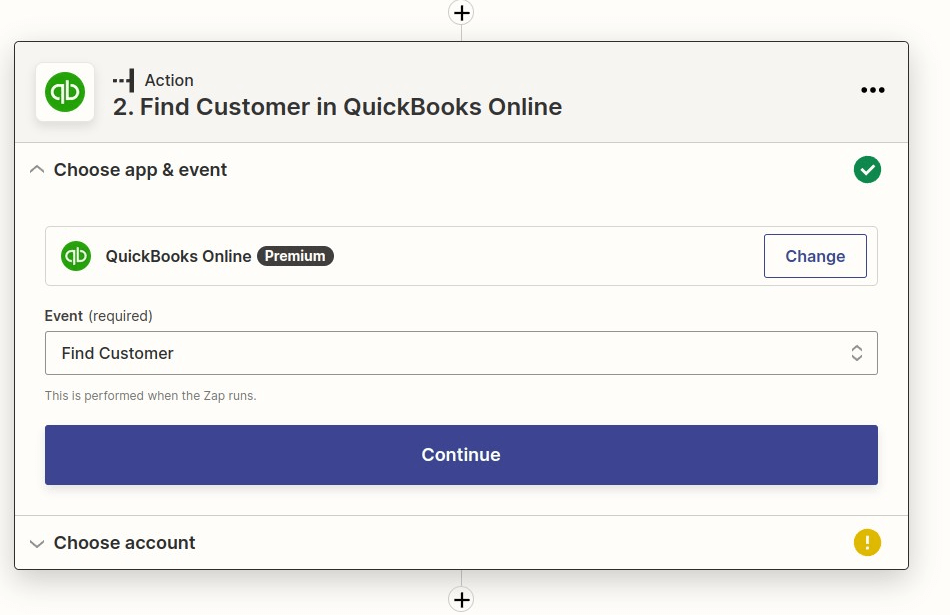
Choose QuickBooks Online (if you don’t see it you will need to add and link the app to Zapier)

Search for the Action – ”Find Customer”
You need to find them to give them a receipt, and if they are not in QuickBooks yet, which is likely if you are just starting this, then it will add them as a customer as well.
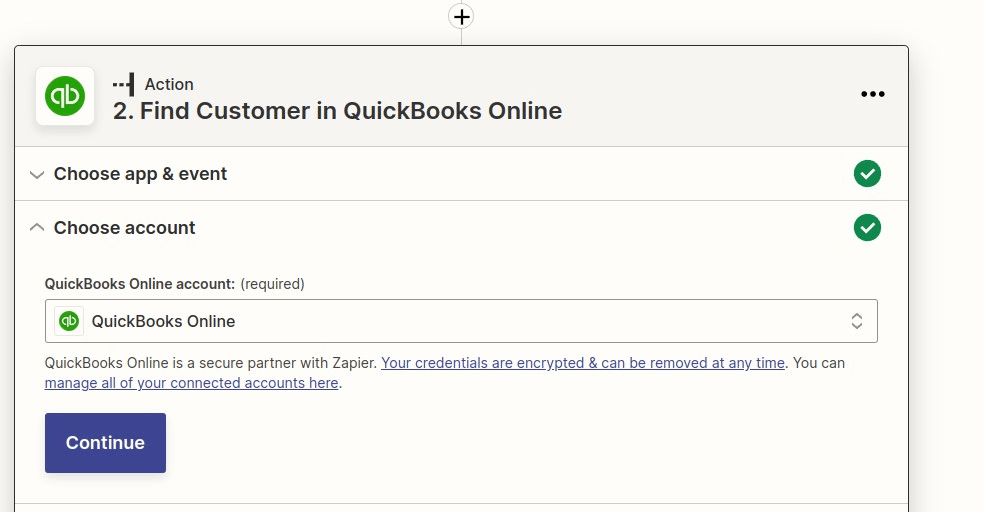
Connect or Select your QuickBooks Online account, continue.
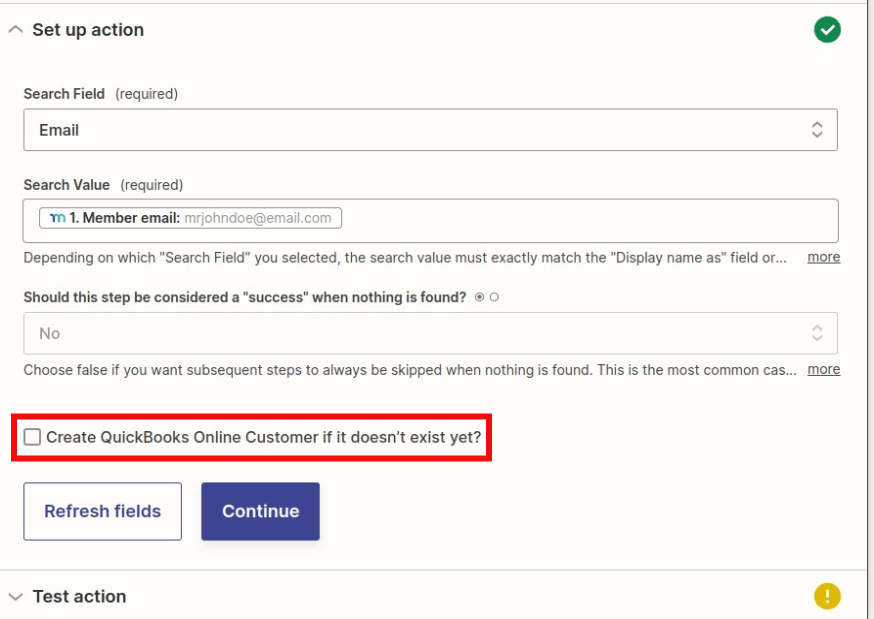
Here is where you need to search for your customer, choose “Email” in the search field
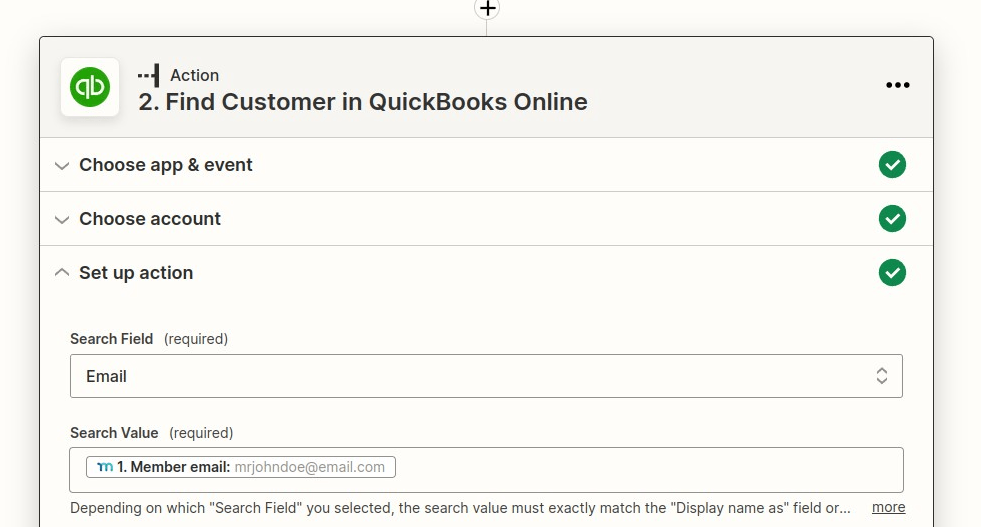
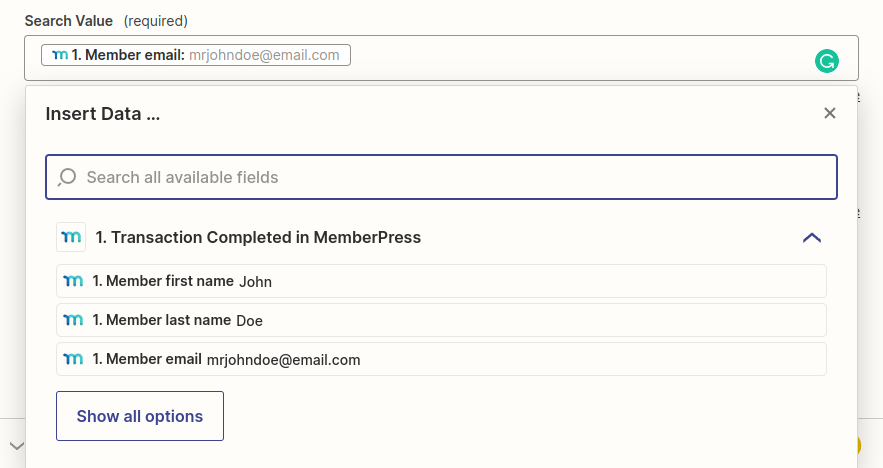
Click into the Search Value field
Then it should populate with all your MemberPress Fields, here you need to select the “Member Email” Field
Next, for QuickBooks to create a customer if there isn't already one in your system click the “Create QuickBooks Online Customer if it doesn't exist yet?” box
Then find the “Member First Name” and “Member Last Name” fields. (You will need to collect both first and last names in your membership registration as it is required by QuickBooks to create an account.) Choose the “Member First Name” then a space to avoid them being lumped together, then insert the “Member Last Name” field.
This is all that is required to create a user but feel free to add as many fields as you want by following the same steps. Once you have collected all the info, hit Continue.
The next page will let you test your setup.
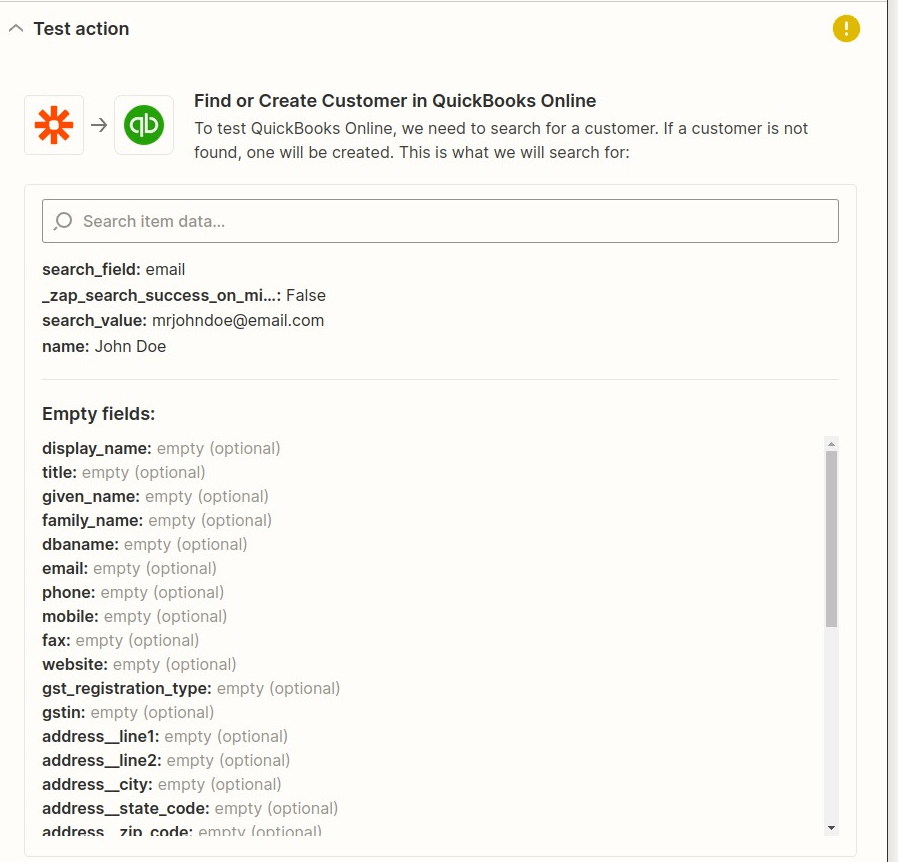
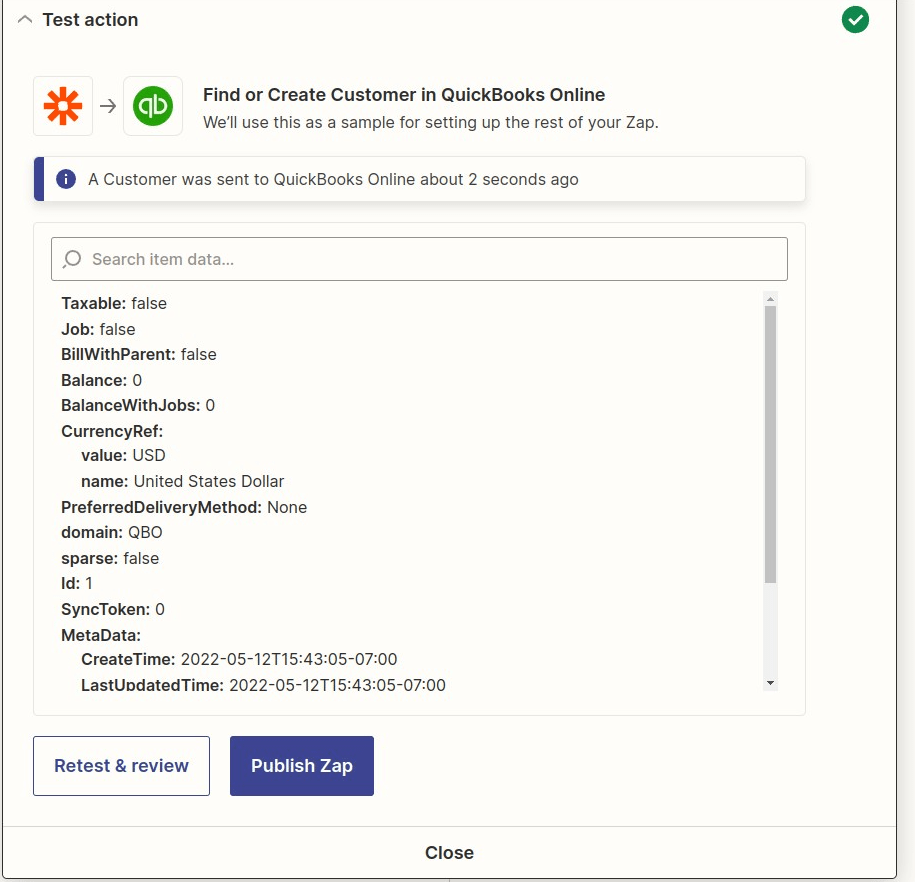
Test the action, if successful you will see this screen.
Continue onto the final action
Click the “+” button again as before and Choose the “action” then choose “QuickBooks Online” but this time you will choose “create a sales receipt”
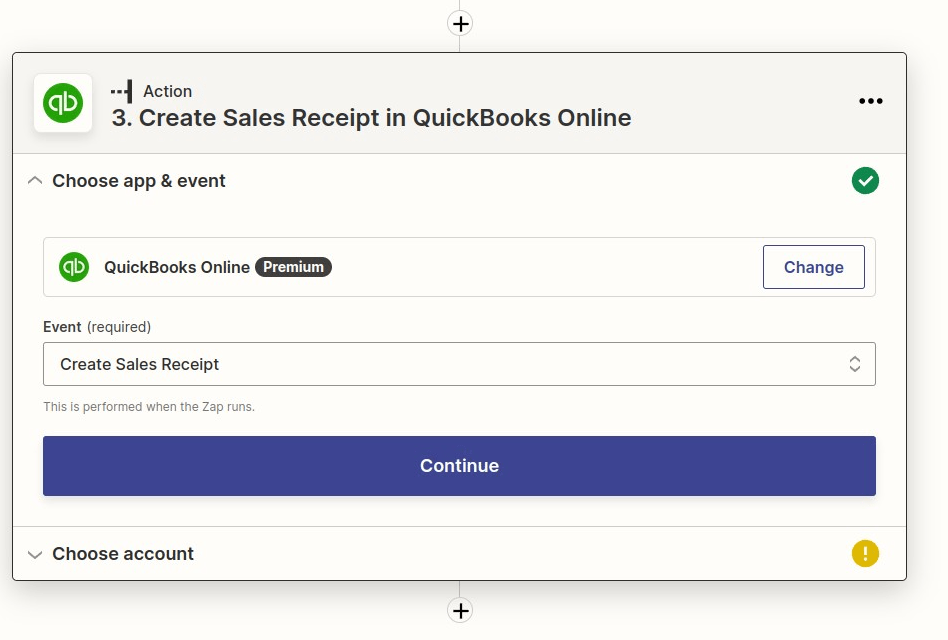
Connect your QuickBooks account again and continue.
Find the customer you created in Step 2 by selecting the “Custom” tab in the Customer dropdown
Under the “Custom” tab, choose QuickBooks from Step 2 then choose the “ID” field in the dropdown
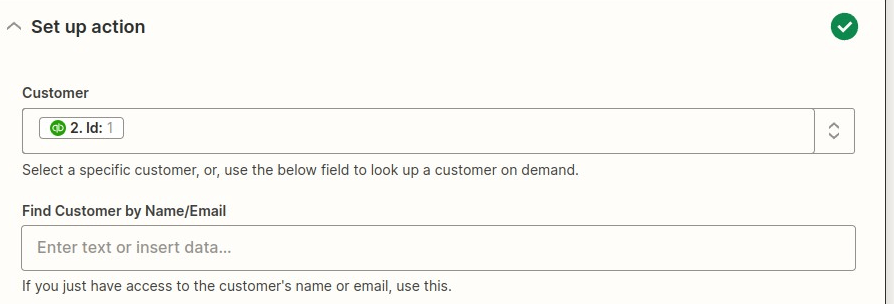
You can leave the “Find Customer by Name/Email” field blank
Click on the “Email” field
Select the “1. Transaction Completed in MemberPress” then select the “Member email” option
Fill out any other optional fields you choose, then navigate to the “Line Items” section
Following the same steps as before, select the “Amount ” line from the first step, this one is required so do not skip it
Then find and add any other information you want to include in the receipt
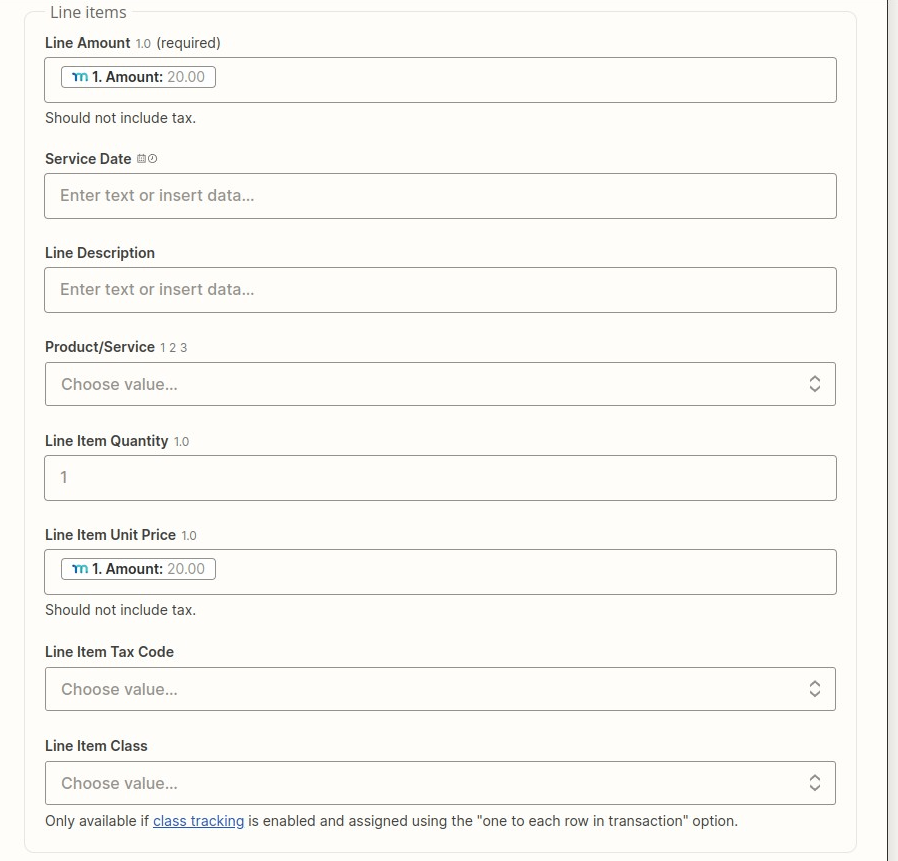
After you have added your information, click continue.
Next, you will test your action by clicking the “Test action” button
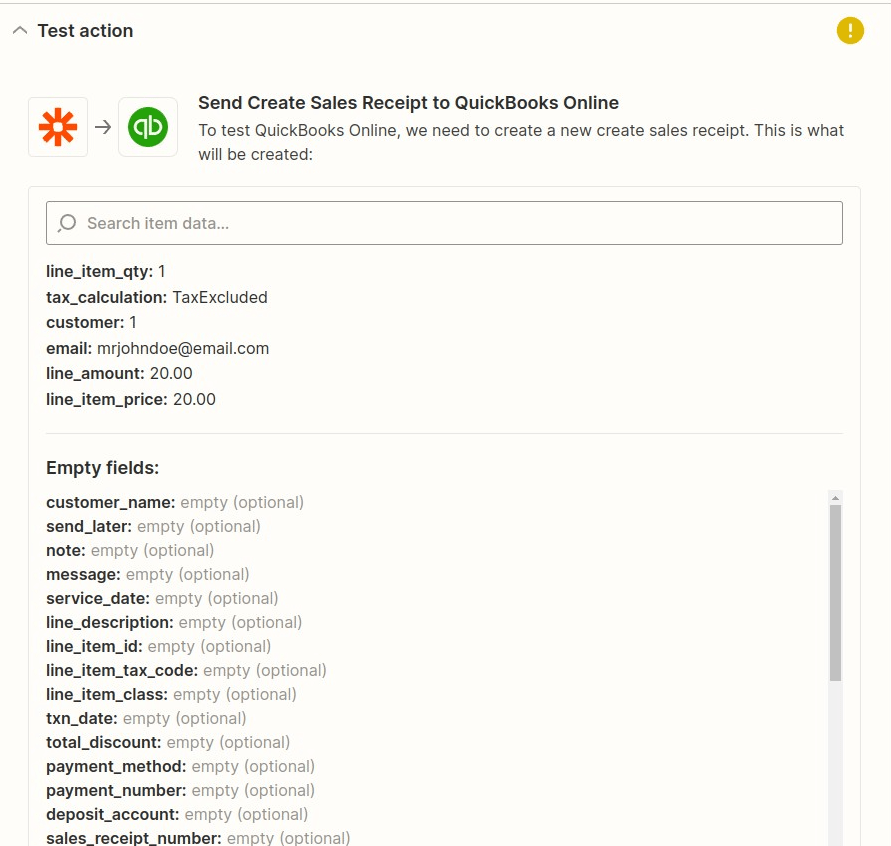
If all goes well you will see this message
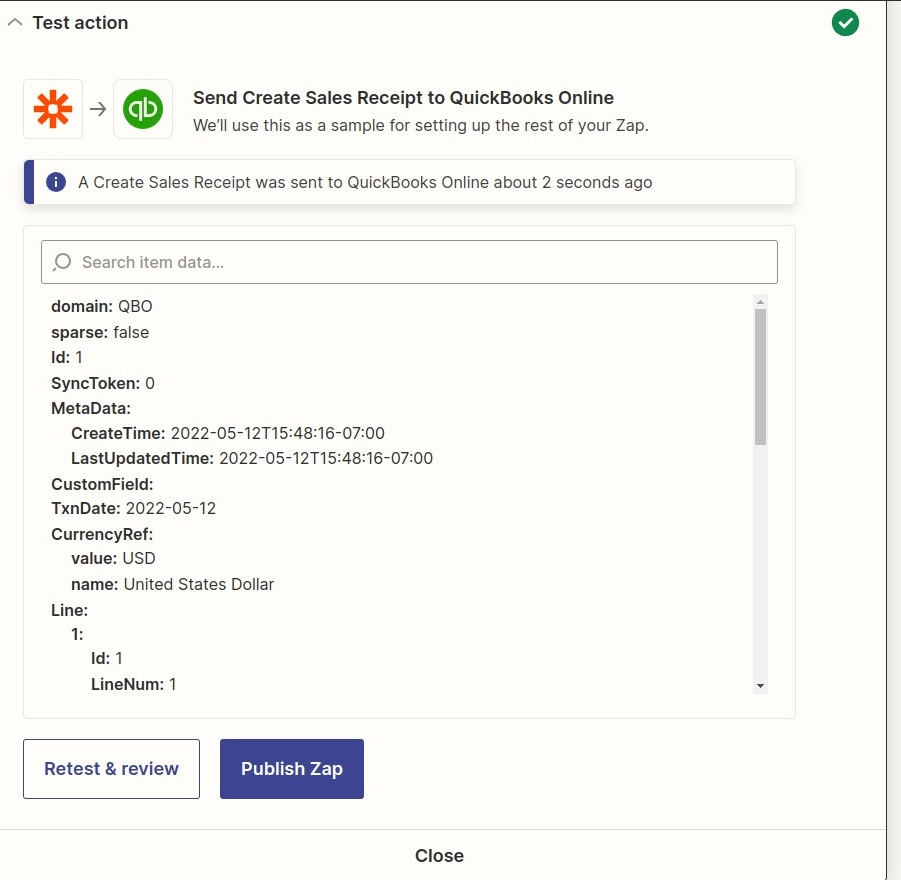
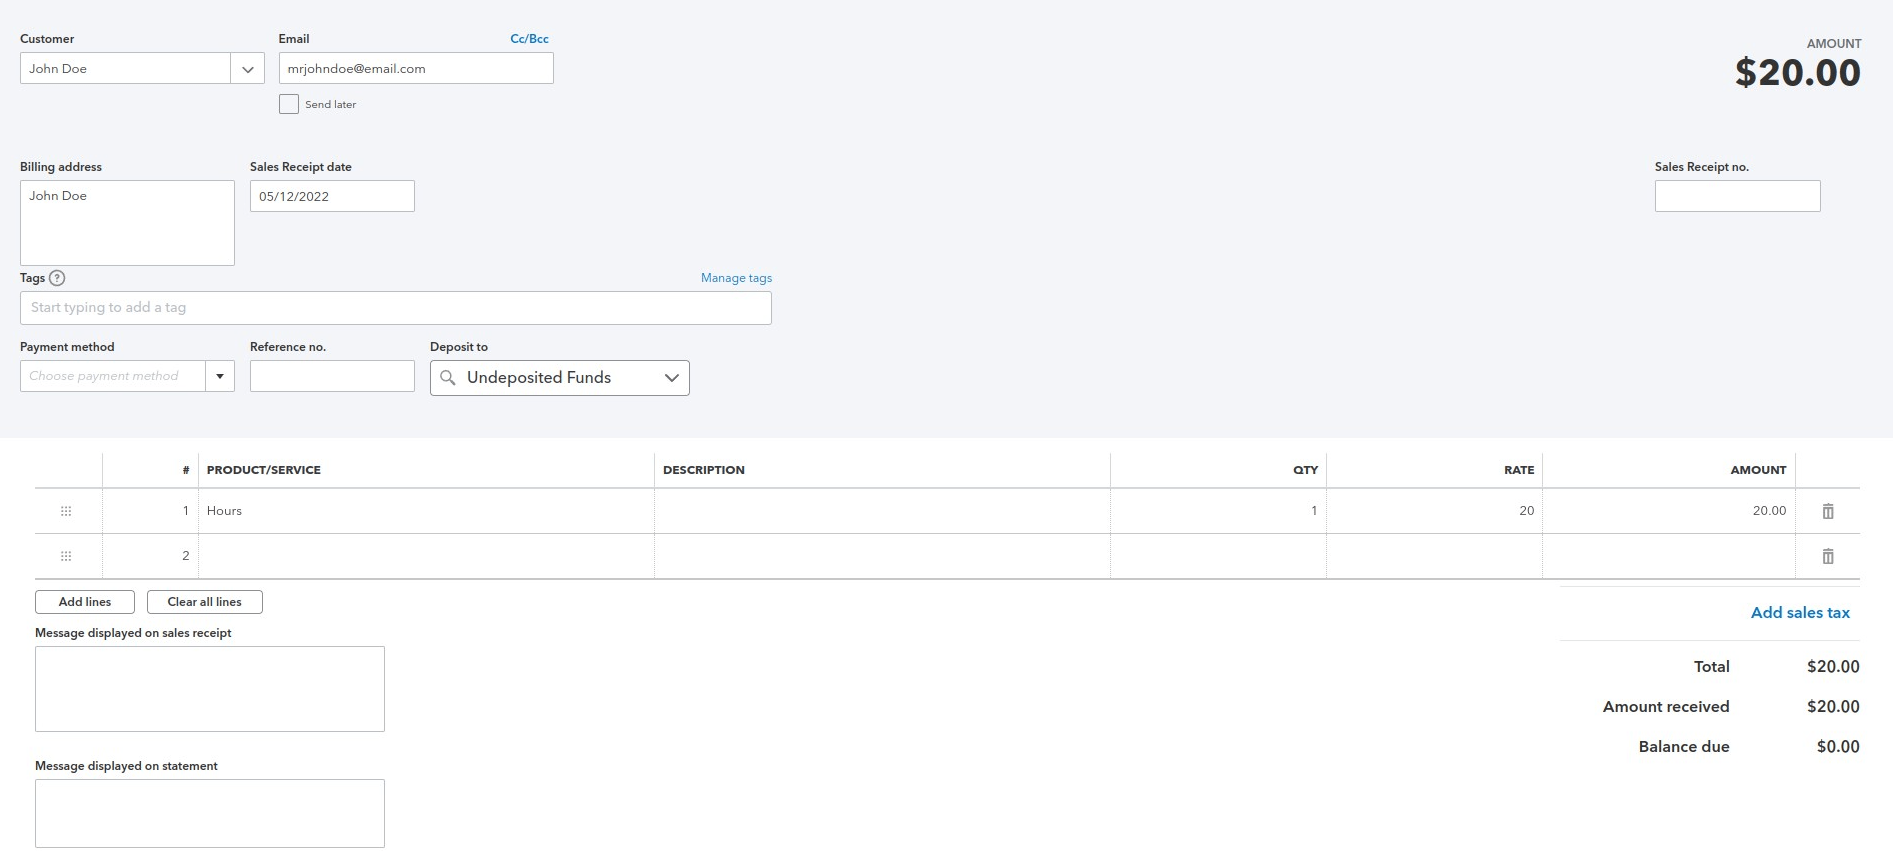
Finally, you should see a receipt like this in your QuickBooks account