MemberPress comes with multiple Gutenberg blocks. You can use these blocks on any area of your WordPress site which can be edited with the default Block Editor (Gutenberg).
This document will give you an overview of the MemberPress Blocks and details on how each of them can be used.
Video Tutorial
MemberPress Gutenberg Blocks Overview
MemberPress blocks can be used to add classic MemberPress forms and other member-related information to your custom pages and posts. You can also add MemberPress blocks to your widget areas.
Currently, available MemberPress blocks are:
- Login Form
- Account Form
- Account Links
- Account Info
- Registration Form
- Subscriptions
- Protected Content
In addition, you can use the ReadyLuanch blocks if you enable our ReadyLaunch templates. In this case, the Login, Account, Registration, and Pricing Table (Groups) form blocks will be available in your list.
Login Form Block
The classic MemberPress Login Form can be easily added anywhere with the Login Form block.

The block comes with the “Login Redirect URL” option. Enabling this option will redirect unauthorized users to the redirection URL you set in the MemberPress settings. On the other hand, if disabled, this block will allow users to log in and remain on the same page (where the block is added) after logging in.
If the user is already logged in, the block will display the “You're already logged in” message with a Logout link.
Account Form Block
You can add the classic MemberPress account form to any place on your site by using the MemberPress Account block. This way, for example, you can design a custom account page any way you want, and add the Account block to display the account form on that page.

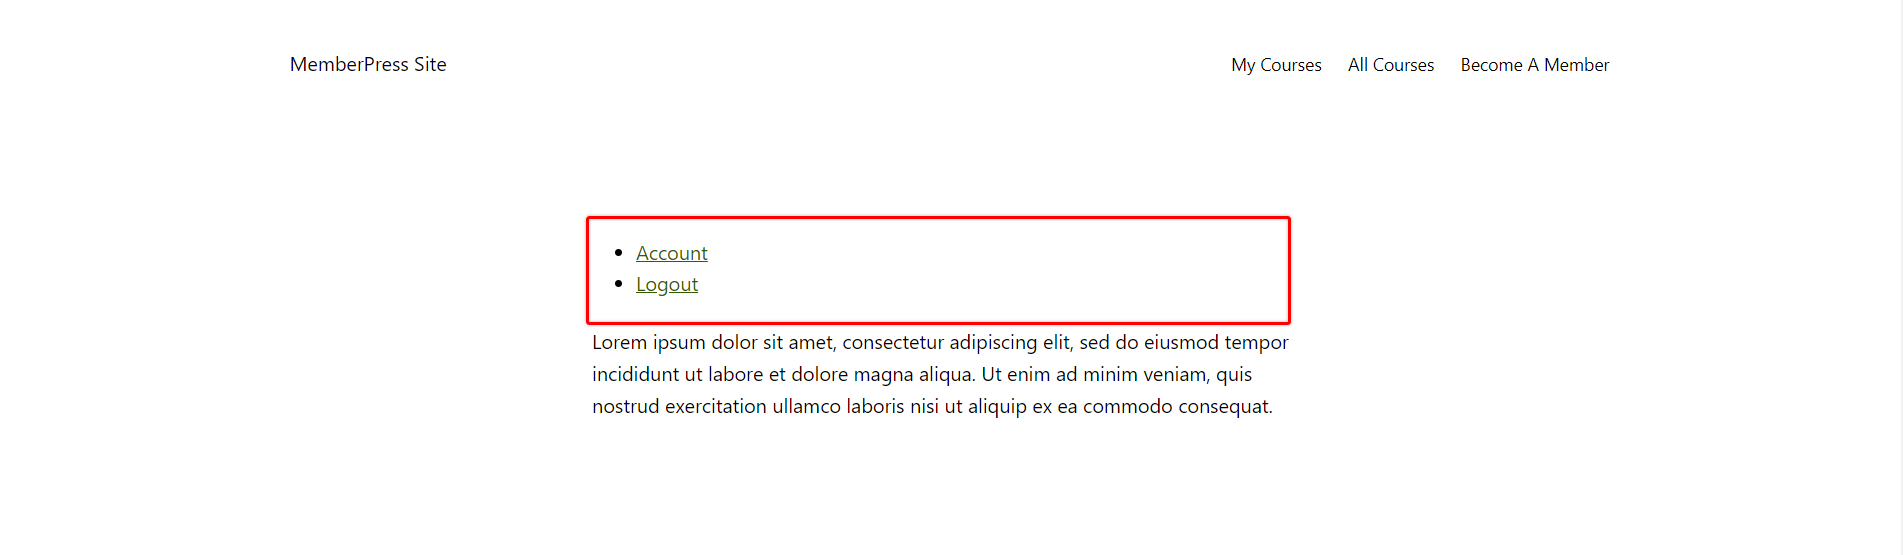
Account Links Block
The Account Links block will display two links on the page, post, or widget area where the block is added:
- the Account link to the user’s MemberPress account page (set at Dashboard > MemberPress > Settings > Pages tab);
- the Logout link.
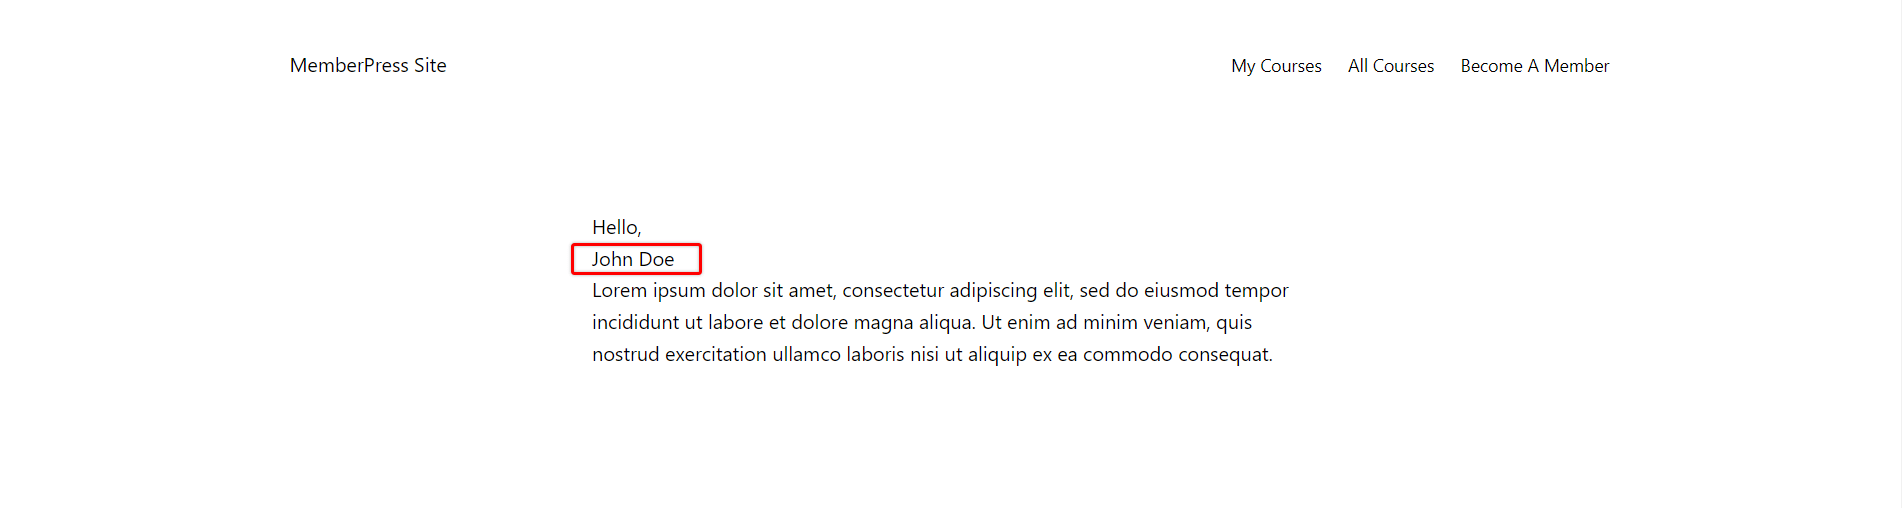
Account Info Block
This block allows you to display any of the user’s account data present at the Account > Home tab.
Under the block settings, you’ll see the “Field Slug” dropdown where you can choose the slug of any Account filed.
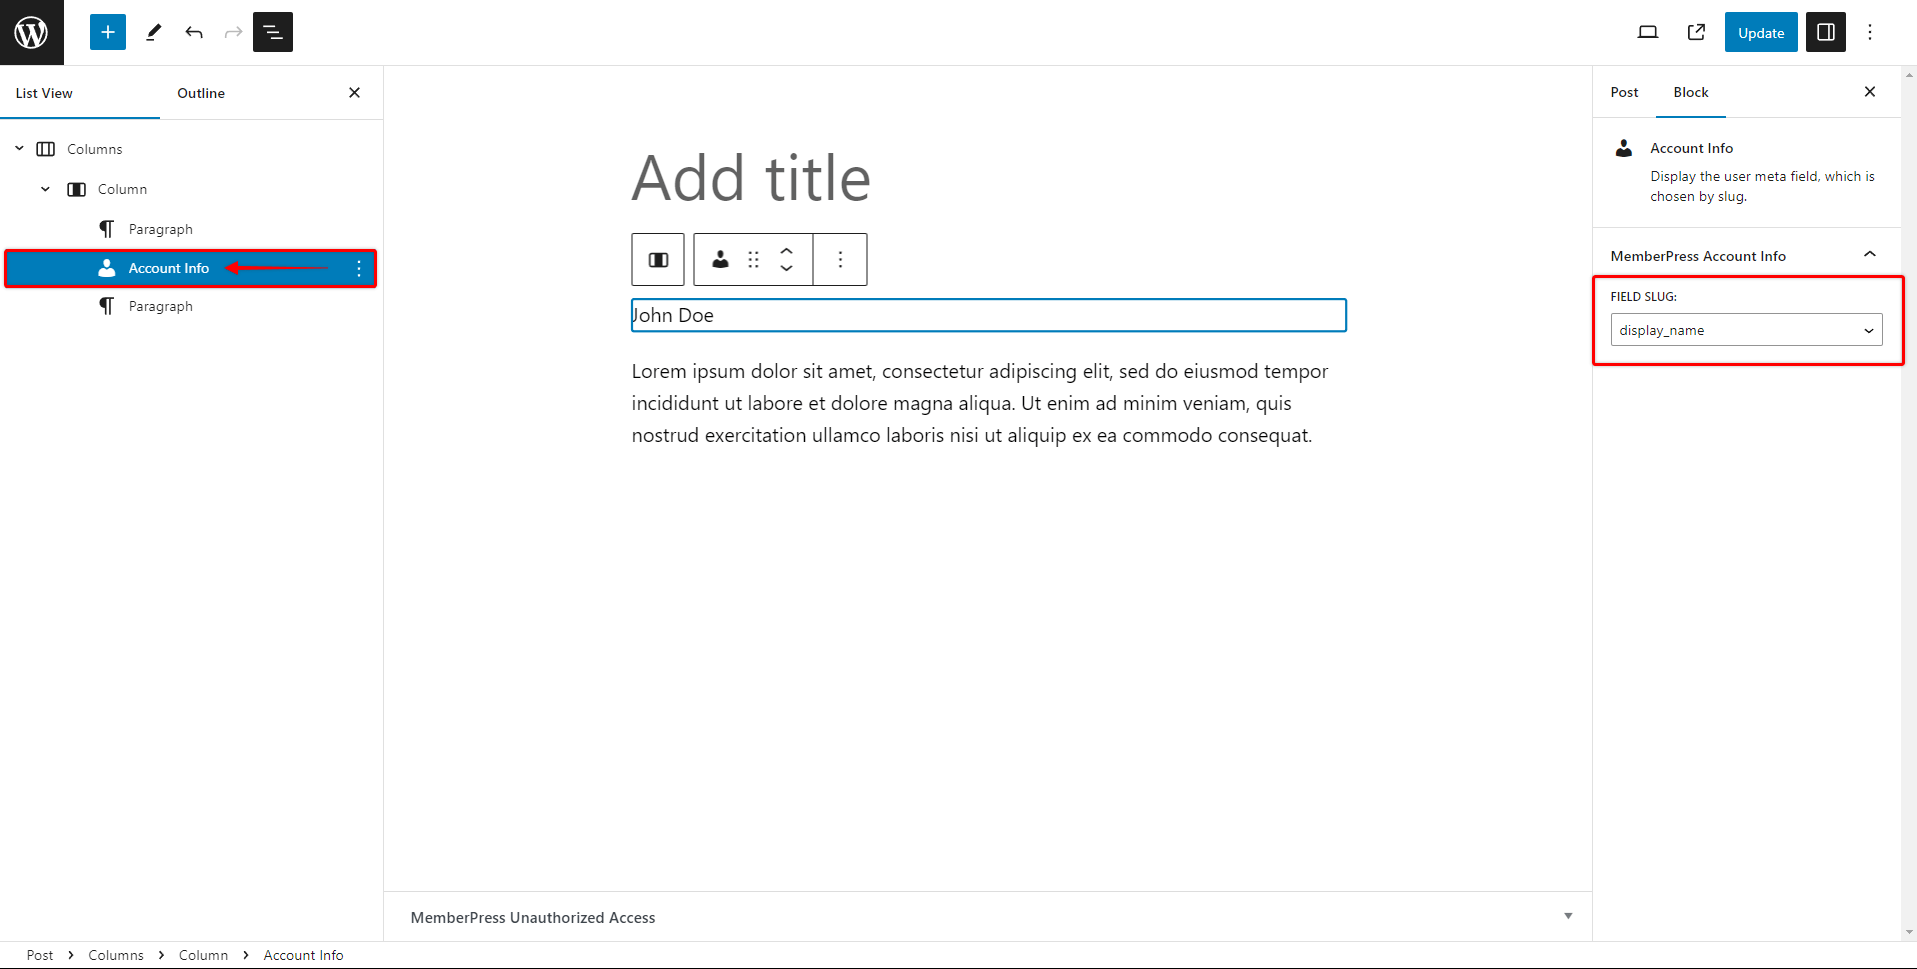
By selecting the field slug, you are choosing what the user’s data is to be displayed on the front end.
Registration Form Block
With this block, you can easily add a MemberPress classic membership registration form anywhere on your site.
Once you add the block to for example a post, you will see the “Select a Membership registration form to display” dropdown under the block settings.
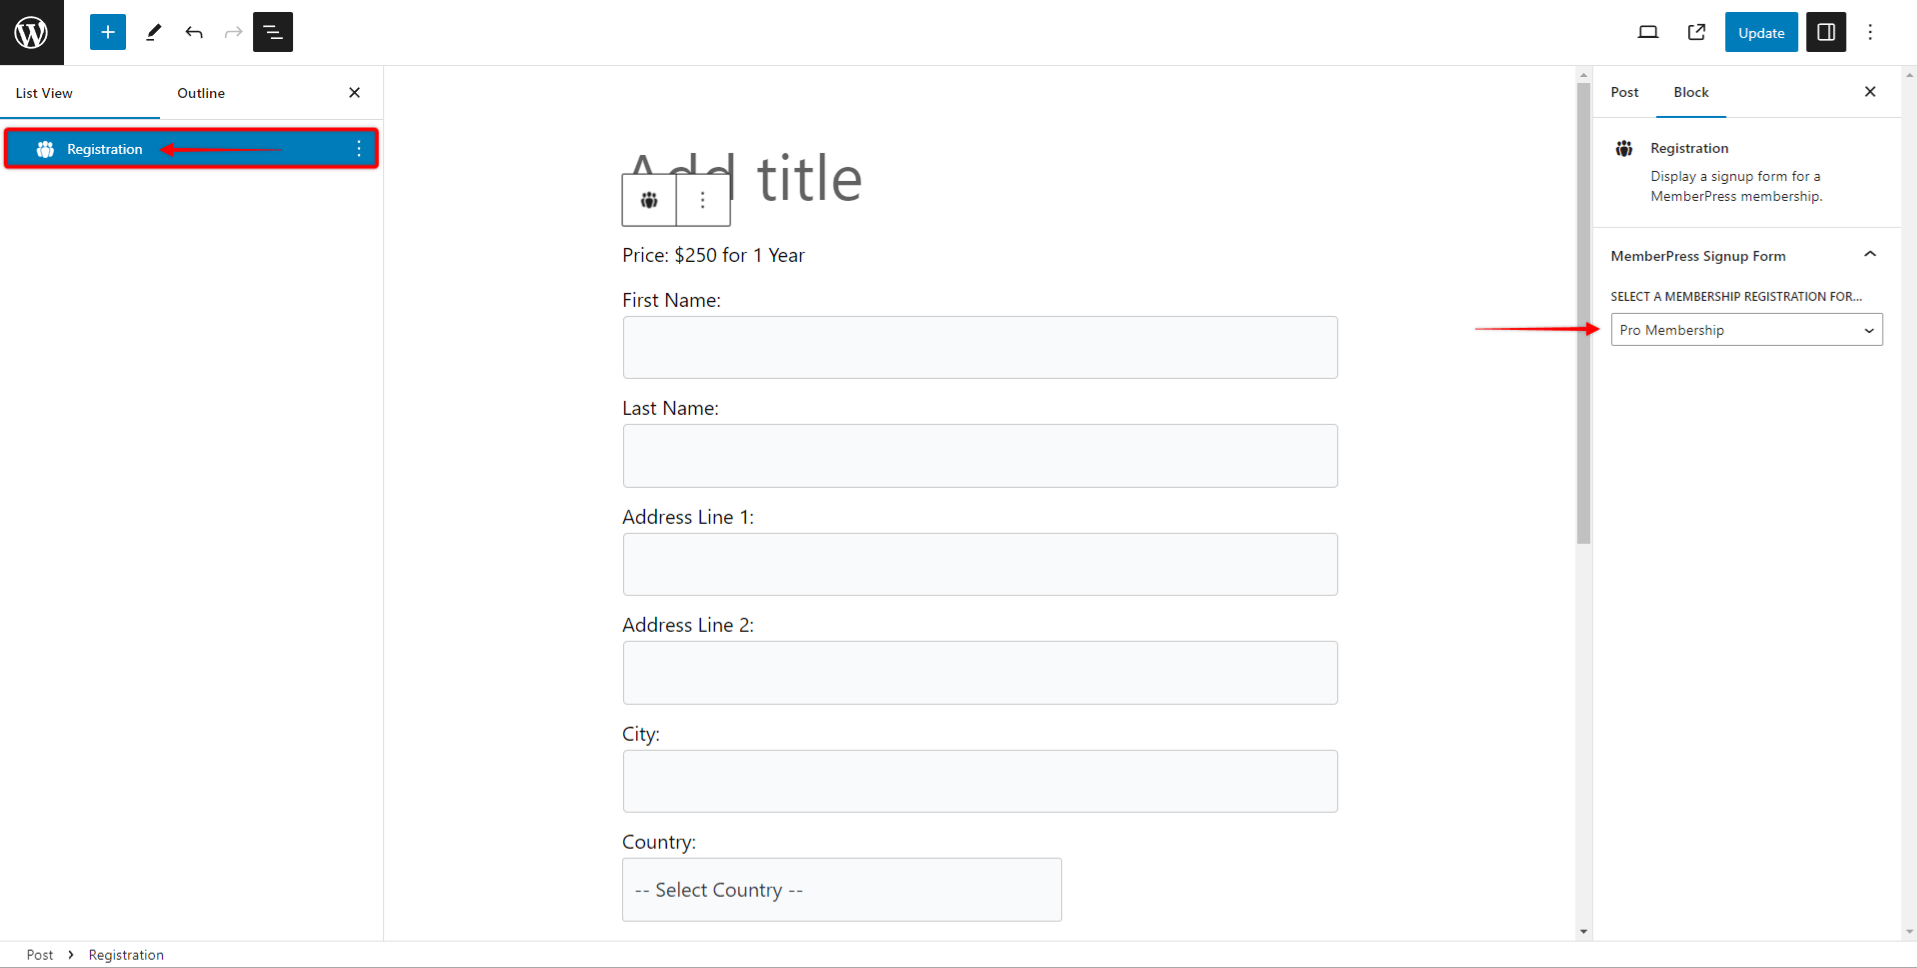
Here, you can select the membership whose registration form you wish to add using this block.
Similarly to the Account block, this allows you to create custom registration pages, promotional or landing pages with the embedded registration form.
Subscriptions Block
This block will add the list of all memberships the logged-in user is currently subscribed to. The block comes with several sorting options and customizable text areas.
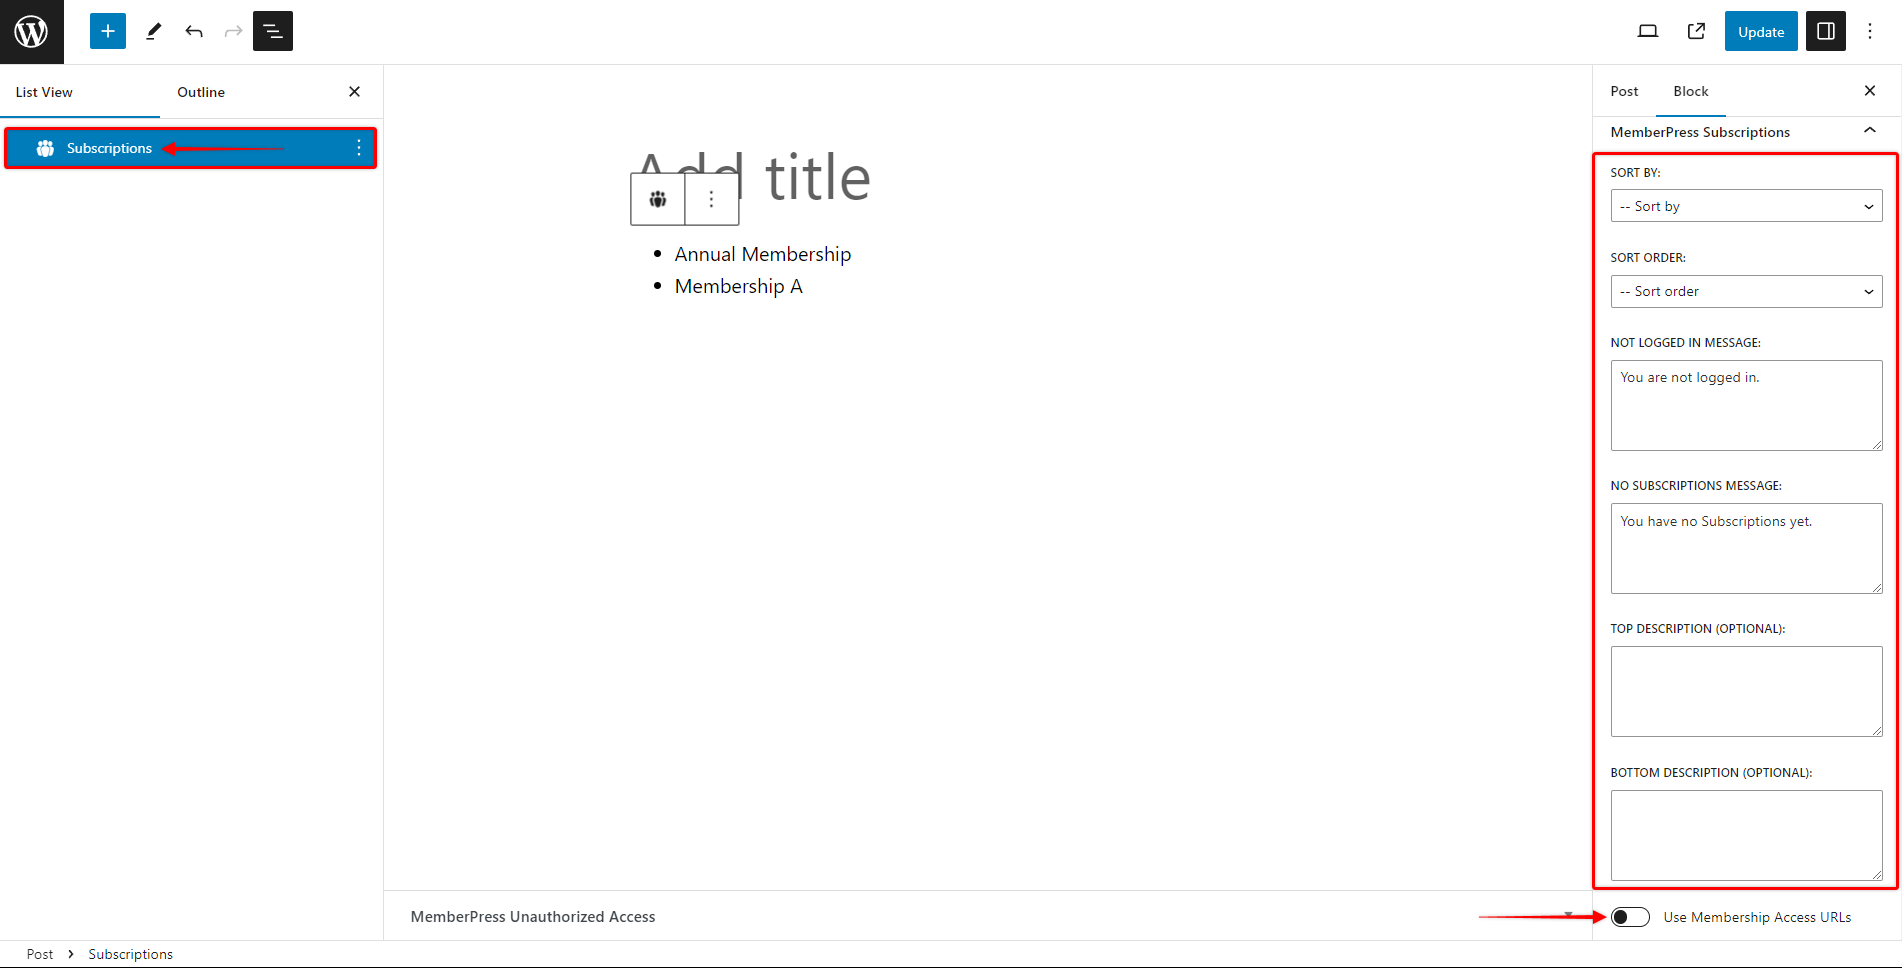
The available options for this block are:
- Sort By: Available sorting options are by “Date” (when the membership was created), or by “Title” (alphabetically);
- Sort Order: Choose the Descending or Ascending order;
- Not Logged In Message: This message will be displayed for this block when the logged-out user visits that post or page.
- No Subscriptions Message: This message will be displayed for this block if the logged-in user does not have any active subscriptions.
- Use Membership Access URLs: Enabling this option will make the listed membership subscriptions clickable. These membership names will be pointing to the “Membership Access URL” you set in your membership settings (Membership Options > Advanced Tab).
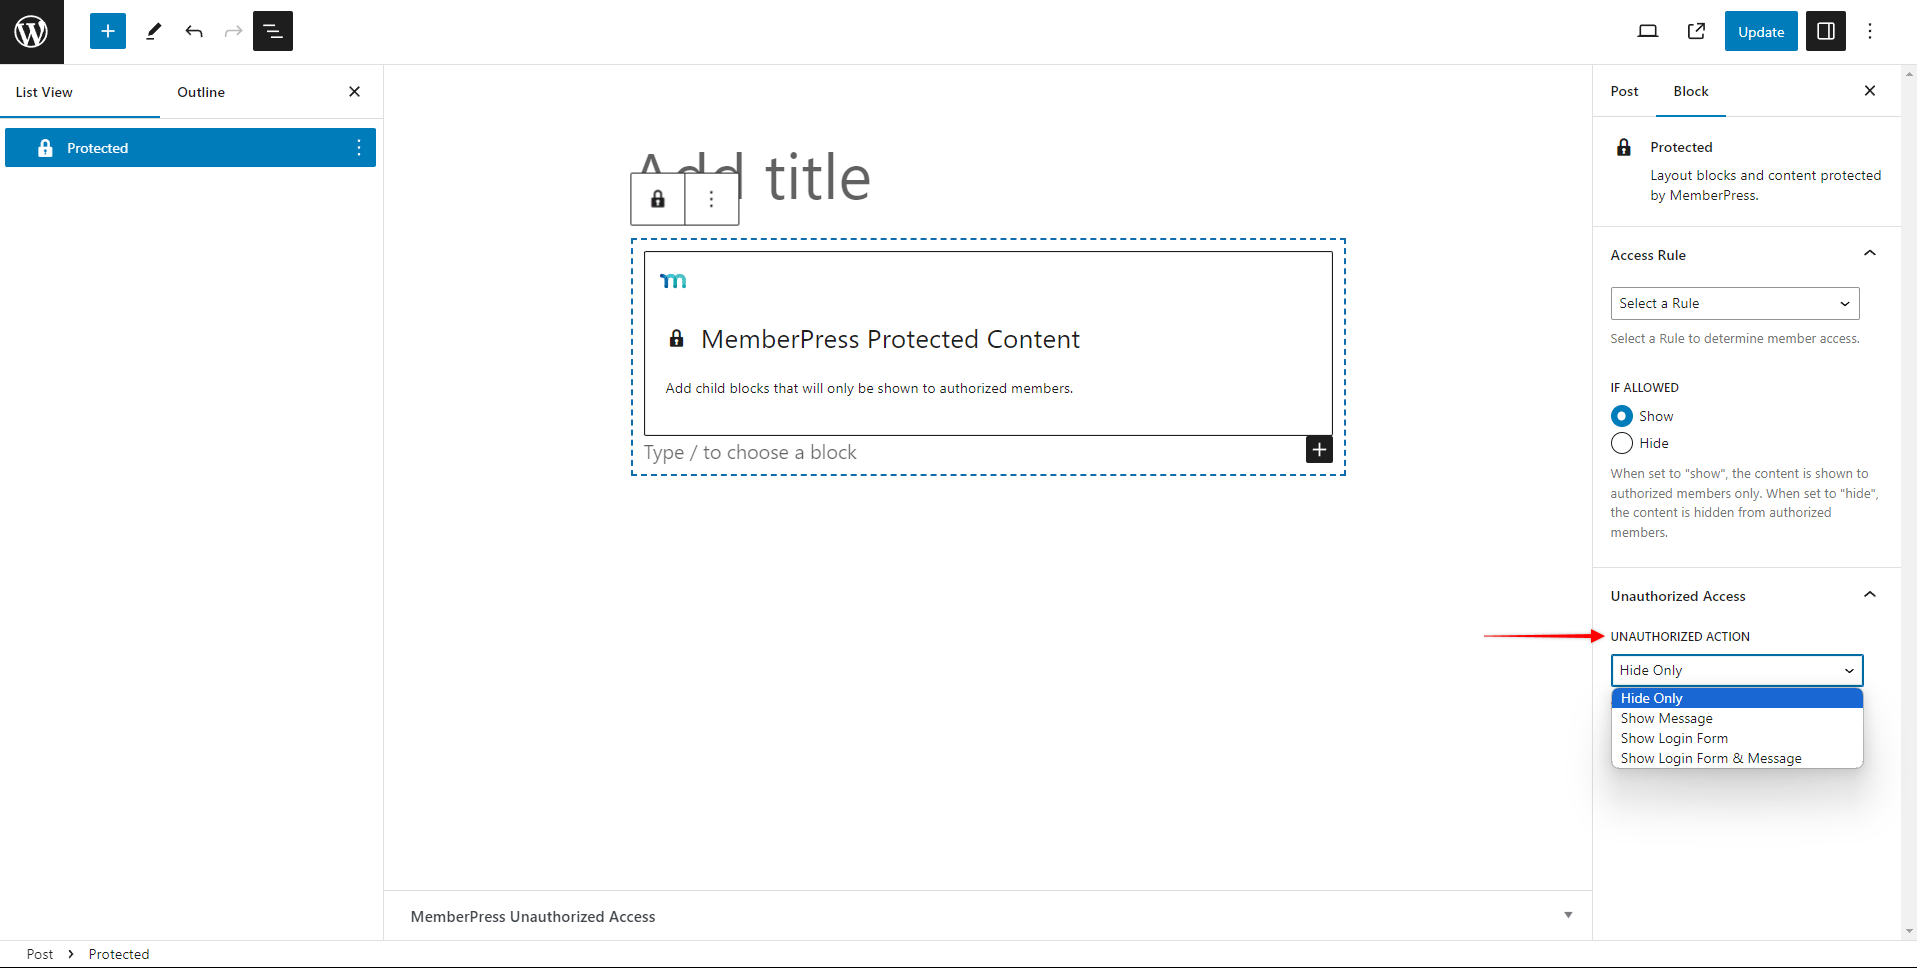
Protected Content Block
The MemberPress Protected Content Block is used as a group block for protected content. You can add any Gutenberg blocks to Protected Content blocks.
When you add the Protected Content block, under the block settings, you will have several options:
- Access Rule: Here, you can select a MemberPress rule that will be applied to the content added within this block;

- If Allowed: You can choose to Show or Hide the content added to the Protected Content block. If you choose Show, the protected content will be shown only to authorized members, and hidden from other users. On the other hand, if this option is set to Hide, the content will be hidden from authorized members, but shown to unauthorized users;
- Unauthorized Action: This option is located under the “Unauthorized Access” panel. It allows you to choose what action should be performed if an unauthorized user visits the post or page where this protected block is added. The default option will be “Hide Only“, and in this case, the protected content will not be displayed. Alternatively, you can choose to show a custom message instead by selecting Show Message. Also, you can select one of the two remaining options to show the login form (Show Login Form) or to show both the login form and the message (Show Login Form & Message).
To add content (like images, text, audio, etc.) to the Protected Content block, click on the “+” icon that appears in the bottom right corner when you click on the block. This will open the block inserter, and allow you to add any block to the Protected Content block.
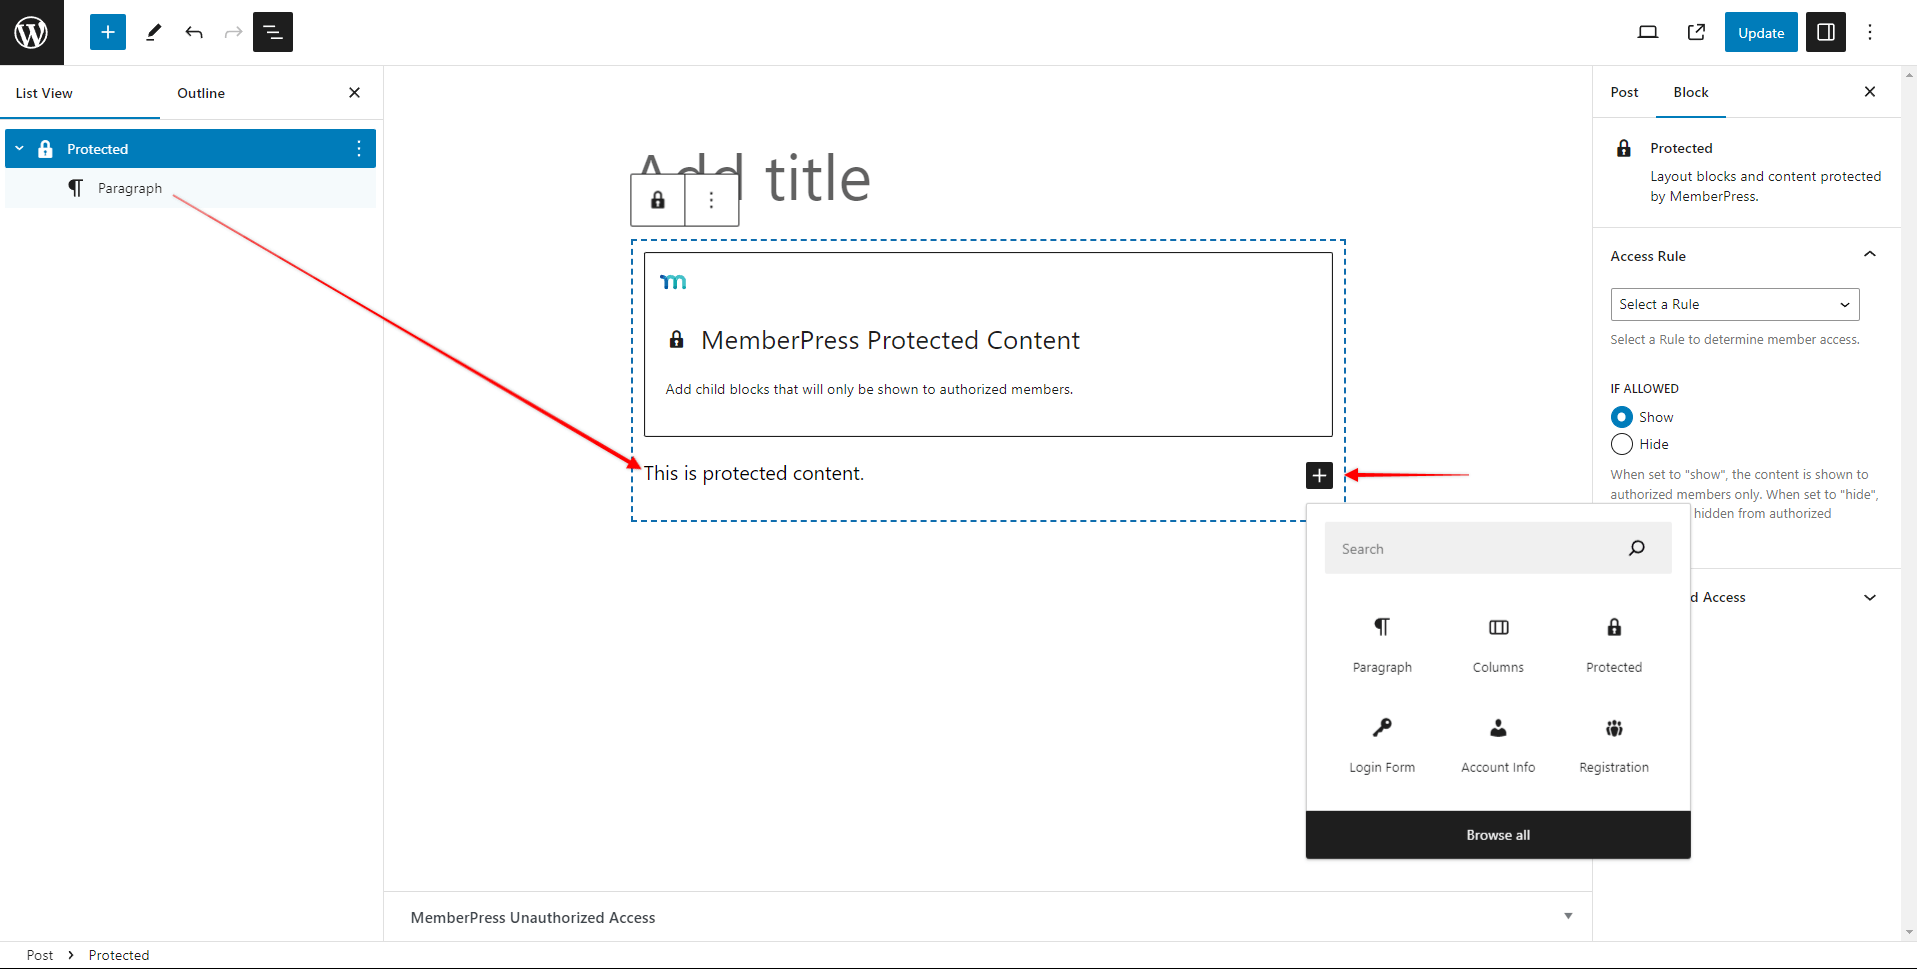
Under the Document Overview, you will be able to see and manage all the content blocks you added to the Protected Content block.
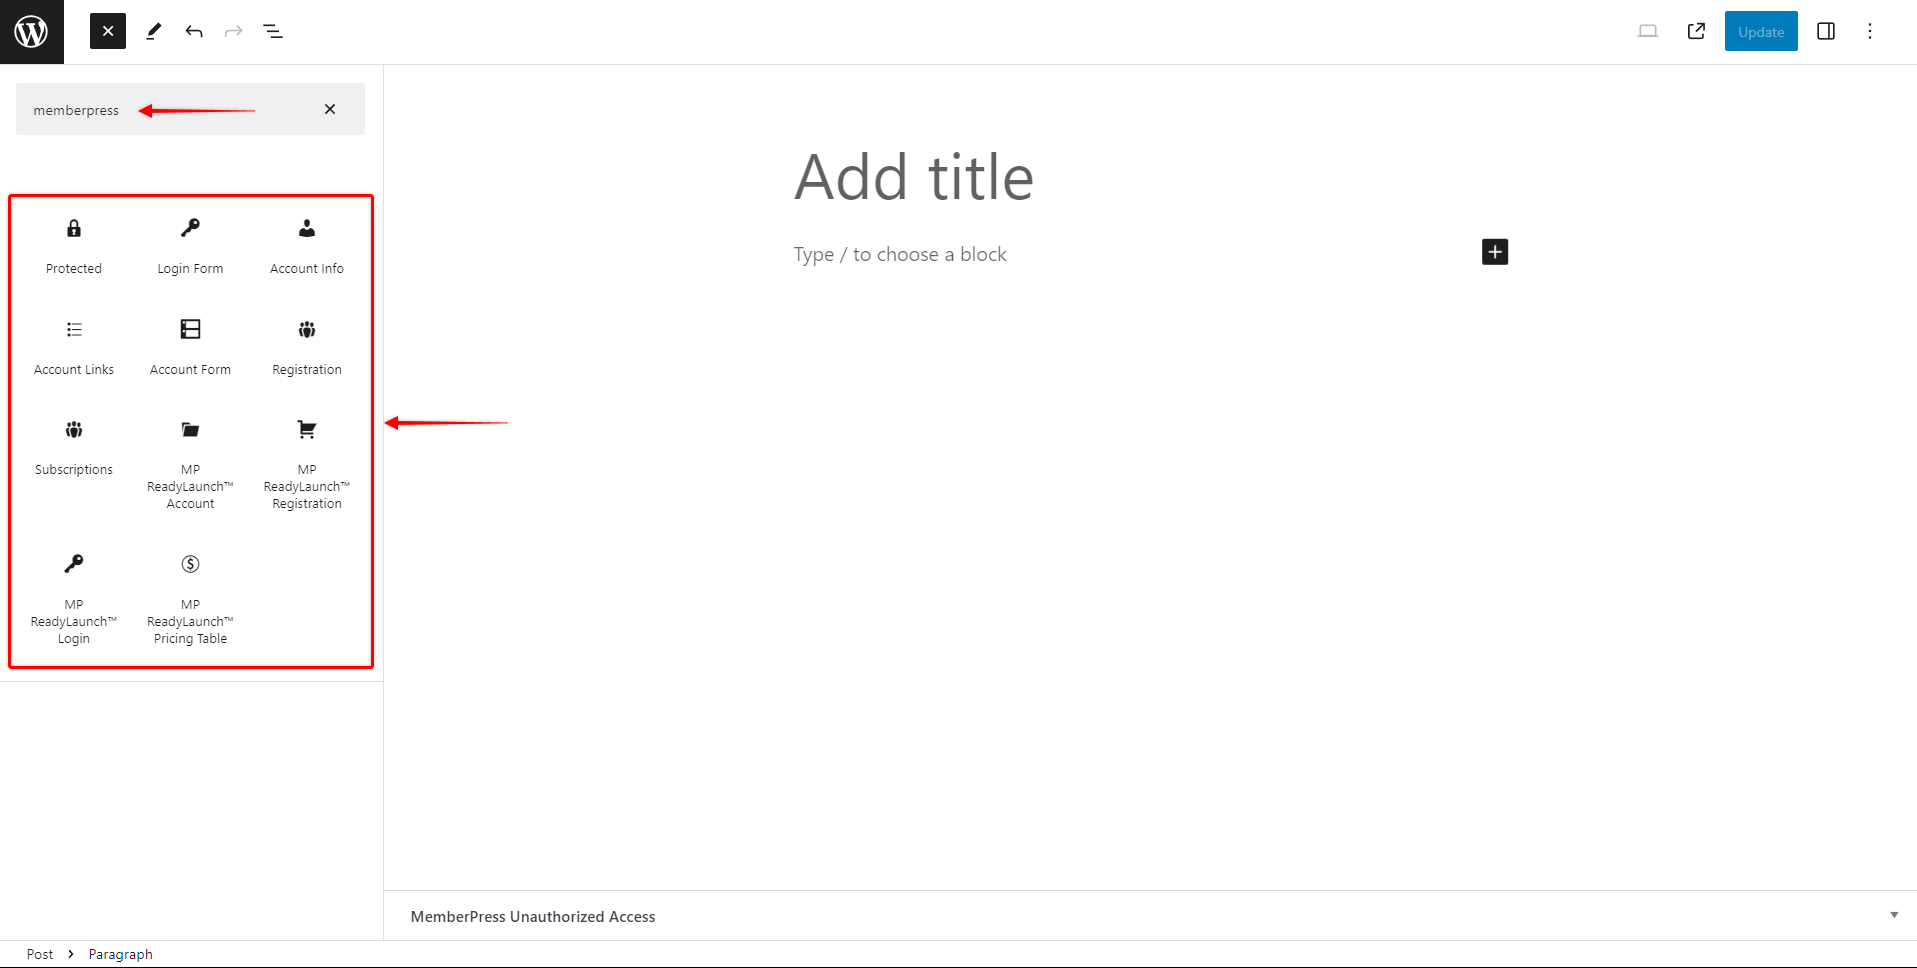
How To Find Memberpress Blocks
MemberPress blocks will be available on any post or site area where the default Block editor is enabled. To find and add MemberPress blocks, follow these steps:
- Start the Block editor on the post or area you wish to edit;
- Click the “+” icon to open the block inserter;
- Search or browse down the block list to find the block you need;
Click on the block to add it.
Help?
Is this not working how you think it should even after following the instructions in the screenshots? Feel free to send us a Support Ticket!


