We are often asked if there is a possibility of creating a record in Airtable when a Member has signed up. Here are some instructions on how to easily make this possible by using Zapier to create a Zap with MemberPress and Airtable.
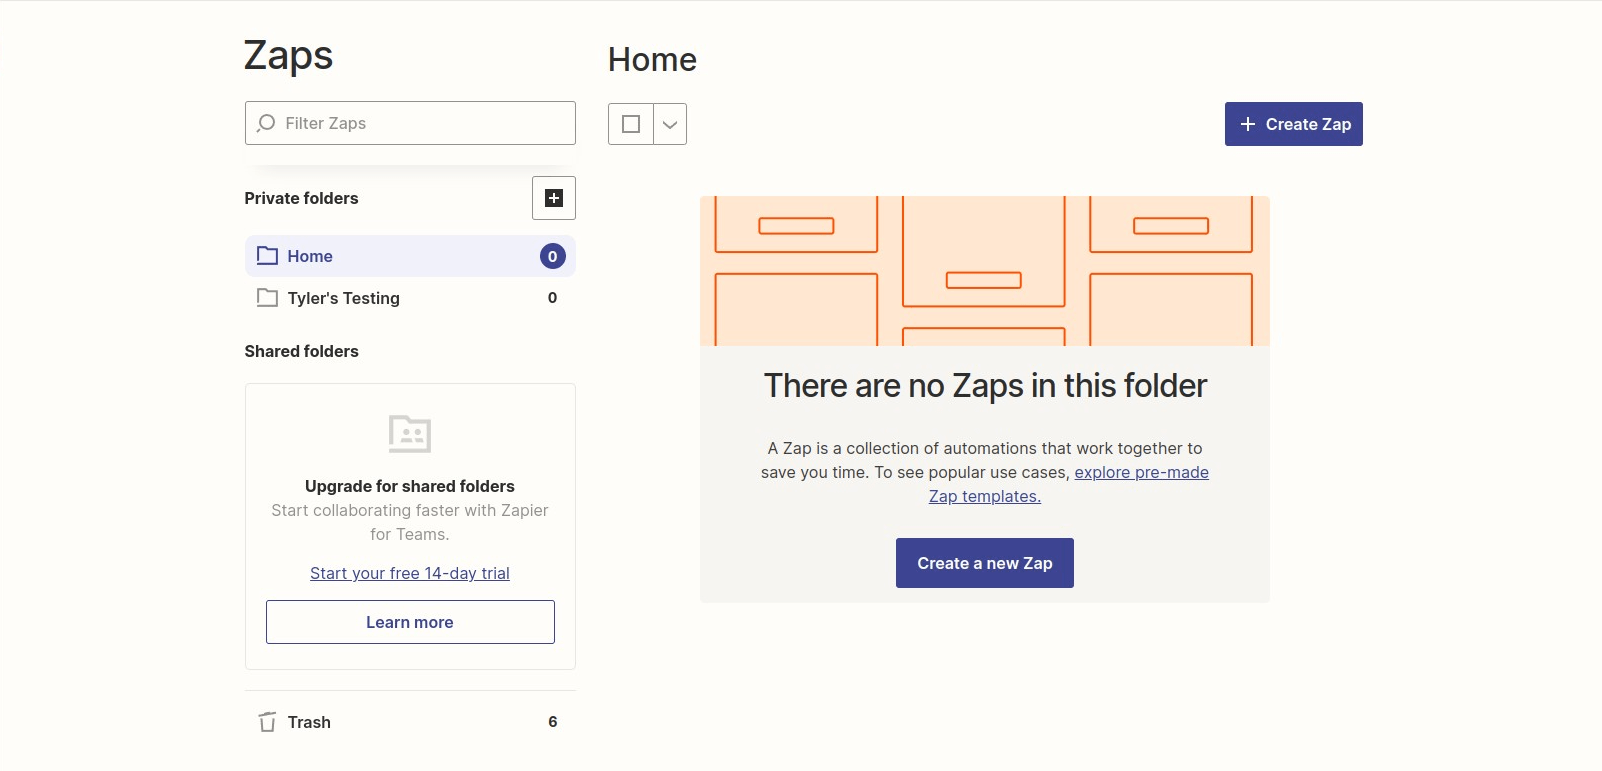
Step:1 Login and Start Creating a Zap
The first thing you will need to do is log in to your Zapier account and click on the “Create Zap” button.
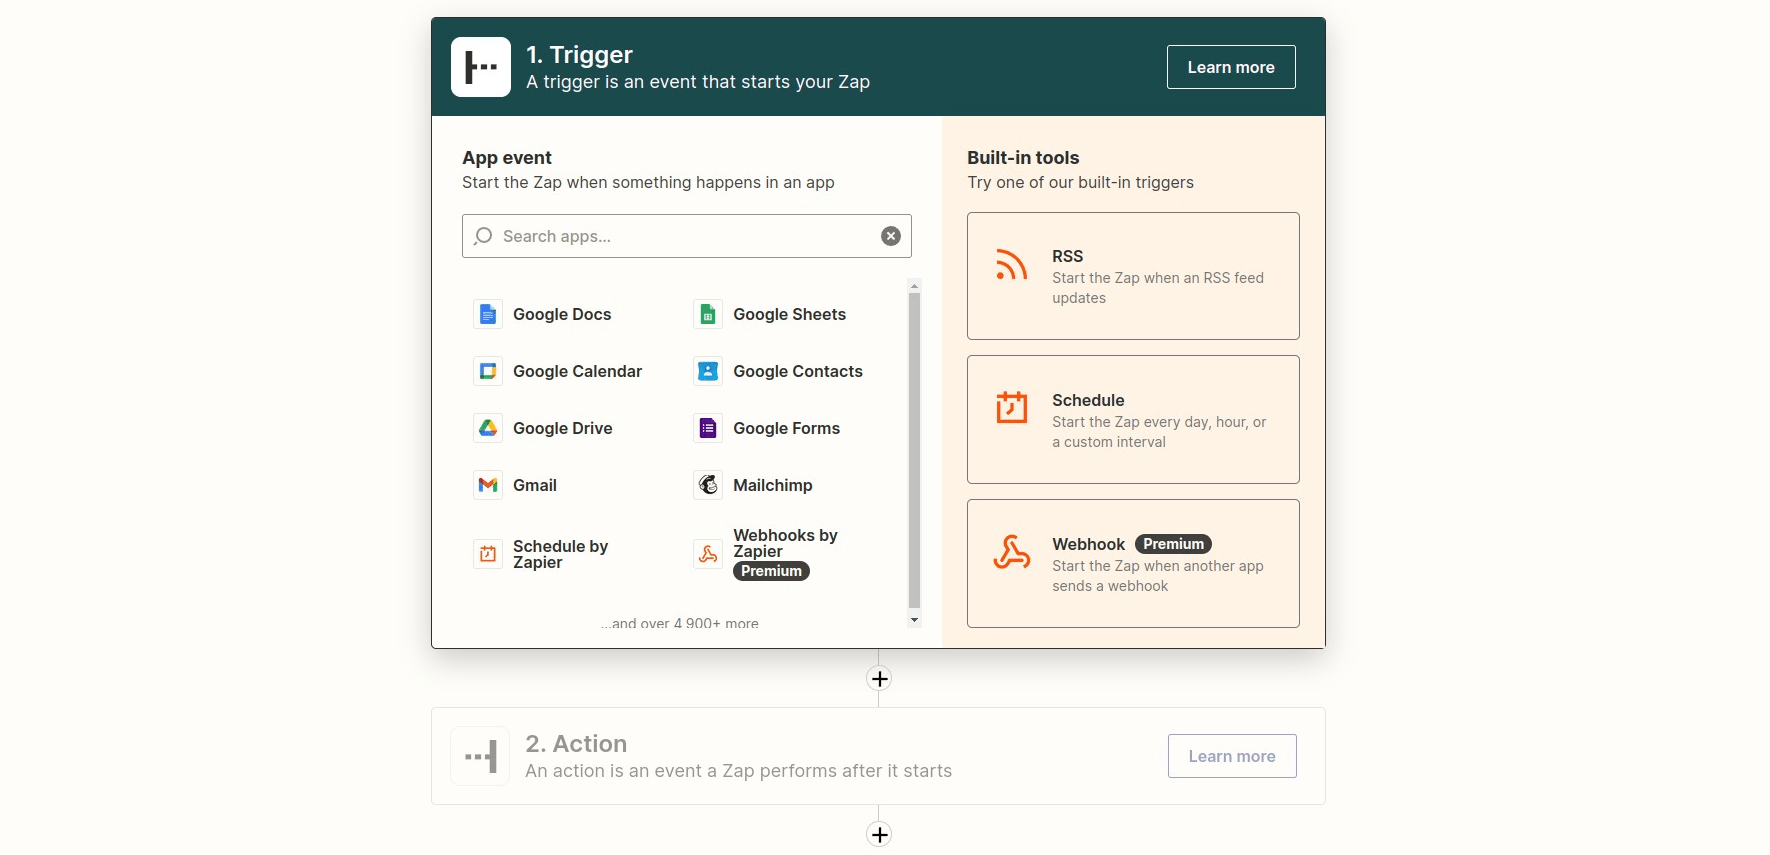
Step 2: Creating a MemberPress Trigger
Search for MemberPress in the search bar and then click on it once you find it.
Next, you will click the “Member Signup Completed” option. Then click the Continue button.
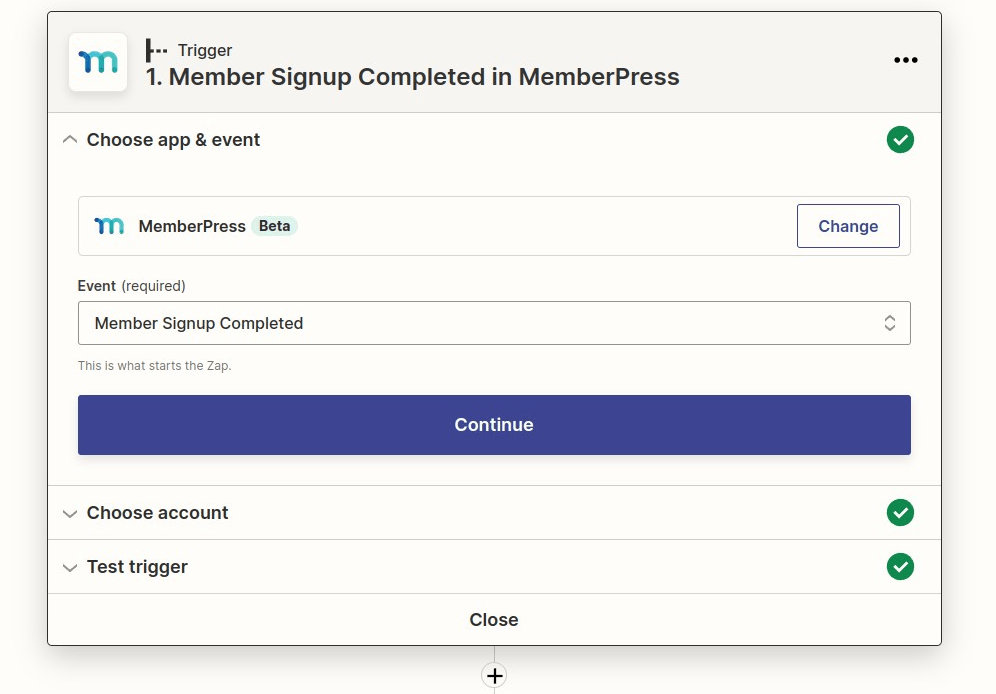
Connect your MemberPress account if you haven't done so already and then click continue.

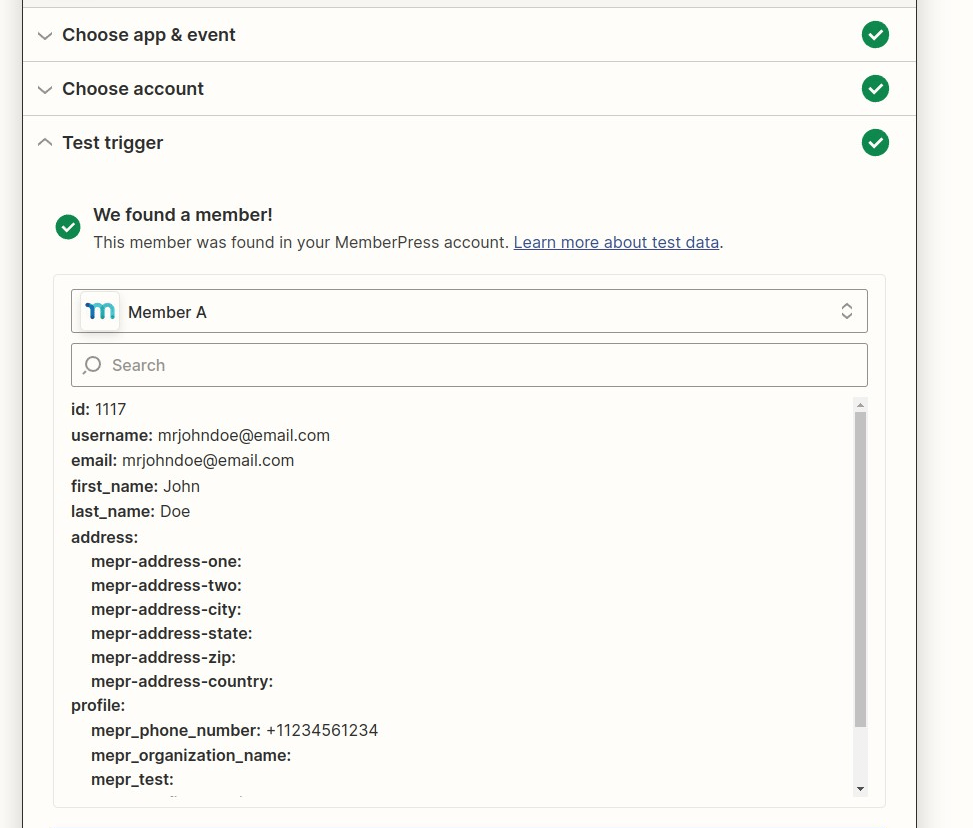
Test your trigger so that Zapier can pull in the latest transaction which has been completed on your site. When finished, click Continue.
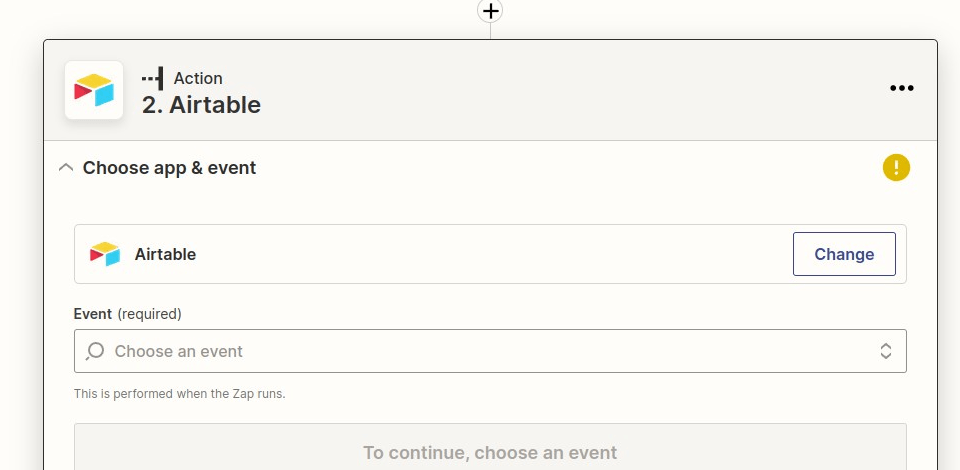
Step 3: Create an Airtable Action Trigger
Search for Airtable and select it.
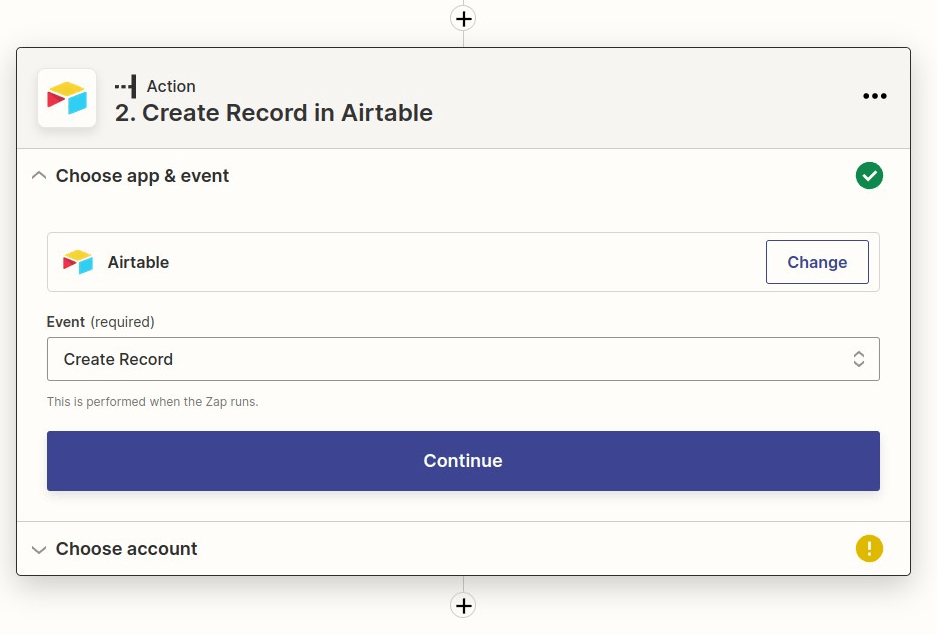
Then you will select “Send Email” and then click Continue
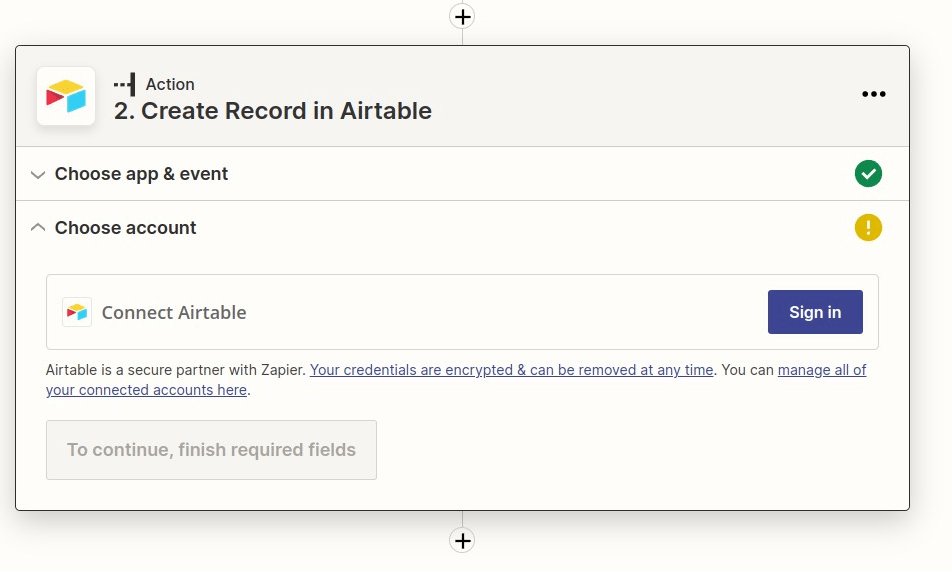
You will want to connect your Airtable account to the Zap if you haven't done so already and then click Continue.
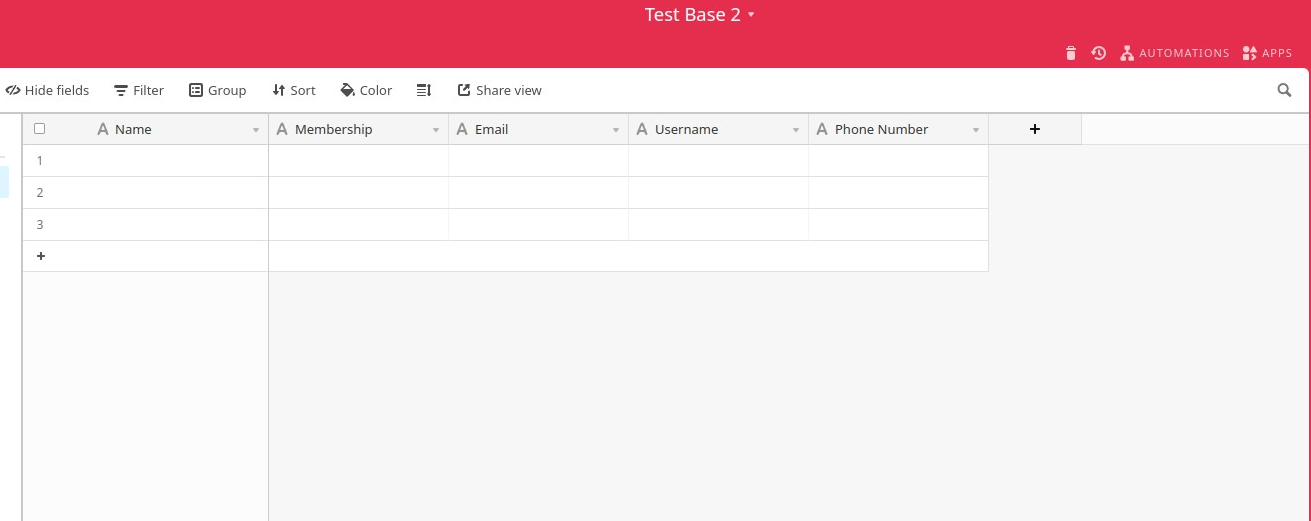
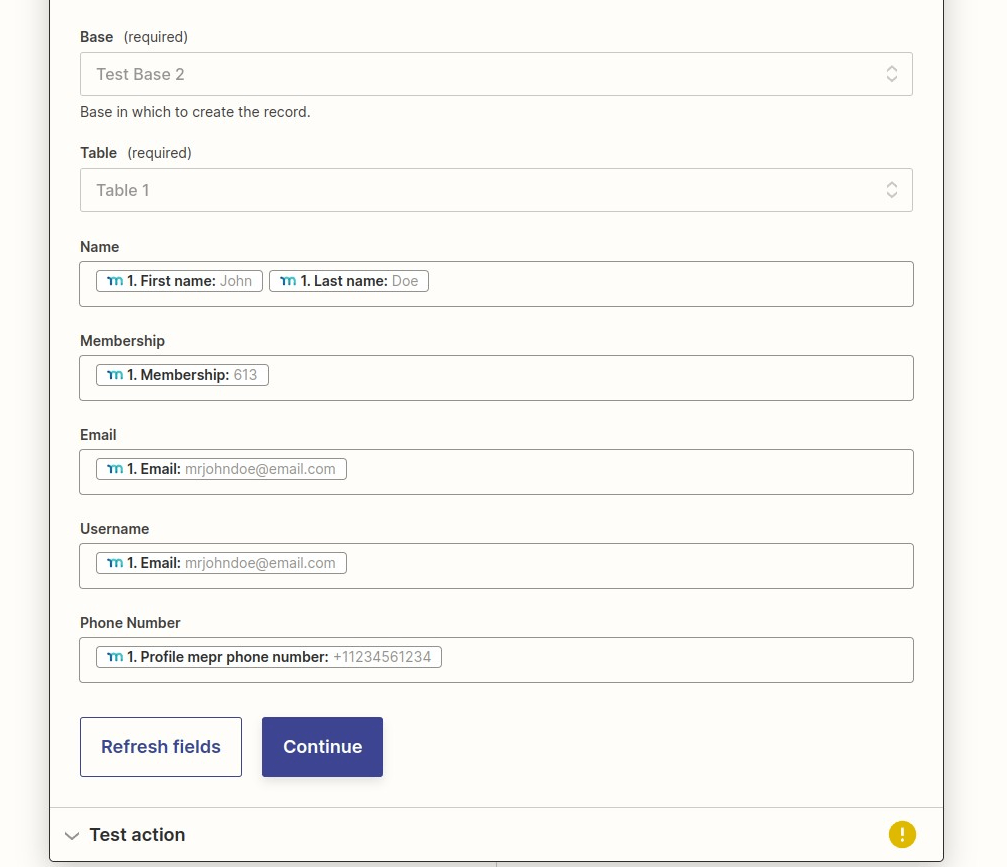
Once you have created a base and a table within the base that you want your data stored, you will want to create different fields of data you would like to be sent to Airtable.
Go back to Zapier and fill out the base, table, and all fields you would to be sent. Any fields created in the table in Airtable will be an option to be sent over including custom fields in MemberPress. Click Continue when done.
Send test to Airtable to ensure the data is sent properly and creates a new record.
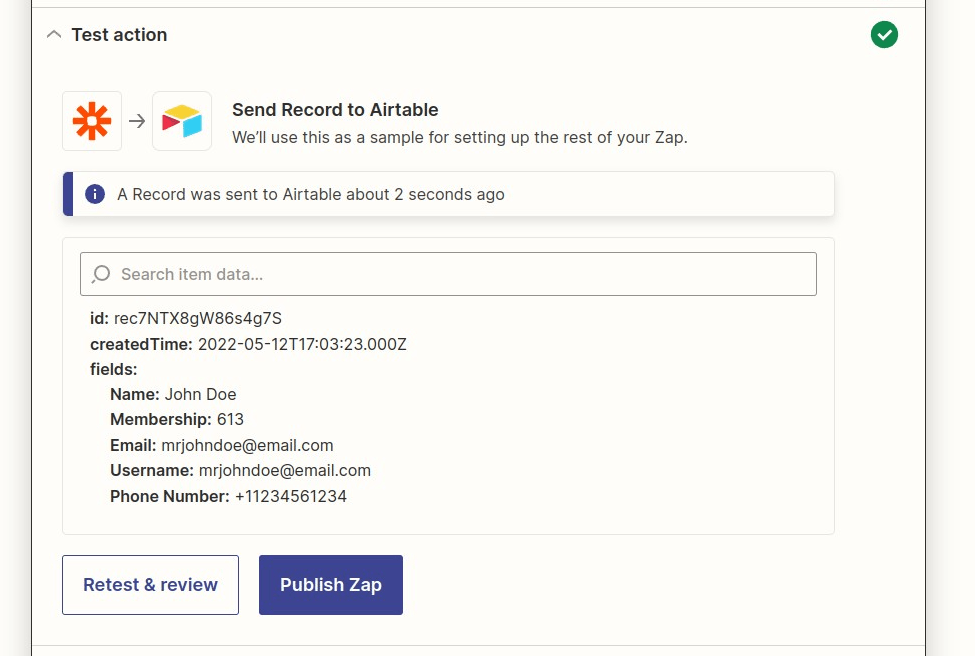
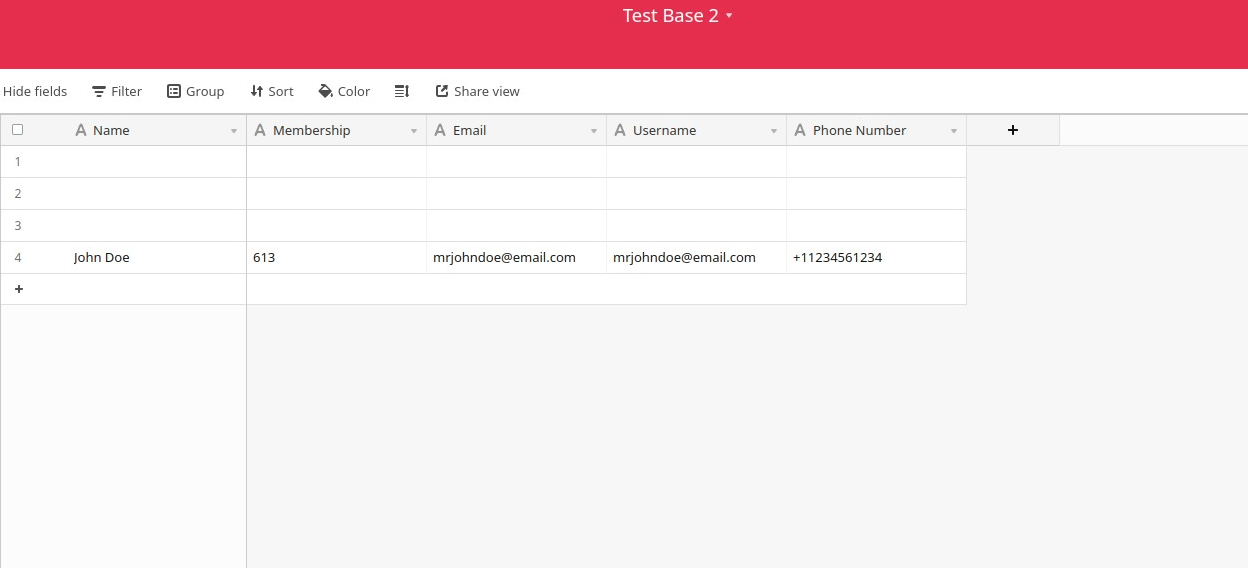
Check in Airtable and make sure everything worked correctly and you received all the proper test data. In the example below it shows that custom fields created in MemberPress can be sent as well.
Finally, go back to Zapier and click Finish, name your Zap and turn it on.
Congratulations, you have just created a zap with MemberPress and Airtable!


