We are often asked if there is a possibility of sending a follow-up ticket in Zendesk when a Subscription has stopped. Here are some instructions on how to easily make this possible by using Zapier to create a Zap with MemberPress and Zendesk.
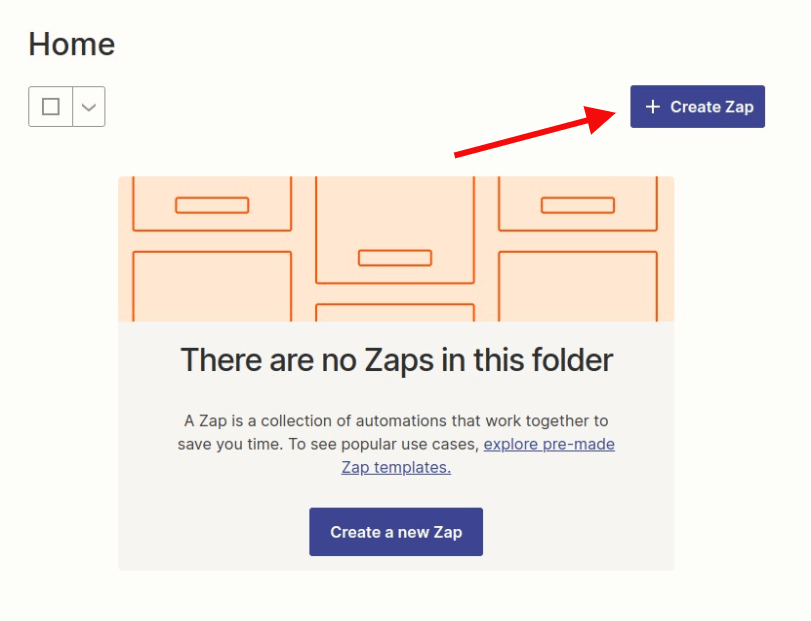
Step:1 Login and Start Creating a Zap
The first thing you will need to do is log in to your Zapier account and click on the “Create Zap” button.
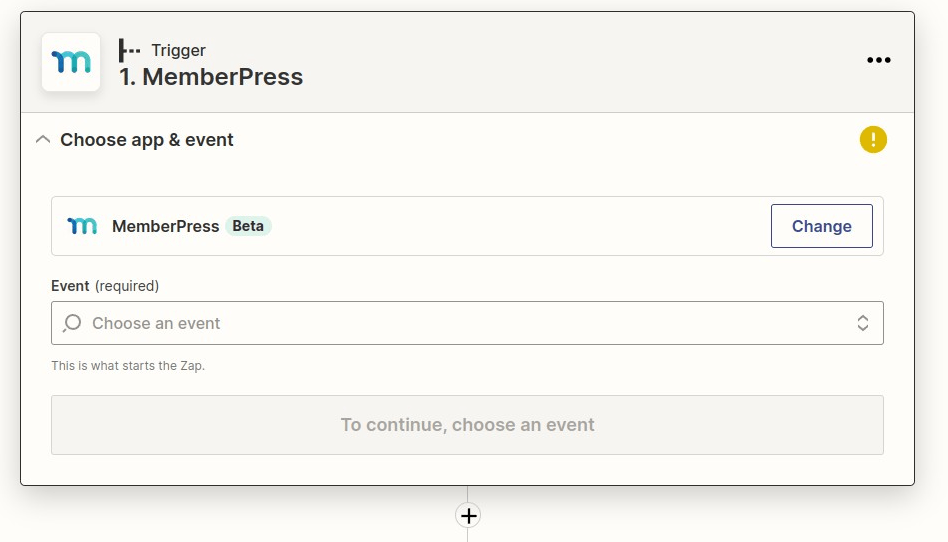
Step 2: Creating a MemberPress Trigger
Search for MemberPress in the search bar and then click on it once you find it.
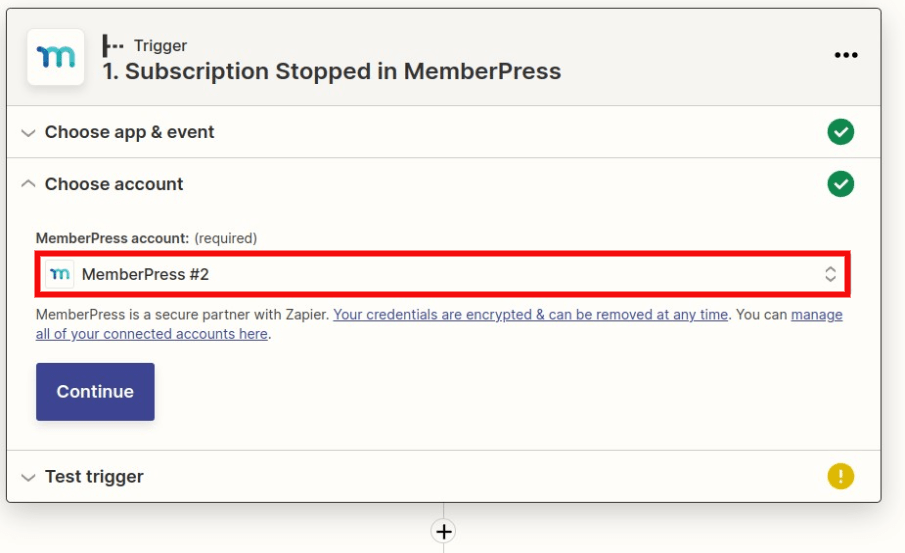
Next, you will click the “Subscription Stopped” option. Then click the Continue button.

Connect your MemberPress account if you haven't done so already and then click continue.
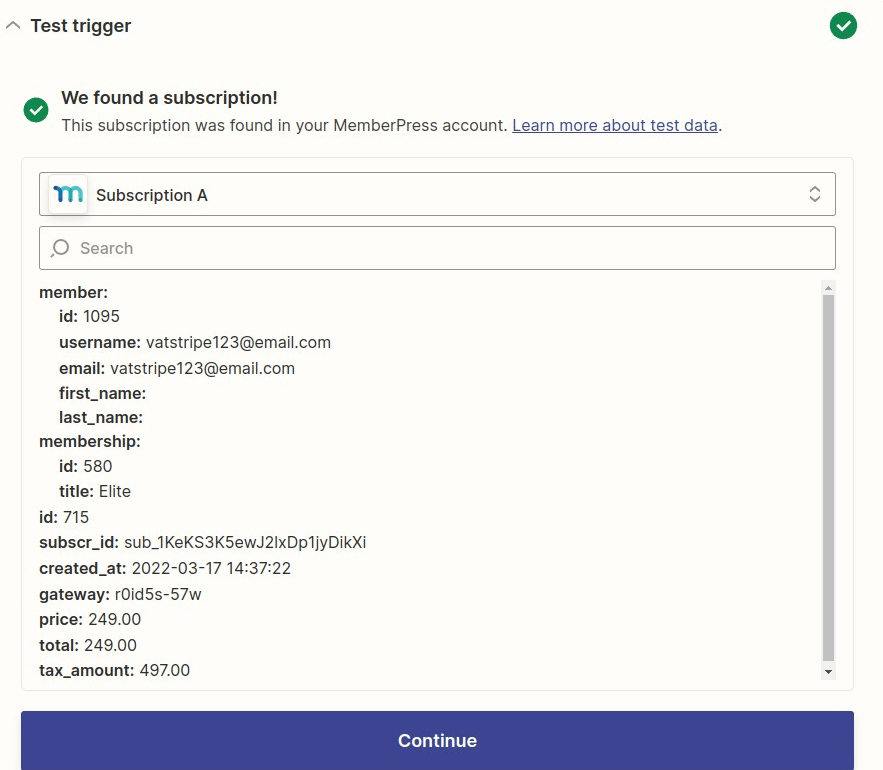
Test the trigger so that Zapier can pull in a subscription that has been cancelled. When finished, click Continue.
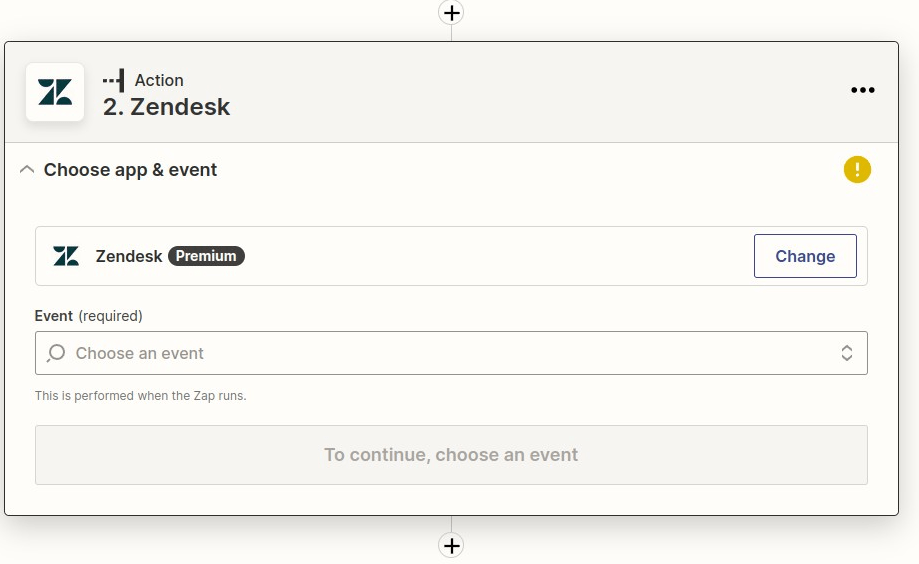
Step 3: Create a Zendesk Action Trigger
Search for Zendesk and select it.
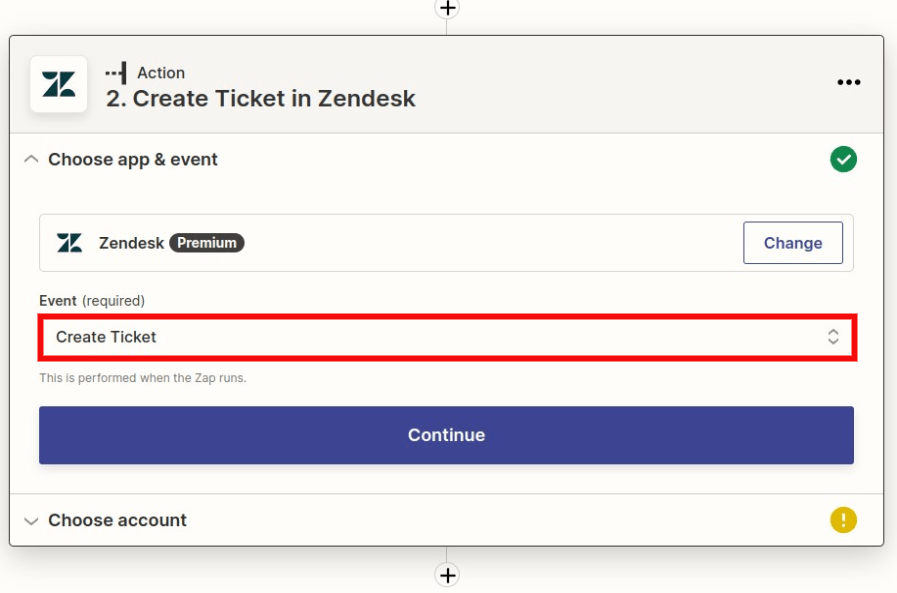
Then you will select “Create Ticket” and then click Continue
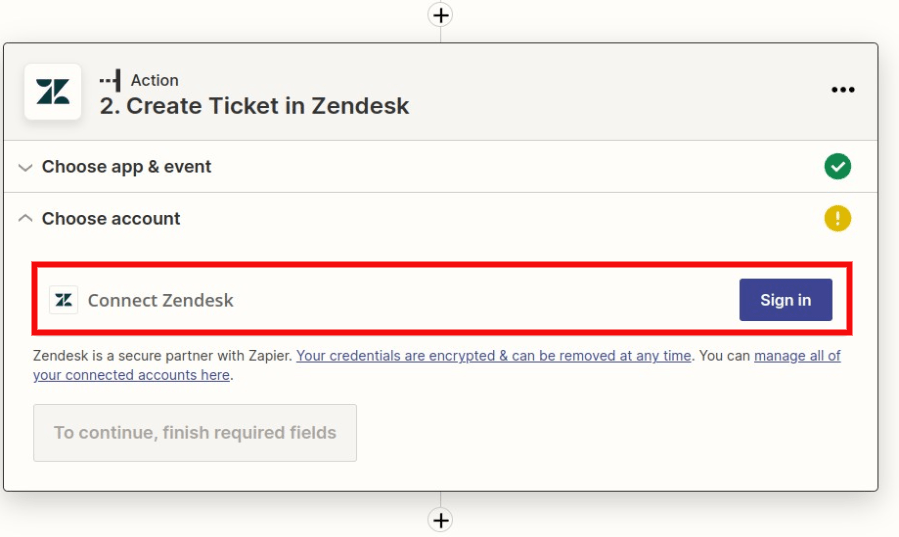
You will want to connect your Zendesk account to the Zap if you haven't done so already and then click Continue.
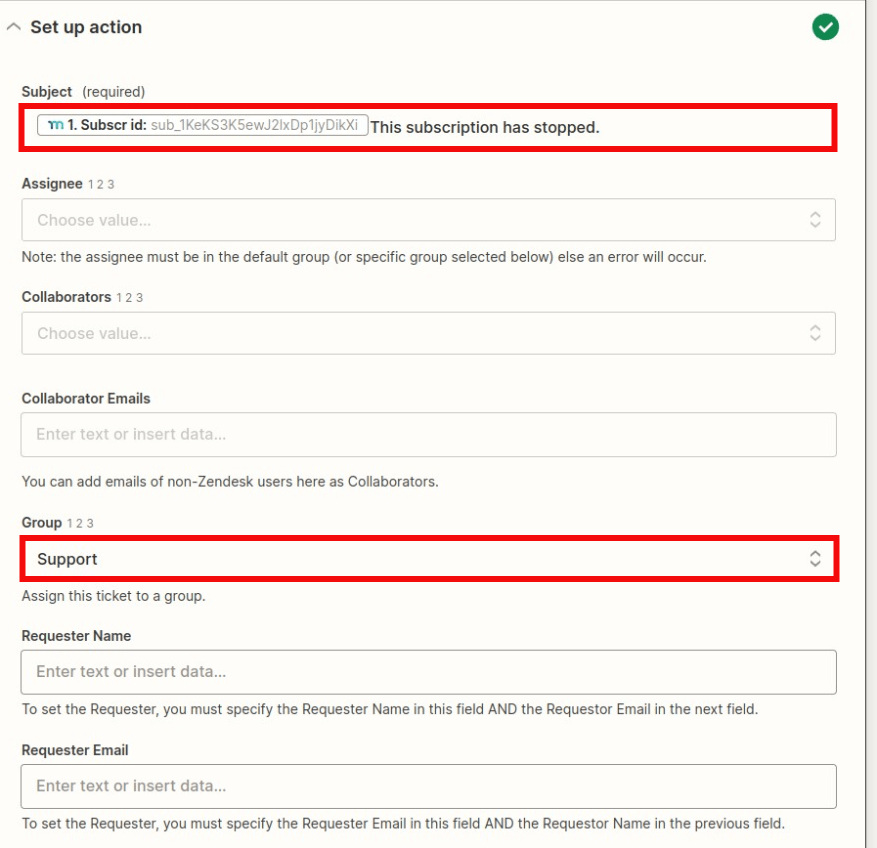
Next, you will want to fill out all the required fields and set whatever optional fields you would like. The optional group setting is set to which group will receive the ticket in the example below along with the required field.
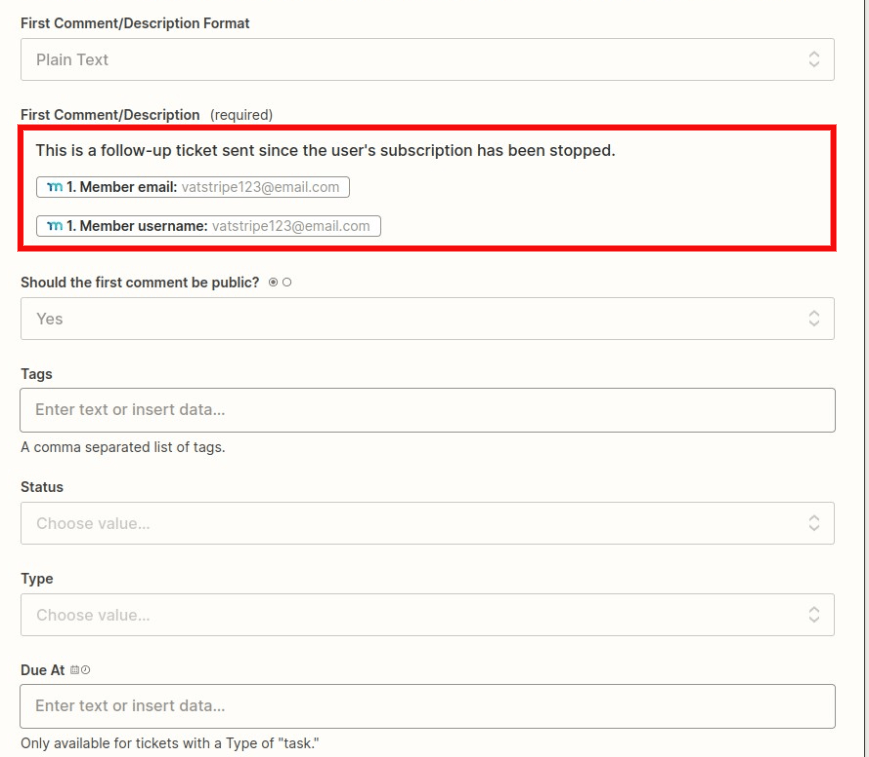
There is one more required field that needs to be filled out before proceeding which is the “First Comment/Description” field. Once everything is filled out the way you like, click Continue.
Next, test the action

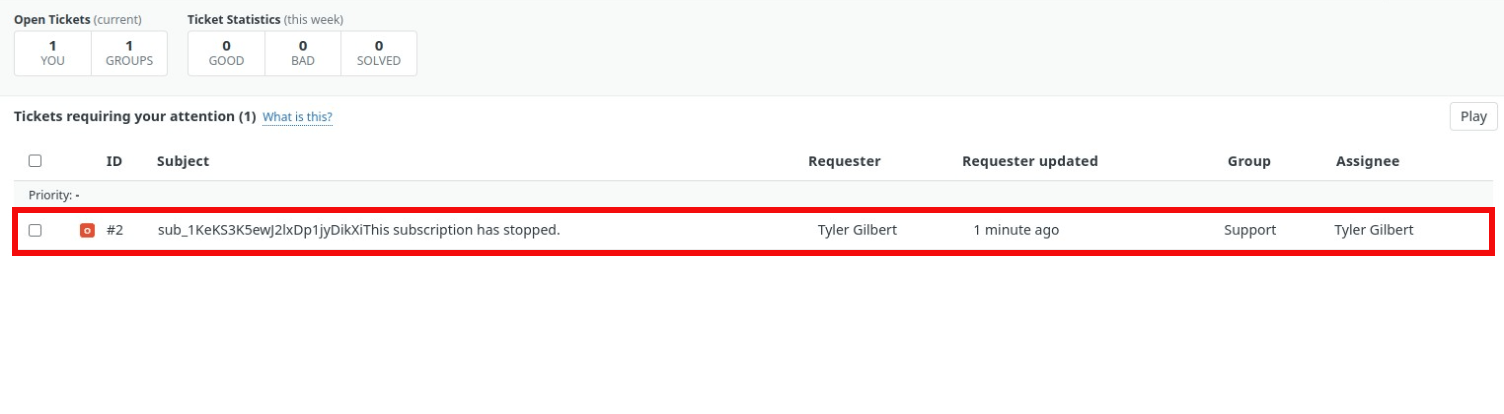
Check in Zendesk to ensure the ticket was sent over properly after the test. The example below shows the optional group set for the ticket to go to once sent which was Support.
Finally, go back to Zapier and name your Zap and click the “Publish Zap” button.
Congratulations, you have just created a zap with MemberPress and Zendesk!


