Video Overview:
Written Step-by-Step Instructions:
Step 1 – Install and activate the Loco Translate plugin
In your dashboard, head to Plugins -> Add New section. Type “loco translate” in the search box.
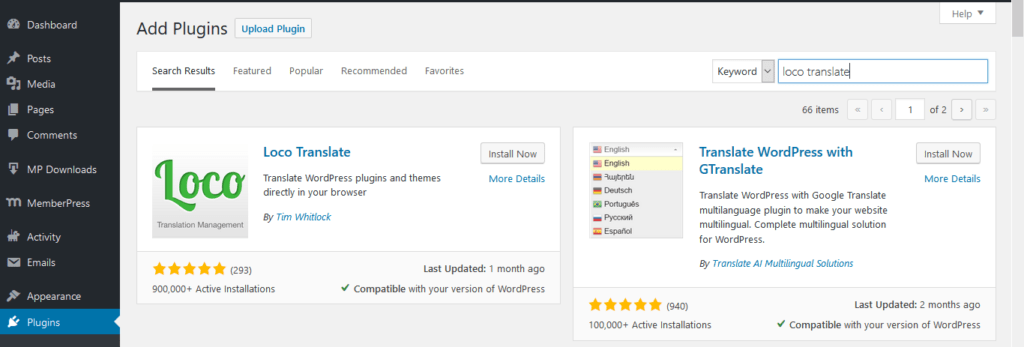
Install and activate the plugin.
Step 2 – Prepare for translating MemberPress
Once you get back to the Plugins section of your Dashboard, you'll notice that every plugin, including MemberPress, now has an additional field – Translate.

Click Translate next to the MemberPress plugin, and you'll be presented with the new screen.
As you can see, MemberPress comes with a complete translation into the Spanish language.
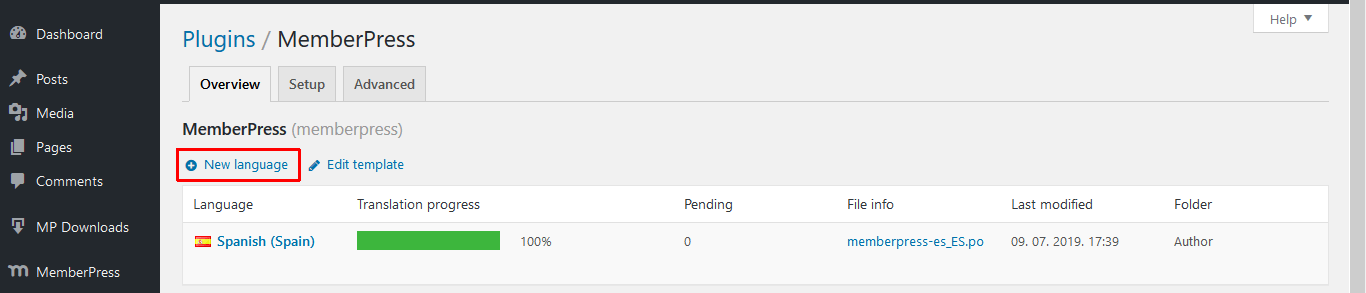
You can click the “New language” link and add any language you want, but for that language to show up on the front end, it must match the language selected in the Settings -> General section.
However, we'll show you how to use Loco Translate to change any English text to some other English text.
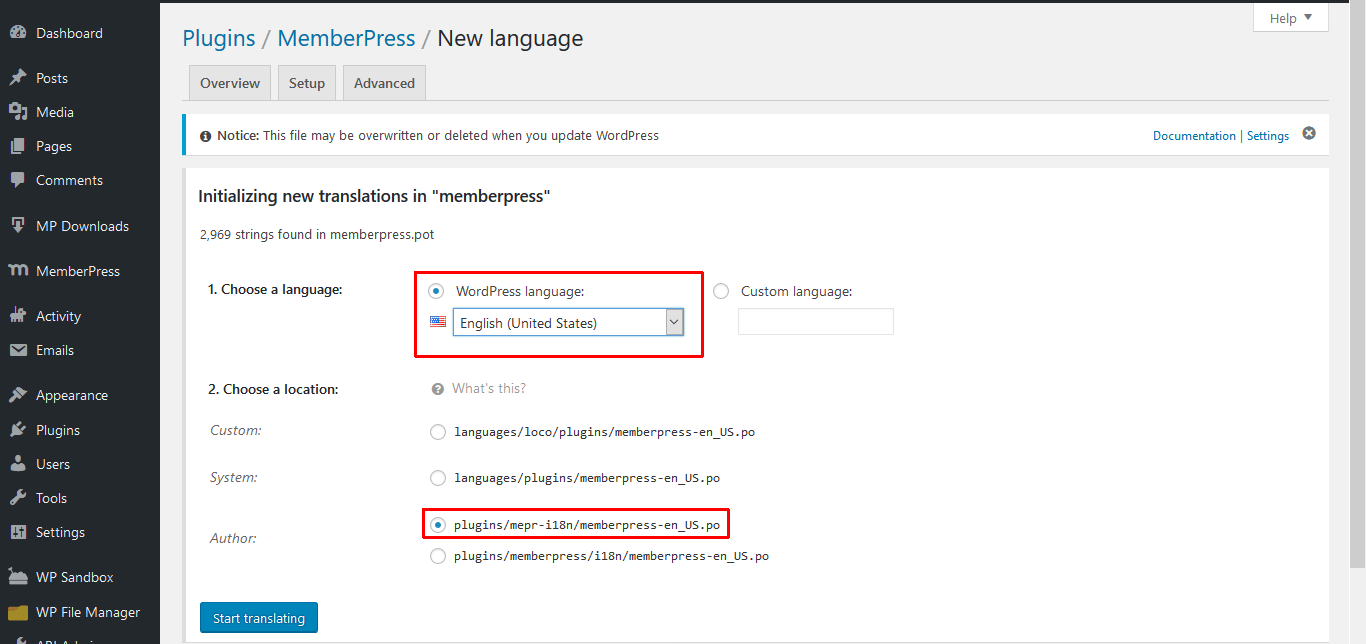
Ensure that the English (United States) corresponds to the language selected in the backend and that the location corresponds to the one in the screenshot above. Then click the “Start translating” button.
You should get this screen:
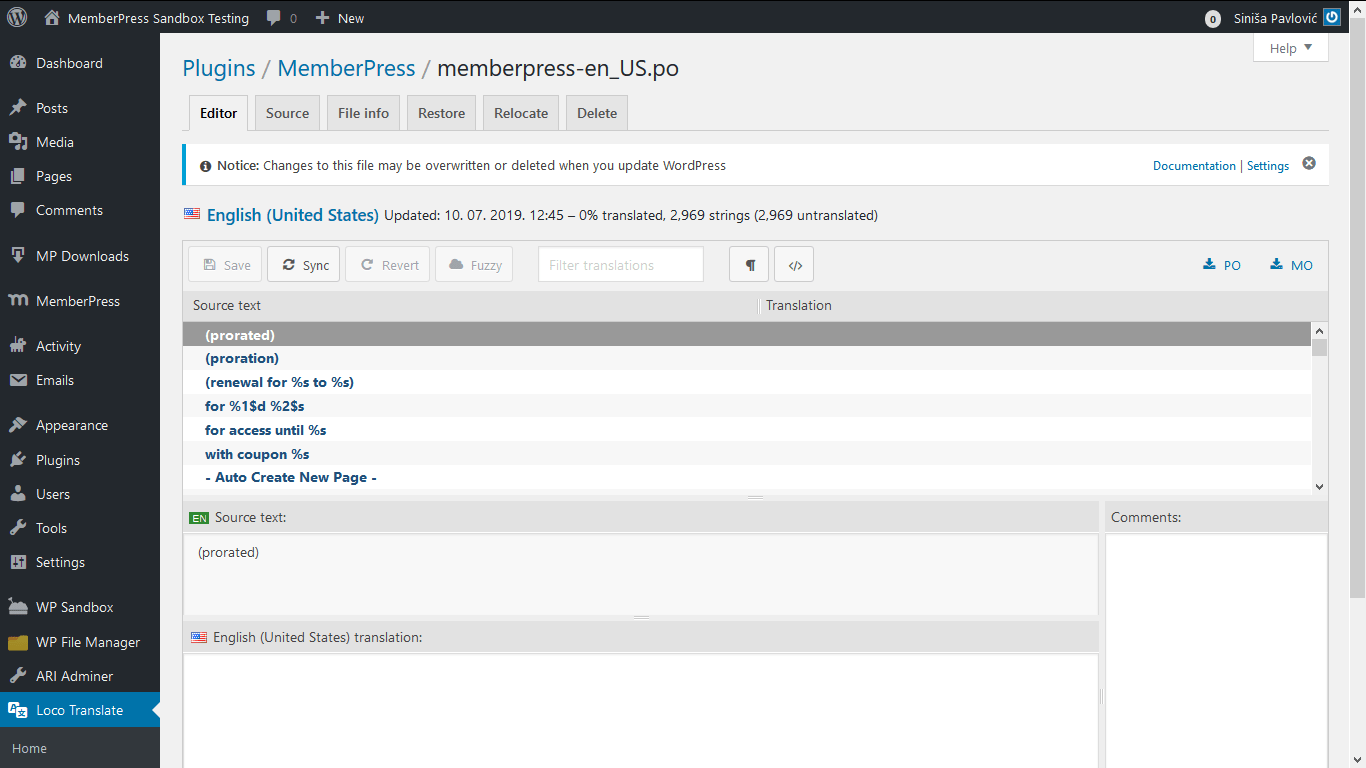
Step 3 – Start translating MemberPress
Once you get the above screen, you can start translating MemberPress.
Simply type what you'd want to start with in the “Filter translations” box. For example, let's say you want to change “coupon” to “voucher”. You'll get the results like this:
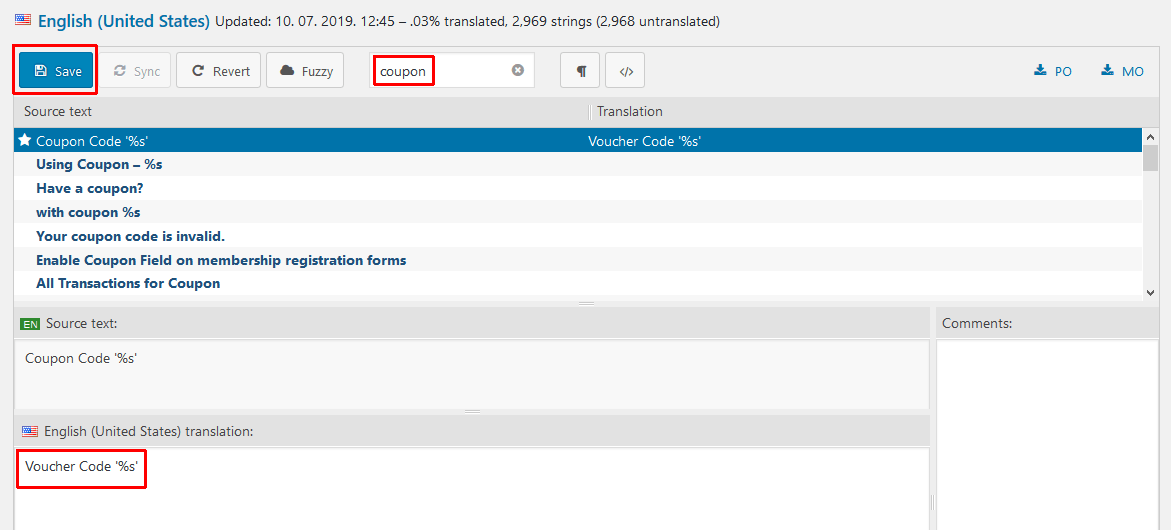
Click on the line you want to change, and type new text in the translation box. Please note that if the original string contains some special characters, in this case, it is ‘%s' that it must be preserved in the translated text. It doesn't need to be in the same place, especially if you're translating MemberPress to some other language, but it must be preserved, or you might face missing text and other errors caused by that.
You'll notice that the string that you've translated/changed will get a star symbol next to it.
When you finish changing all the strings you want to modify/translate, click the “Save” button.
That's it; you should be able to see the change in the front or backend, depending upon where that string is located.
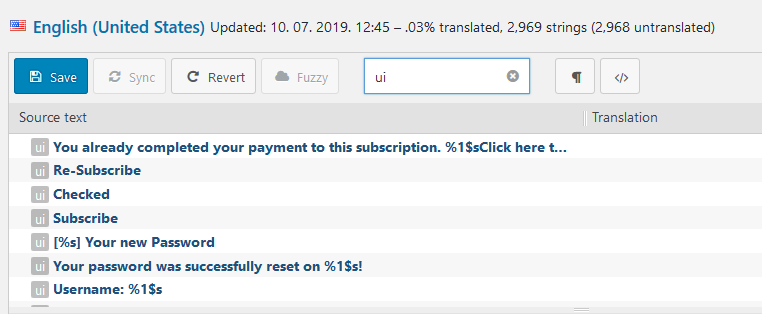
You can also search for UI, and it will show you the list of all user interface strings.
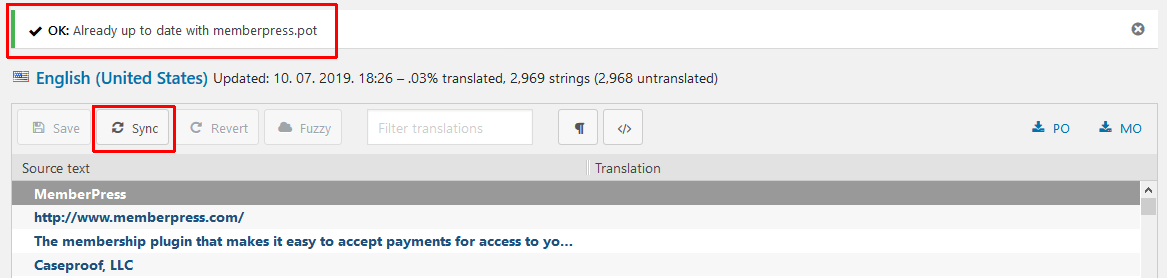
Step 4 – What to do when MemberPress gets updated
Any new update might bring some new strings, or some strings from the previous version could be removed, so you'll need to resync your translation with the current memberpress.pot file. You can quickly achieve that by clicking the Sync button and waiting for it to finish. The appropriate message will be displayed as well.
That's it. Happy translating/changing strings, and have fun!
Once you complete changing or translating the strings, you can deactivate Loco Translate if you prefer keeping the number of active plugins at a minimum, and the changes should stick.
NOTICE: If you run into any issues with the Loco Translate itself, please check out this page first.


