If you want to customize the way that your menu interacts with your users, based on their membership level, we recommend using one of the following third-party plugins:
This will require setting up custom roles for each of your memberships. The instructions below will walk you through that process. At the end of the article, there are links to directions to use those roles in either Nav Menu Roles or User Menus.
Note: Both Nav Menu Roles and User Menus have options for displaying menu items based on if a user is logged in or not. So you only need to follow the process below if you need separate menu items based on membership level.
Create Membership Specific Custom Roles
We recommend using Members to create custom roles. But you can use any plugin that allows you to create a custom role. The following instructions are specific to the Members plugin.
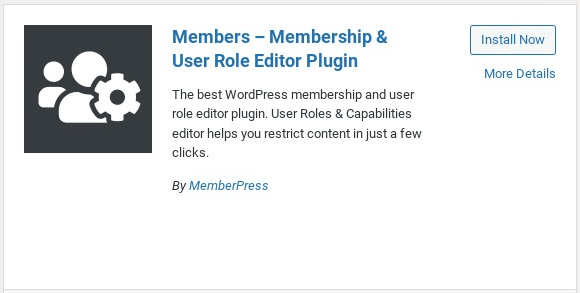
- Install and Activate the Members plugin
- Go to the Members->Edit
- Find the default role – it will usually be “Subscriber”
- Hover over the default role and click the “Clone” link

Note: You can also copy a different role, or create one from scratch, but we find that cloning the default role is the easiest way to get started.
- Rename the new role

Note: We recommend something that will match the membership that the role will be assigned to, such as the membership name.
- Click the “Add Role” button
- Go to MemberPress->Memberships and edit the membership that the new rule belongs to
- Scroll down to “Membership Options” and click the “Advanced” tab
- Enable “Use Rolse for this Membership”

- Select the new role you created and click the “Update” button.
- Now users who sign up for this membership will receive this role. For more information on how this works, see also: Membership Options Overview
- Repeat these steps for each membership that will have different menu items.
Configure the Menu
Based on the plugin you use the steps will be slightly different.


