If you prefer to design your site with either the lite or standard Beaver Builder plugin, the MemberPress Beaver Builder integration add-on will allow you to protect any part of your design based on MemberPress rules.
This documentation will show you how to install and use the Beaver Builder add-on for MemberPress and how you can protect your content. The Beaver Builder add-on is available on all MemberPress plans.
Installation
To install the MemberPress Beaver Builder add-on, log in to your WordPress backend, and navigate to Dashboard > MemberPress > Add-ons.
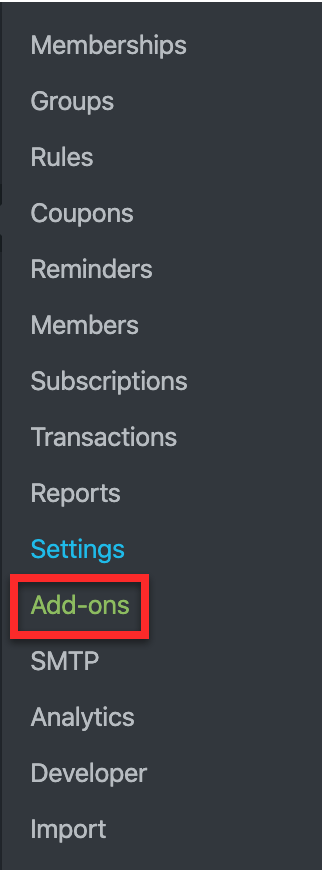
Next, scroll to find the Beaver Builder integration for MemberPress, then click on the Install Add-on button. This will automatically install and activate the add-on.

Once you have both the Beaver Builder integration for MemberPress and the Beaver Builder lite or standard plugin installed and active, you’re ready to paywall your content!
Now you can create content on your pages and posts using the Beaver Builder. To edit a page or post with Beaver Builder, navigate to the post or page default Block editor, and click on the “Launch Beaver Builder” button:

Protecting Content In Beaver Builder
To protect your content, first, you’ll need to create rules in MemberPress. You can find more details on how to create MemberPress rules here. You can use only one rule, but also you can create several rules and hide or show different parts of your design to users with different memberships.
Once you’ve set up your rule(s), go back to the Beaver Builder on your page or post, to apply the rules to your content. MemberPress rules can be applied to:
- Beaver Builder Rows
- Beaver Builder Modules
As an example, we’ll show you how to protect a Beaver Builder Row. Please follow these steps:
- Navigate to your page or post, and start editing it with the Beaver Builder;
- Hover over the row you want to protect, and click on the wrench icon (Row Settings);
- Next, click on the MemberPress tab to open the settings;
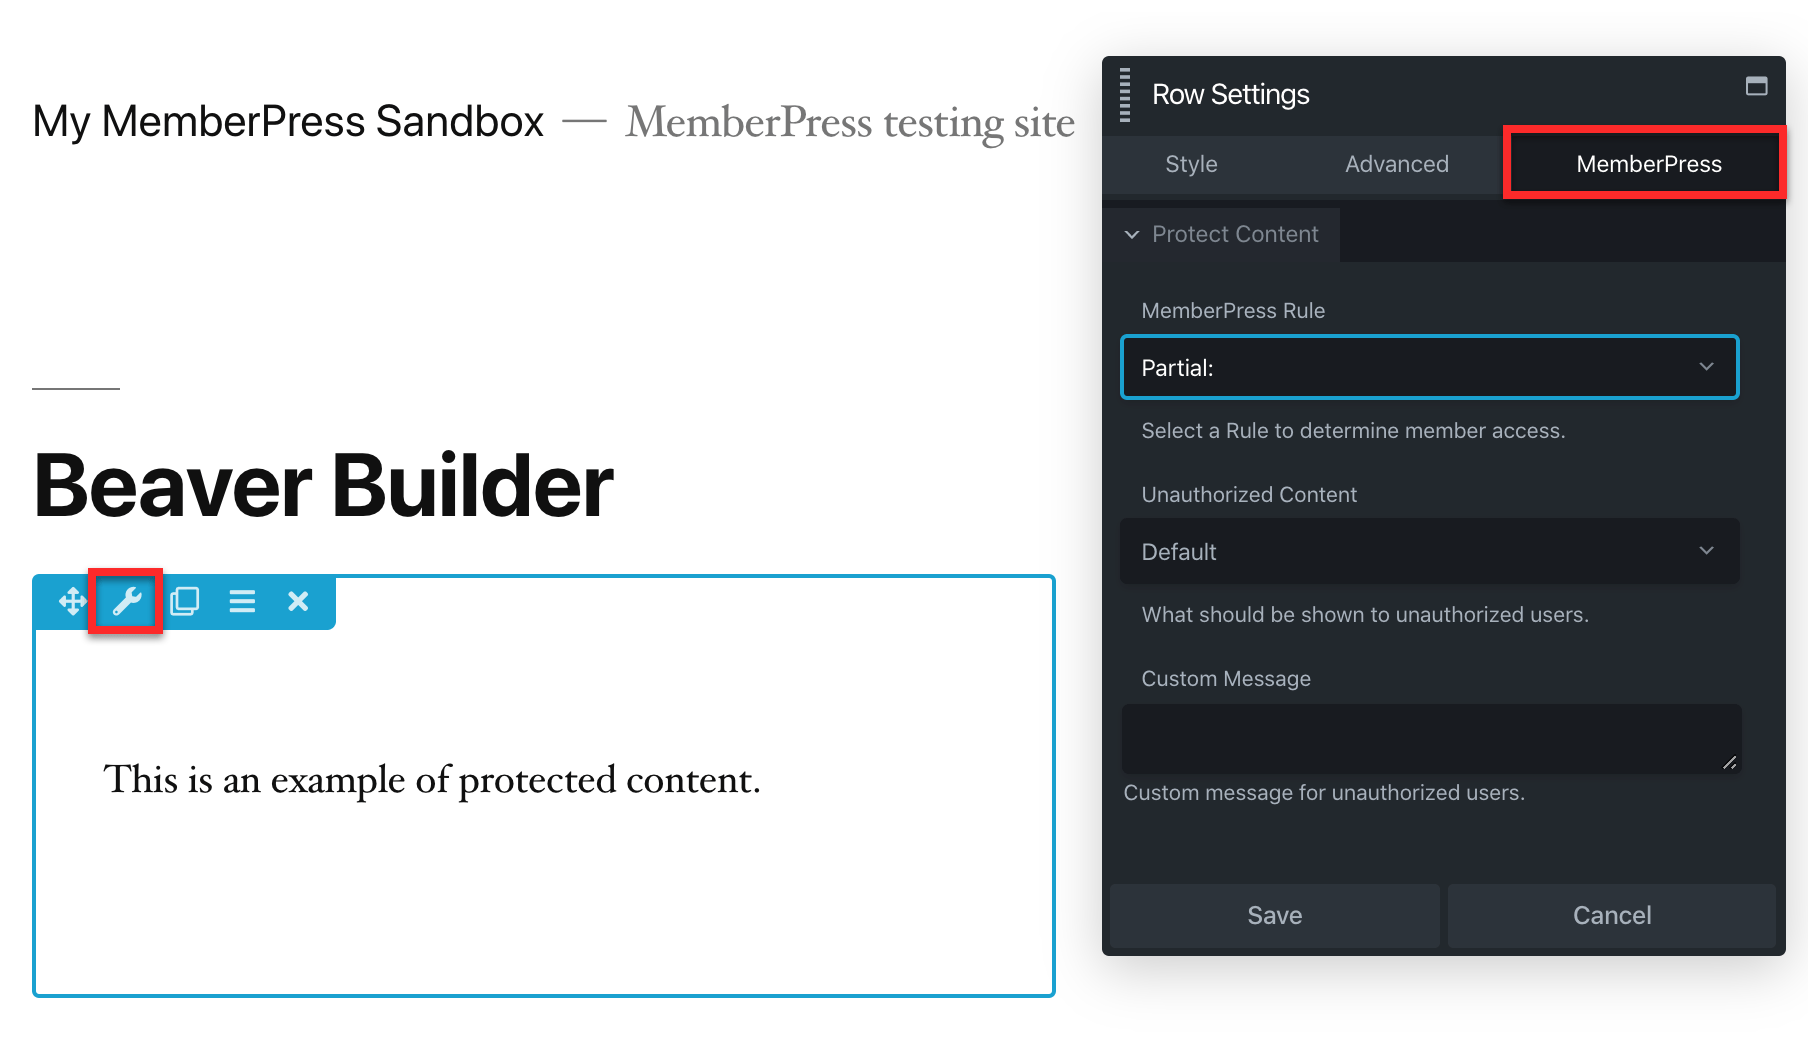
- Choose the MemberPress rule you want to apply to this row. You’ll most likely want to use a “Partial” rule to protect different parts of the page or post;
- Once you’ve selected the Rule, choose one of three options from the Unauthorized Content dropdown to determine what non-authorized users will see if they attempt to access your content:
- Default: This option shows your default unauthorized message, which can also include the login page.
- Hide: This option completely hides the content from unauthorized users.
- Display Message: This option allows you to show unauthorized users a custom message. You’ll need to create your custom message in the Custom Message field below the Unauthorized Content field.
- Click “Save” to apply the protection to this row.
Also, if you want, you can add the custom unauthorized message specifically for the content (row or module) you protected.
Learn more about paywalling your content in the MemberPress blog.


