We are often asked if there is a possibility of generating a coupon after signup to a specific subscription and send an email with this coupon. Here are some instructions on how to easily make this possible by using Zapier to create a Zap with MemberPress and Gmail.
Step:1 Login and Start Creating a Zap
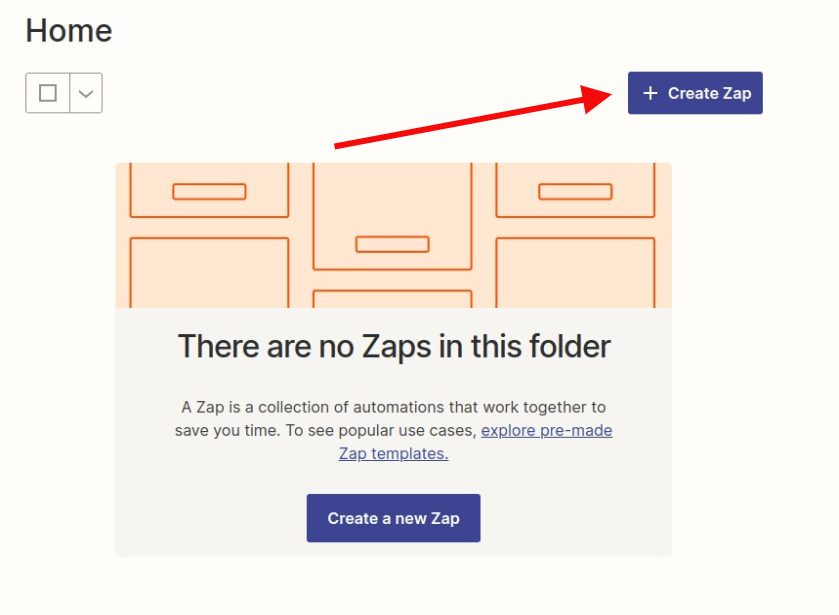
The first thing you will need to do is log in to your Zapier account and click on the “Create Zap” button.
Step 2: Creating a MemberPress Trigger
Search for MemberPress in the search bar and then click on it once you find it.
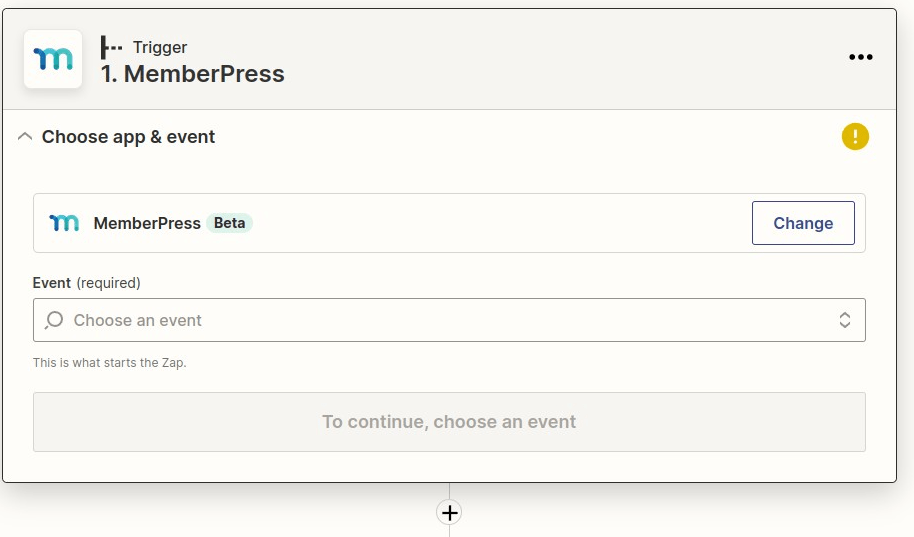
Select the “Member Signup Completed” event in the “Choose Trigger Event” dropdown list. Then click the Continue button.

Connect your MemberPress account if you haven't done so already and then click Continue.

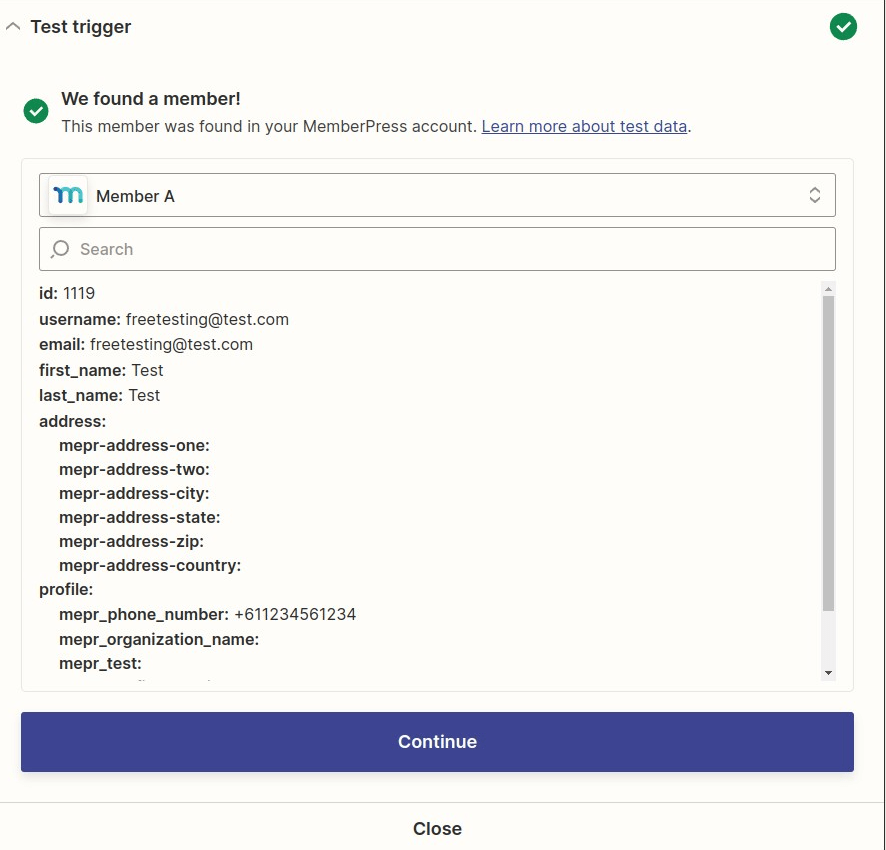
Click the “Test trigger” button to fetch sample data from your MemberPress. The next page shows a sample of data from your site. You can use the default one created or you can search for specific data that you want to test with. When finished, click Continue.
Step 2: Creating Filter Subscription
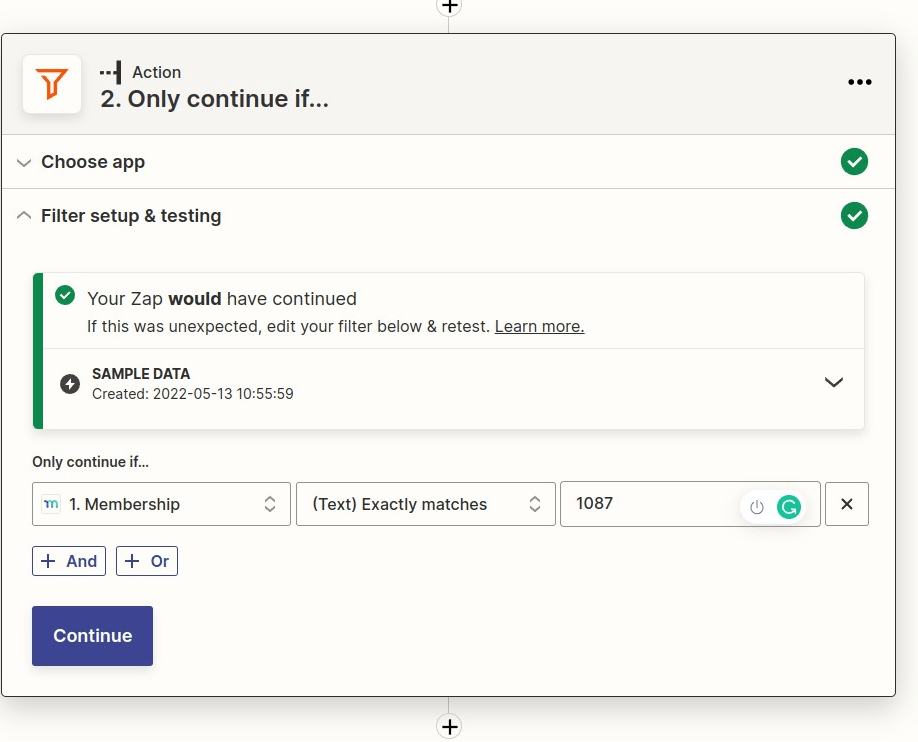
Click + icon and select the Filter step
In the “Choose field” search for “Active Membership ID”. In the “Choose condition” field select “(Text) Exactly matches” and in the “Enter value” enter the membership ID that you want to filter. You will find the membership ID in the MemberPress > ID column
Click the Continue button once it's done. You should see either a successful or unsuccessful message if Zapier found membership with the selected ID in your sample data.
Step 3: Creating a Coupon in MemberPress
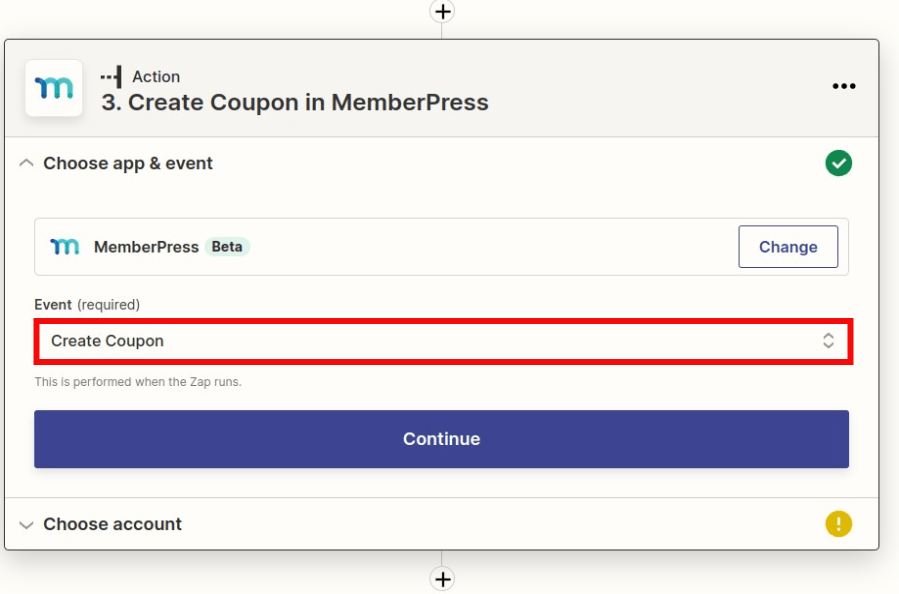
Search for MemberPress in the search bar and then click on it once you find it.

Search for the “Create Coupon” event in the “Choose Action Event” dropdown list. Then click the Continue button.
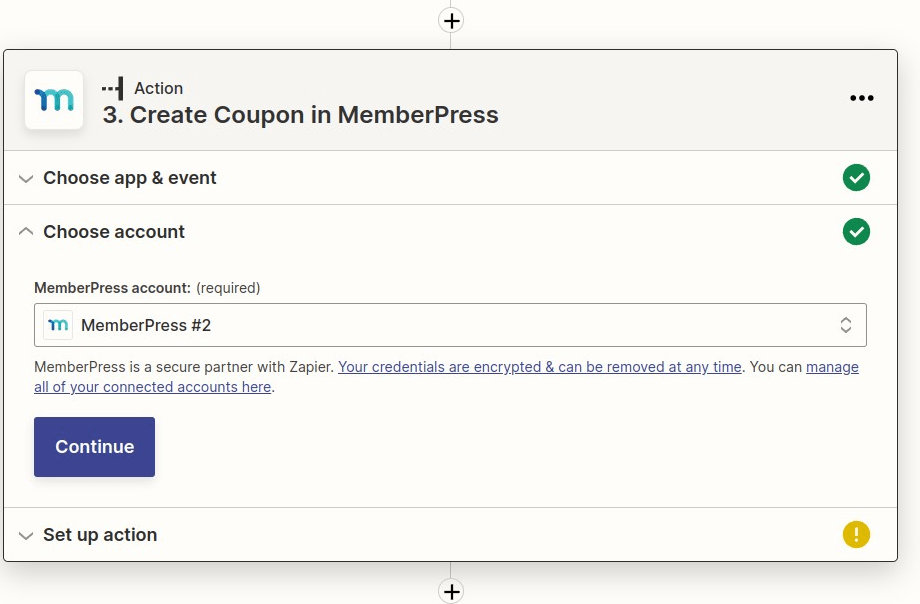
Connect your MemberPress account if you haven't done so already and then click Continue.
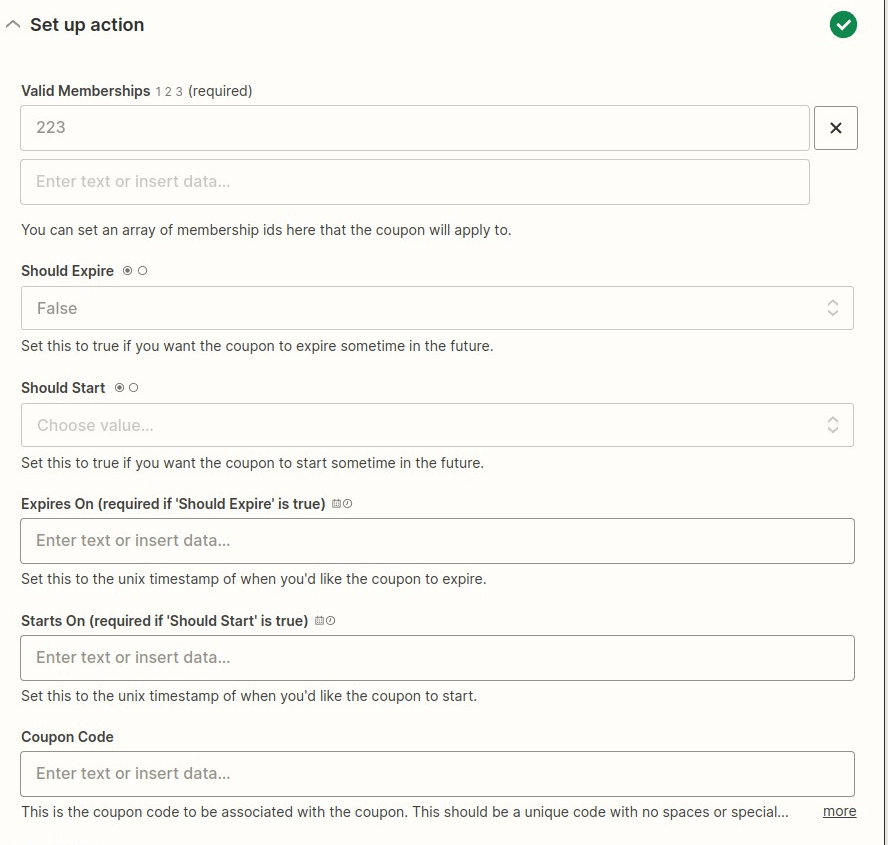
You will see Customize Coupon form that is similar to the option you can find when you create a Coupon in MemberPress. In my example, I created a First Payment coupon that gives a 100% discount on the first payment for the membership with the ID of 223. Please leave “Coupon Code” empty so it will be generated automatically. When finished, click Continue.
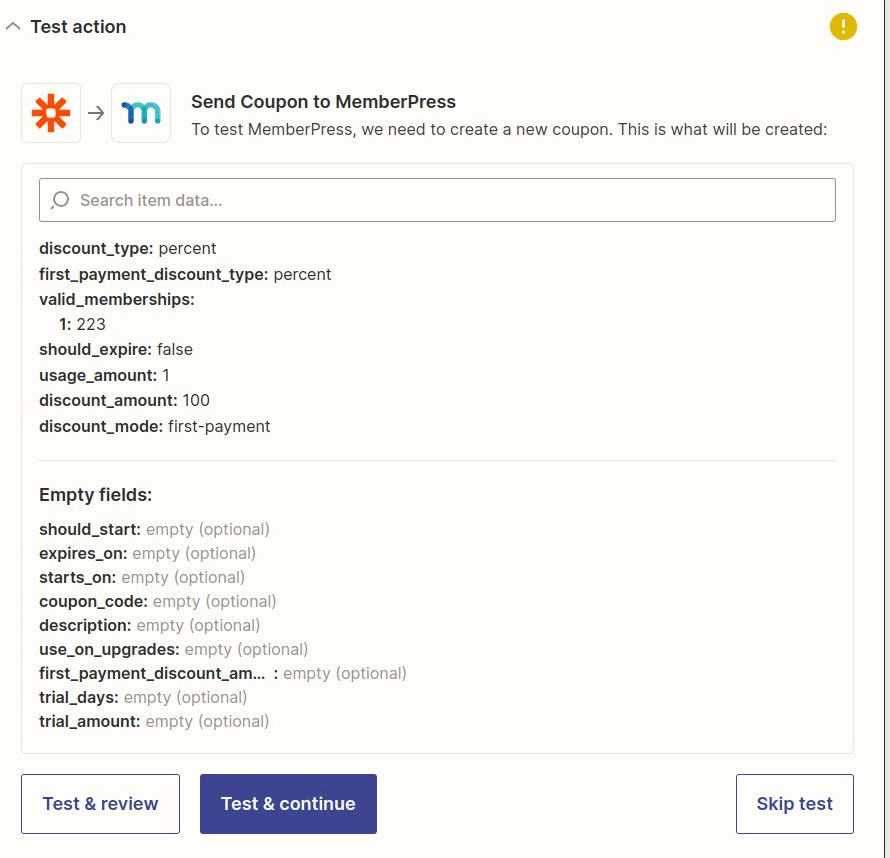
In the next step, you can click Test & Continue button to test if a coupon will be generated and if all data are correct. Once it's done you can click the Done Editing button
Step 4: Creating a Gmail Action Trigger
Click + Icon to add a new step.
Search for Gmail and select it.
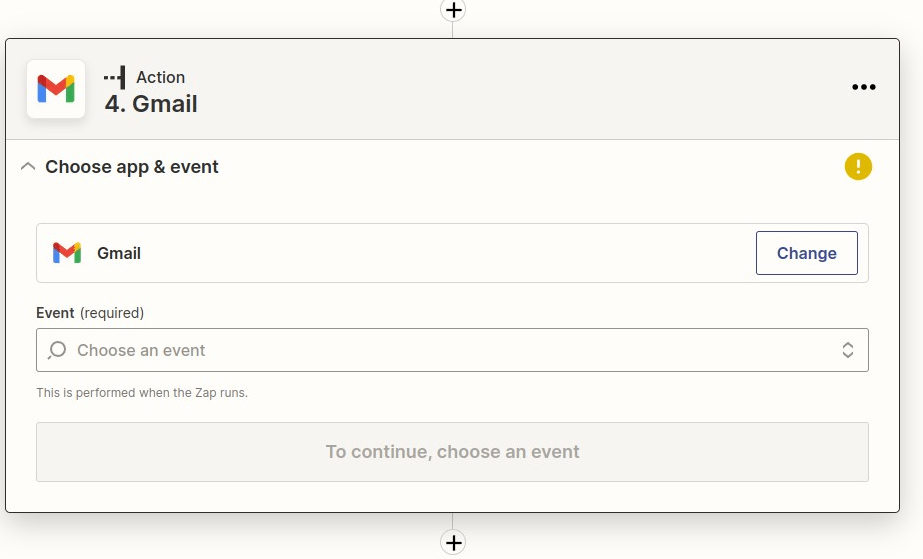
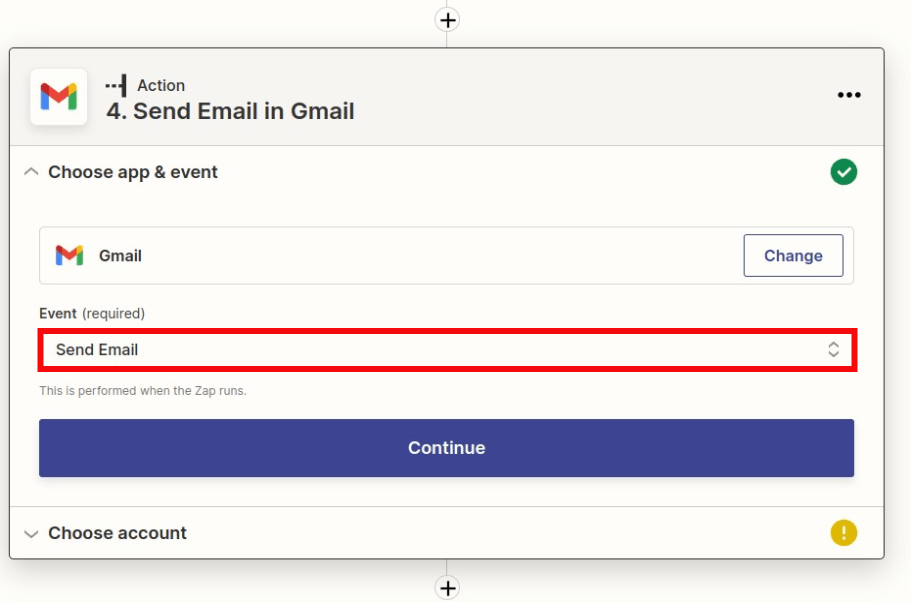
Then you will select “Send Email” and then click Continue
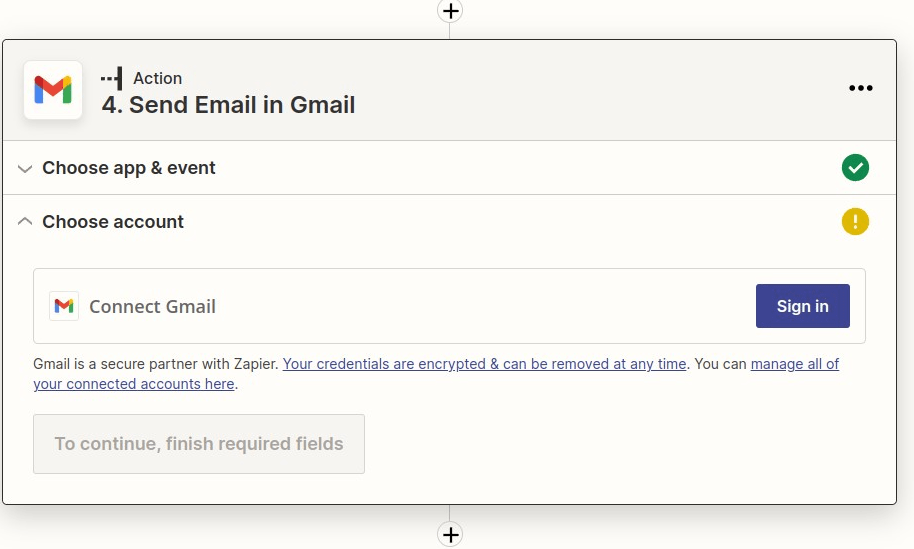
You will want to connect your Gmail account to the Zap if you haven't done so already and then click Continue.
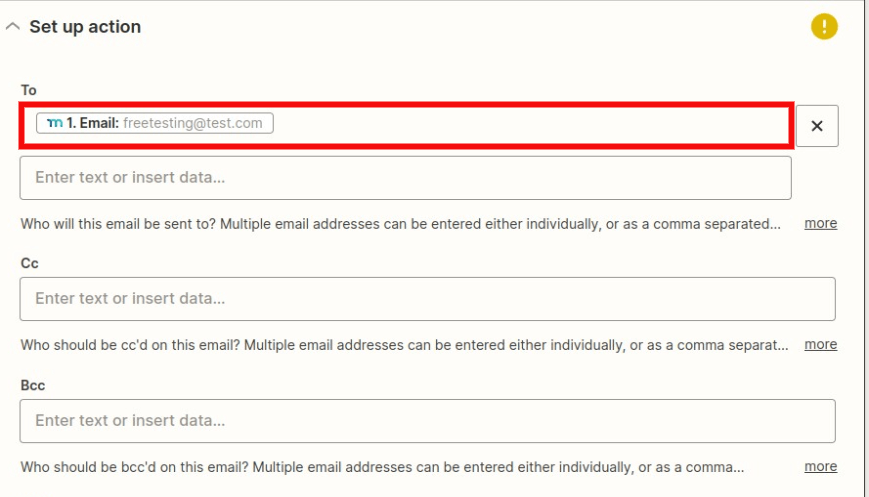
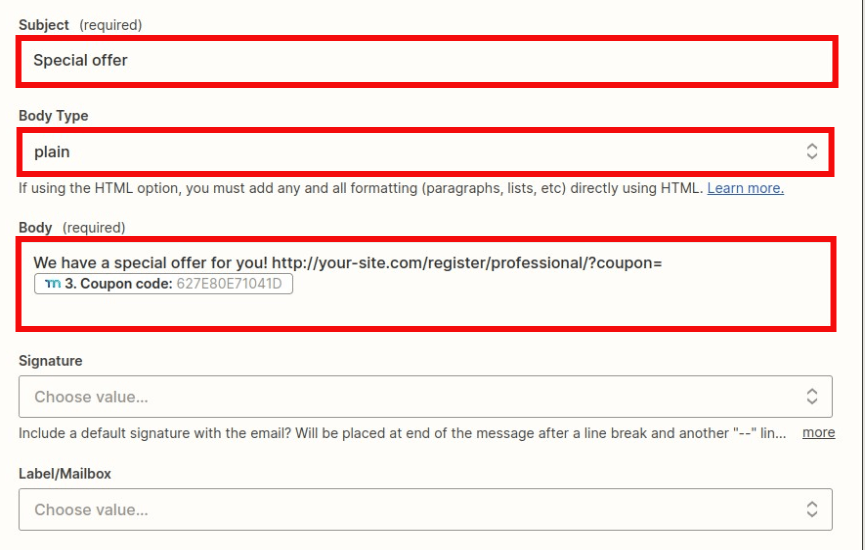
You will have many optional and a few required fields to fill out. The most important field is the “To” field. Search for “Email” and that will display the email address of the member from the sample data.
In the Body field, you will need to search for the coupon code so it will automatically be inserted into your email body. When it's done you can click the Continue button
Here is an example of how you could fill out your required fields and pull specific data from the user.
You can then click Test & Continue button to make sure you receive the email correctly from the test data setup previously by clicking the Test button. You will want to check your email to make sure the email was sent correctly with the proper information.
Once verified, you can click the Done Editing button.
The last step is to name your Zap and turn it on by clicking the “Publish Zap” button.
Now you can use this guide to set up as many coupons as you want with discounts and send them to members who sign up for specific memberships.


