This documentation will show you how to install and use the WPBakery add-on for MemberPress which is available on all MemberPress plans.
Installation:
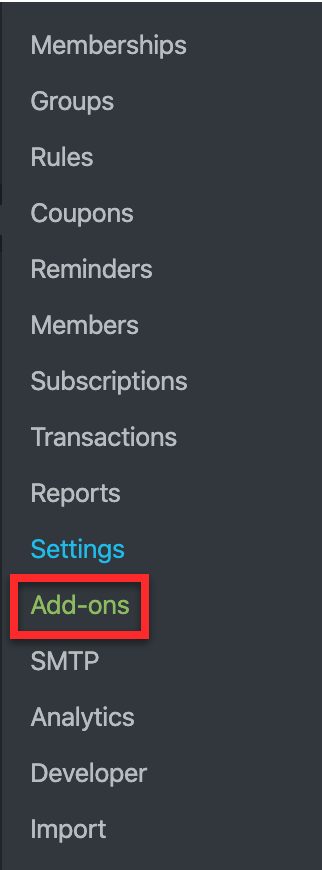
To install the WPBakery add-on, you can go to MemberPress menu and click on the green Add-ons link.
Next you will scroll down and find the WPBakery add-on. Then click on the Install Add-on button. This will automatically install and activate the add-on.
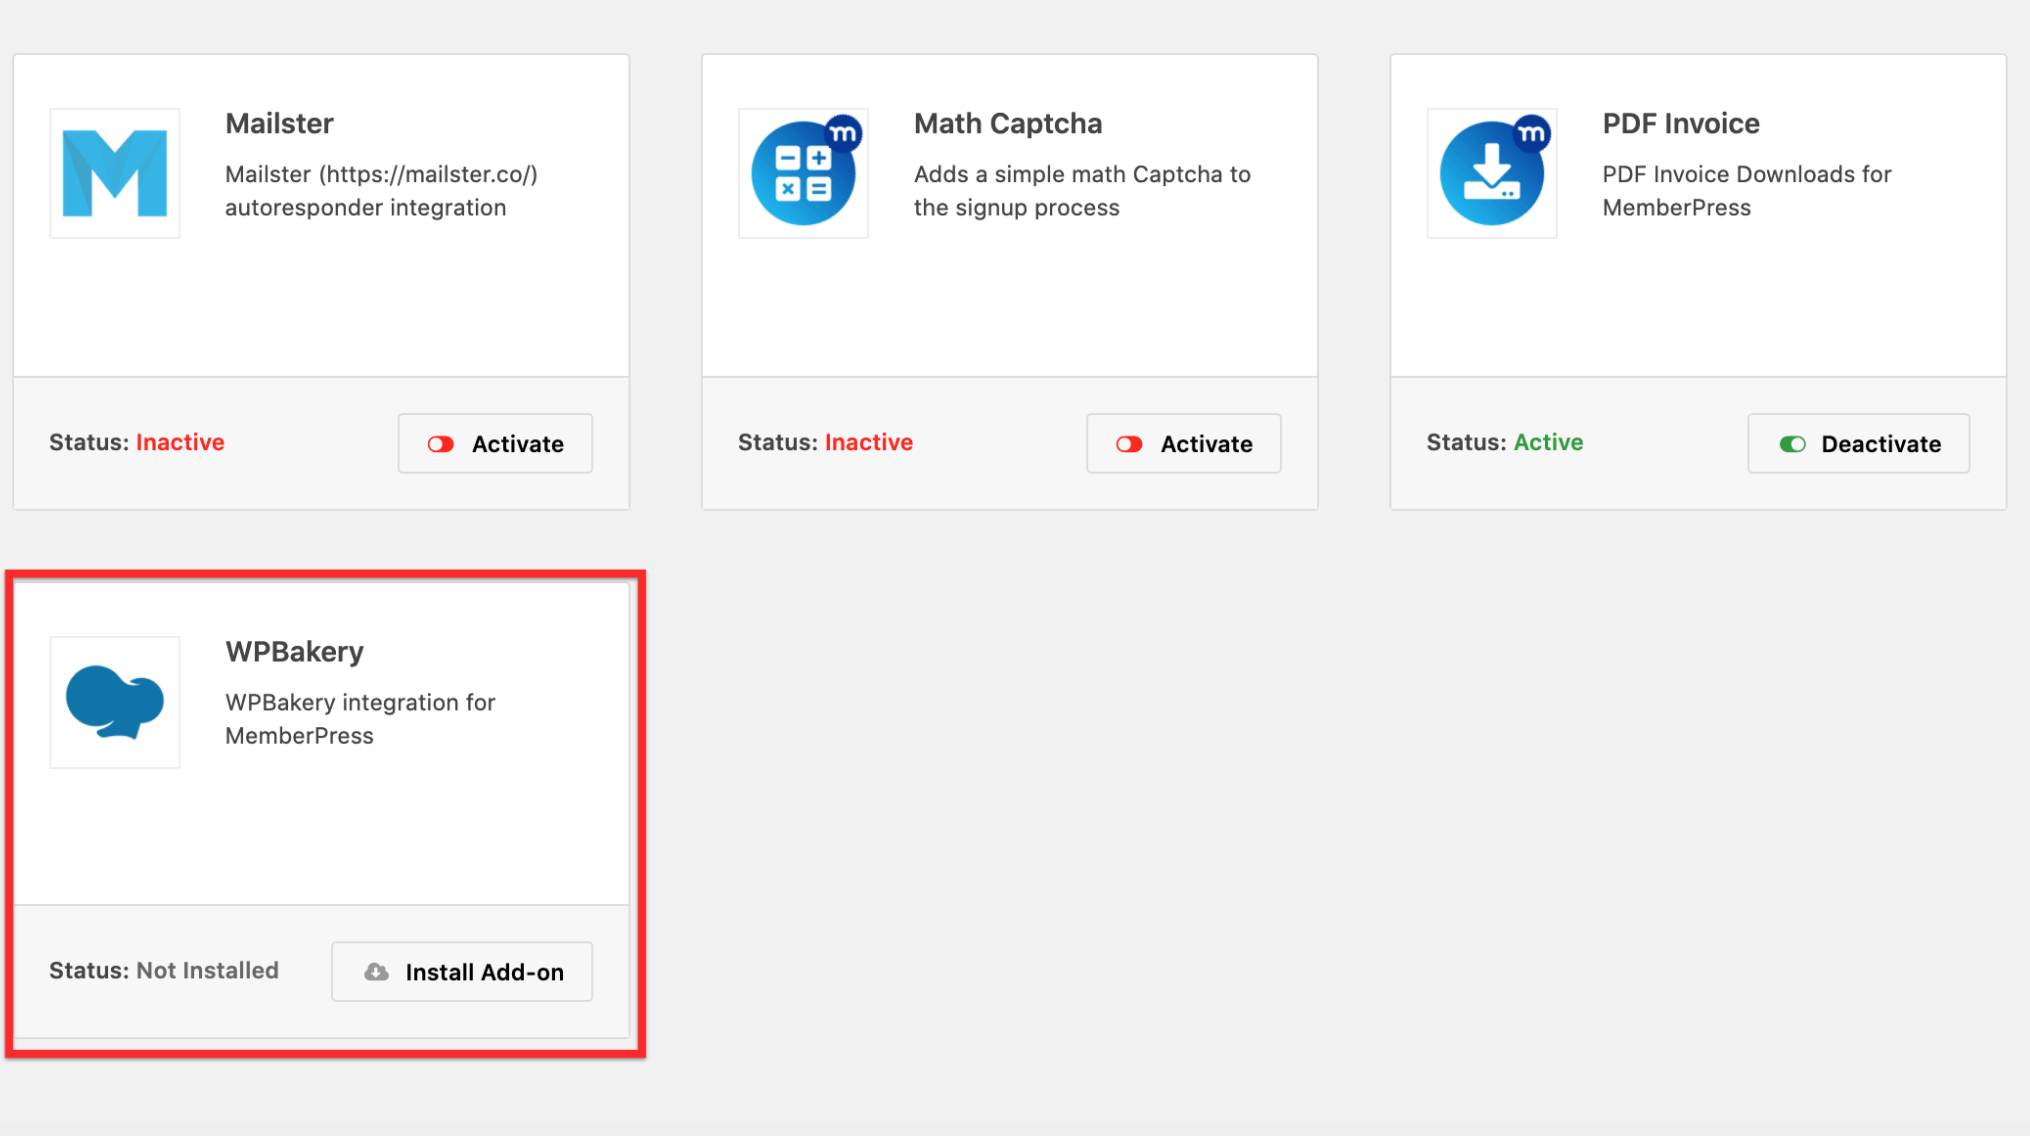
Note: You will also need to install the WPBakery Page Builder plugin for the Add-on to work correctly.
Configuration:
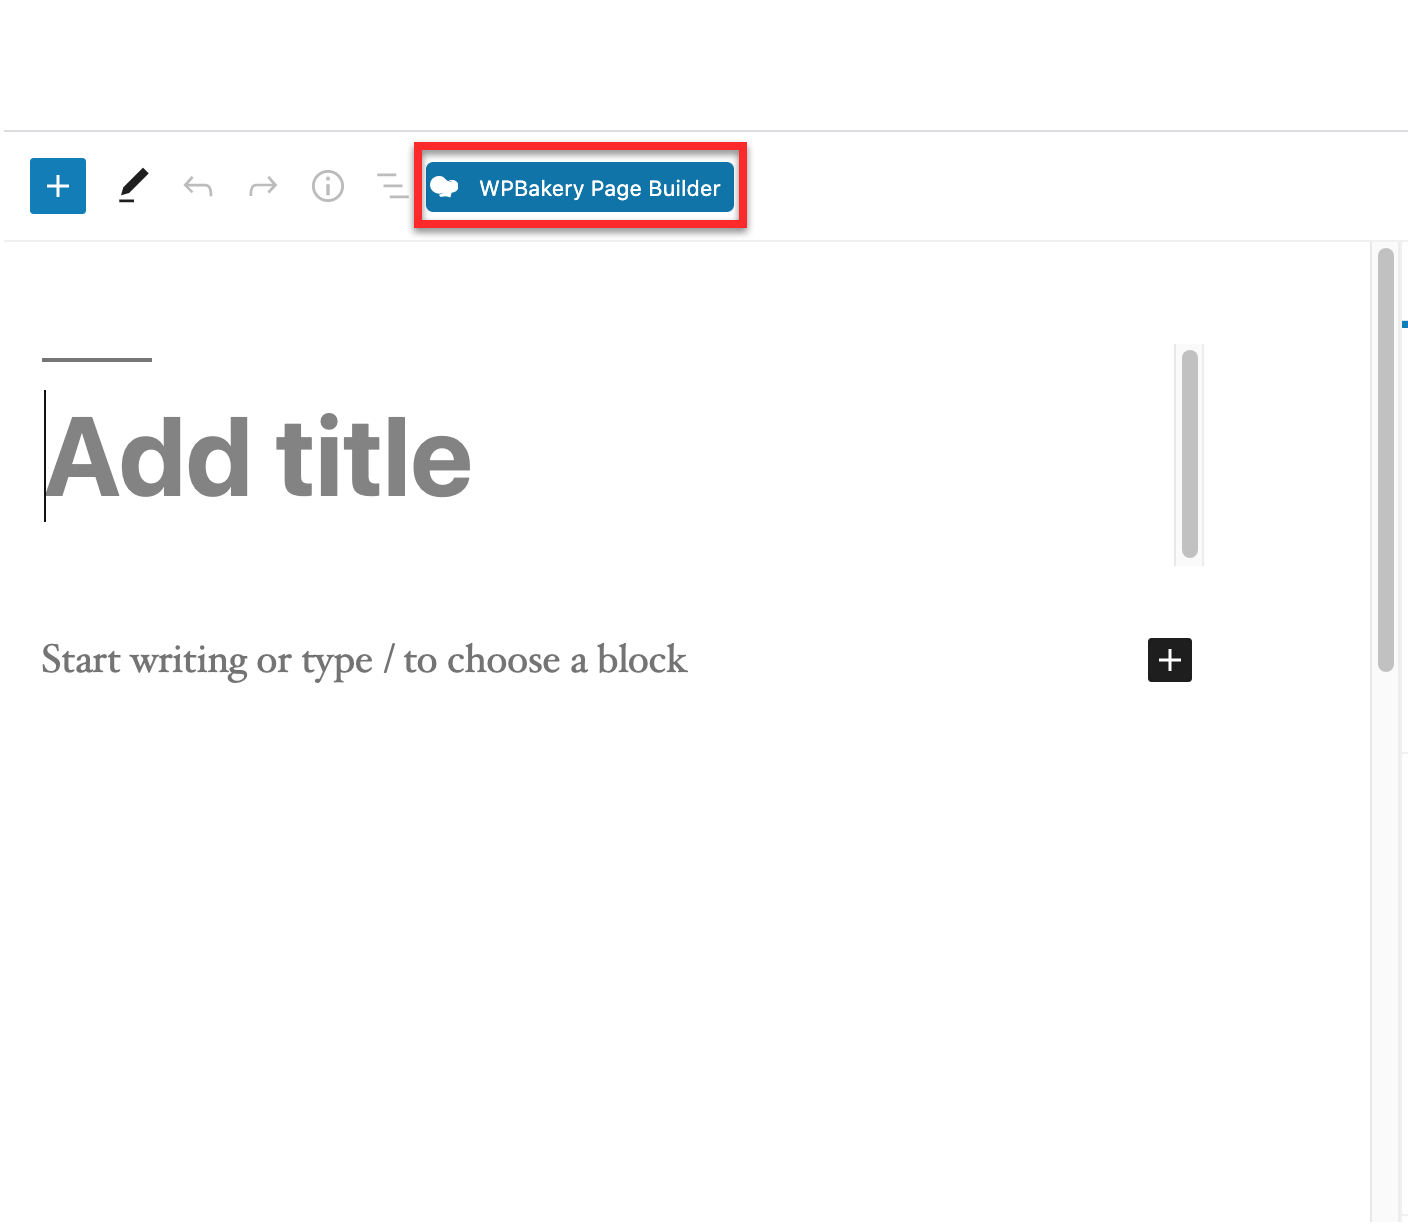
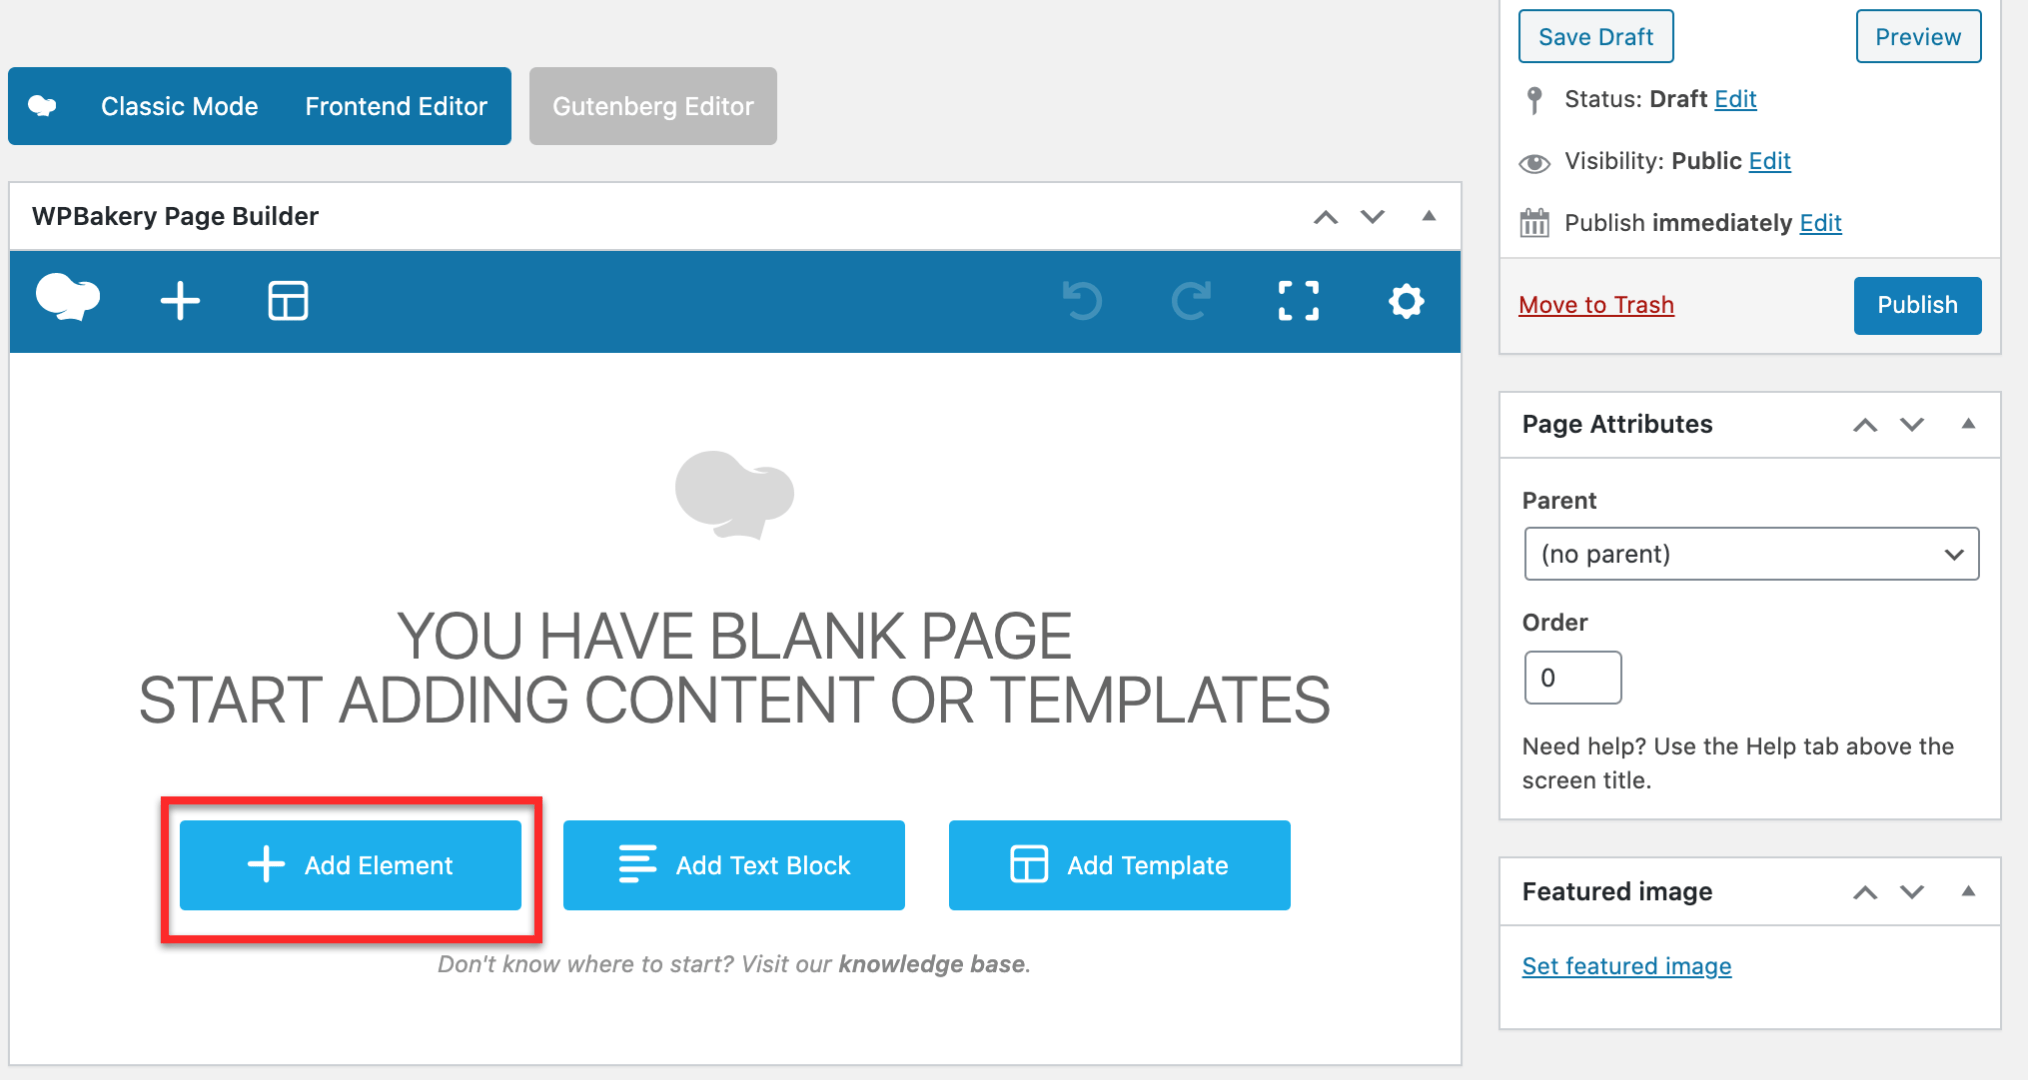
Once you have both the MemberPress WPBakery Content Protection Add-on installed and the WPBakery Page Builder plugin installed and active, you can go to the page, post, etc. you would like to protect content on and launch WPBakery:
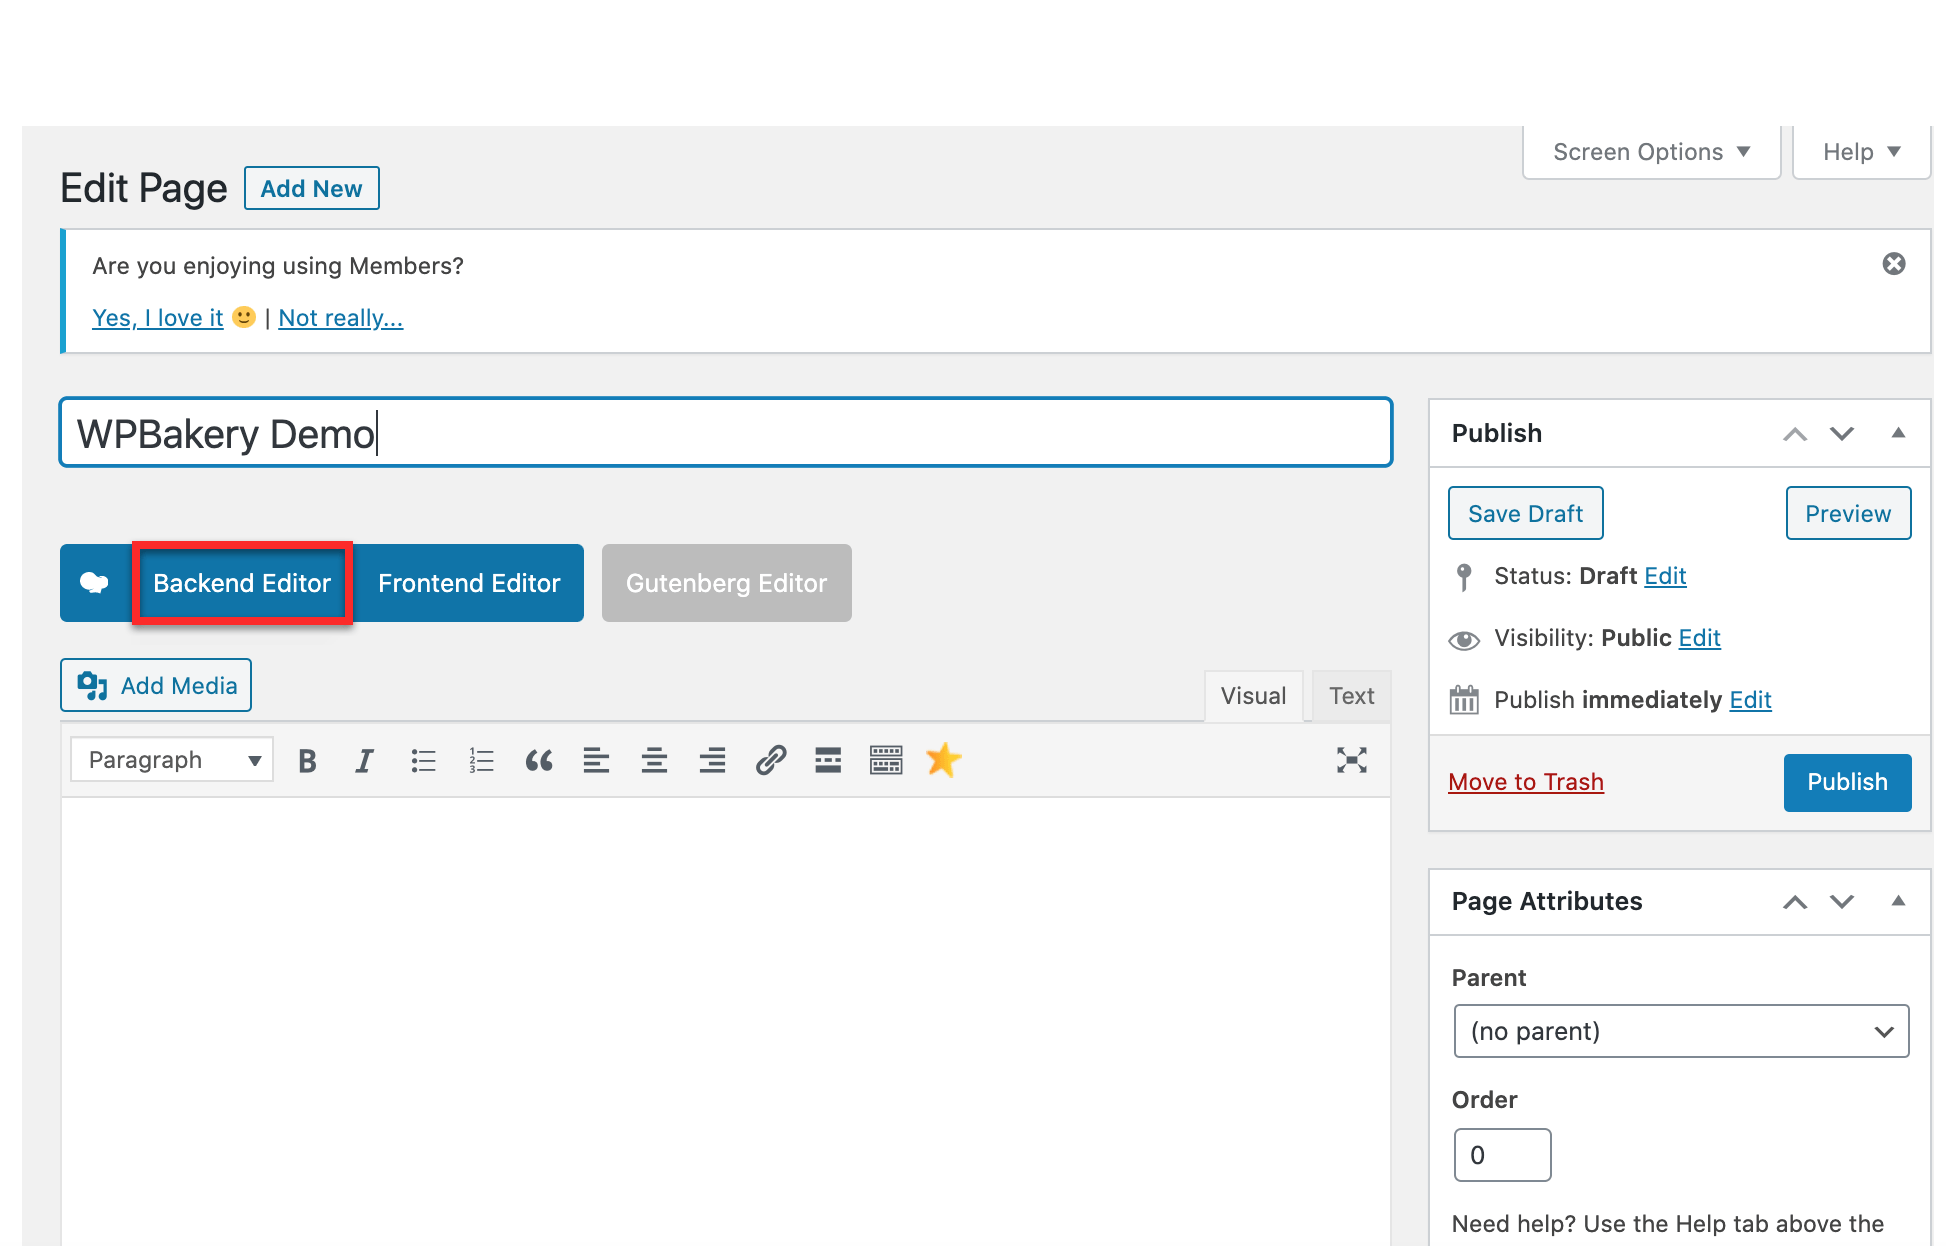
You will want to click the Backend Editor option:
You will then need to add an element that you want to protect:
 You will be given many options but you will want to select the Row option so that you can protect a row of content:
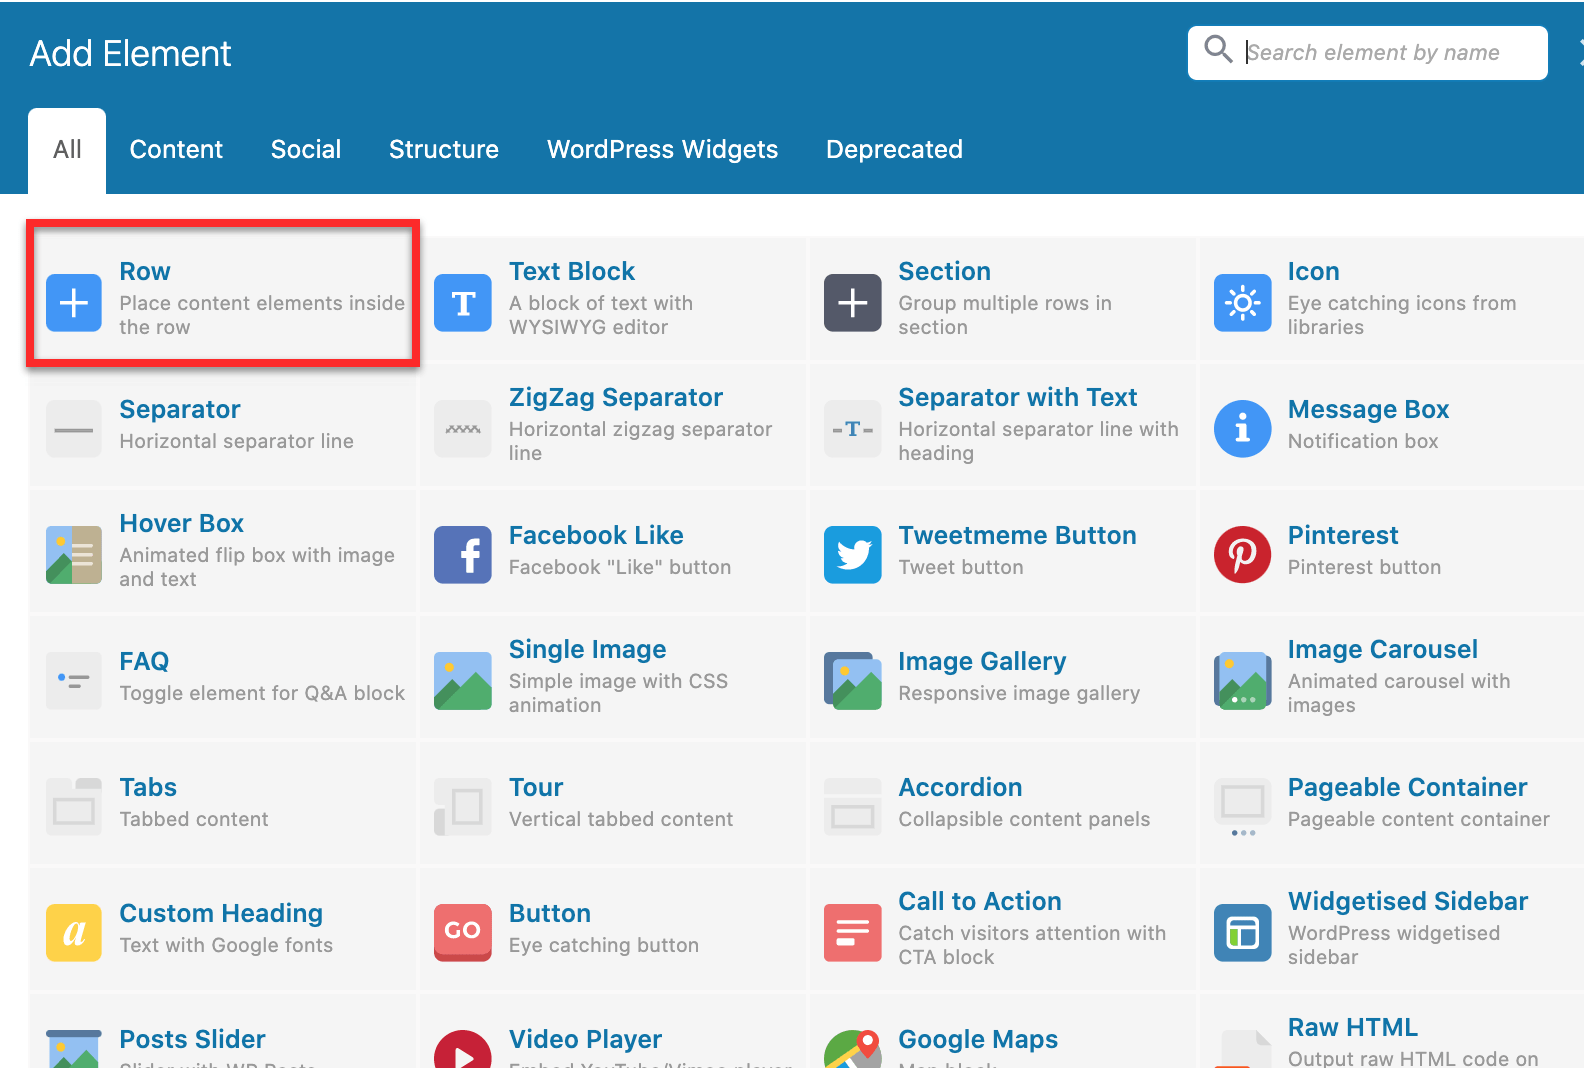 Note: Currently the row option is the only content you are able to protect with the MemberPress WPBakery integration but you have more options of what you want to protect within the row.
Once you have added the content to a page, post, etc. you will want to create a rule in MemberPress > Rules page so that you can protect it: Rules Overview.
After creating a rule, you can go back to the content and click on the pencil icon option for the row and then click on the MemberPress tab:
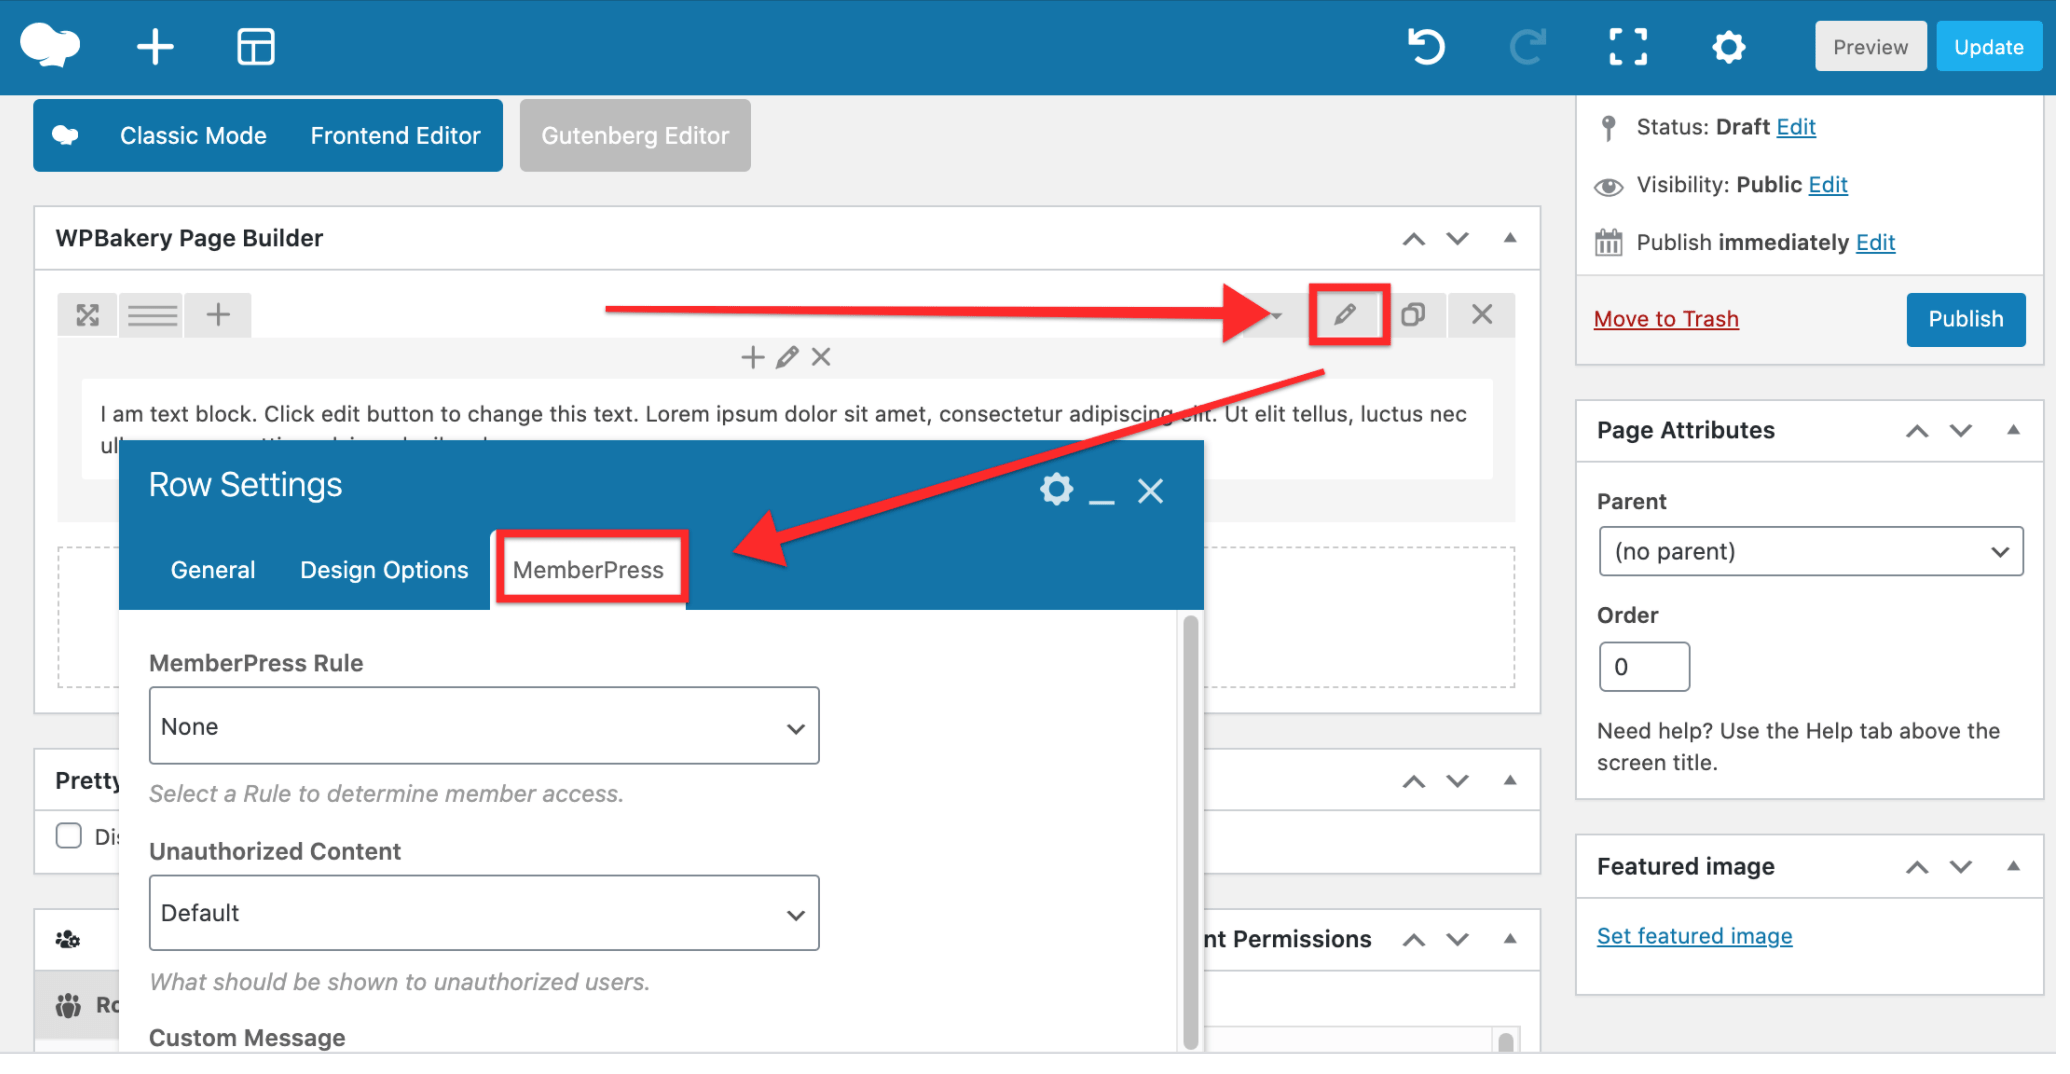
Then you can set the “MemberPress Rule” to the rule that you created earlier so that the content will be protected. Most likely you will want to use a Partial type rule so that you can protect different parts of the page, post, etc.
Once the rule is selected, you will then want to choose from the dropdown for the Unauthorized Content field. You can choose from Default, Hide, or Display Message.
Default: This option shows your default unauthorized message which can also include the login page.
Hide: This option hides the content from unauthorized views so that no content is shown when viewing the content.
Display Message: This option allows you to show a custom unauthorized message. You will need to type in your custom message in the Custom Message field below the Unauthorized Content field.
Click save and your content should now be protected from unauthorized viewers.


