MemberPress Course add-on adds the learning management system (LMS) to your MemberPress-based website.
This document will show you how to create and manage MemberPress courses.
Creating MemberPress Courses
To create courses with MemberPress, you need to activate and configure the MemberPress Courses Add-on first. Once the Course add-on is active and configured, you're ready to create your very first course.
If you don't have your content/layout fully put together, pause and take a few minutes to write down your course title, section headings, and the name of each lesson. (You might want to check out this post on the MemberPress blog: How To Create A Solid Online Course for your Membership Site.)
Next, visit your new MemberPress > Courses page, and you'll see the following buttons at the top:
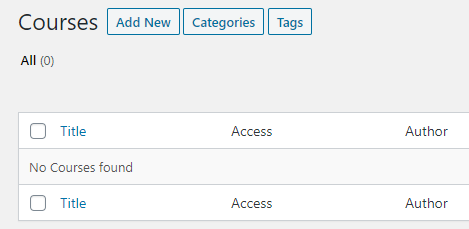
Click on Add New to add a new Course.
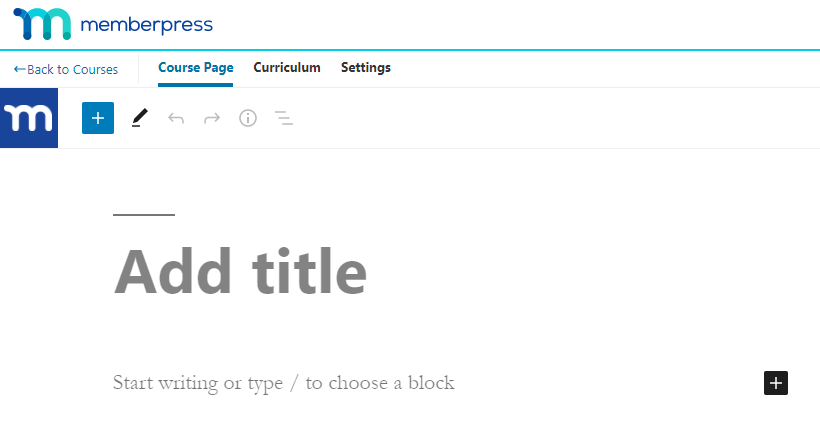
Course Page
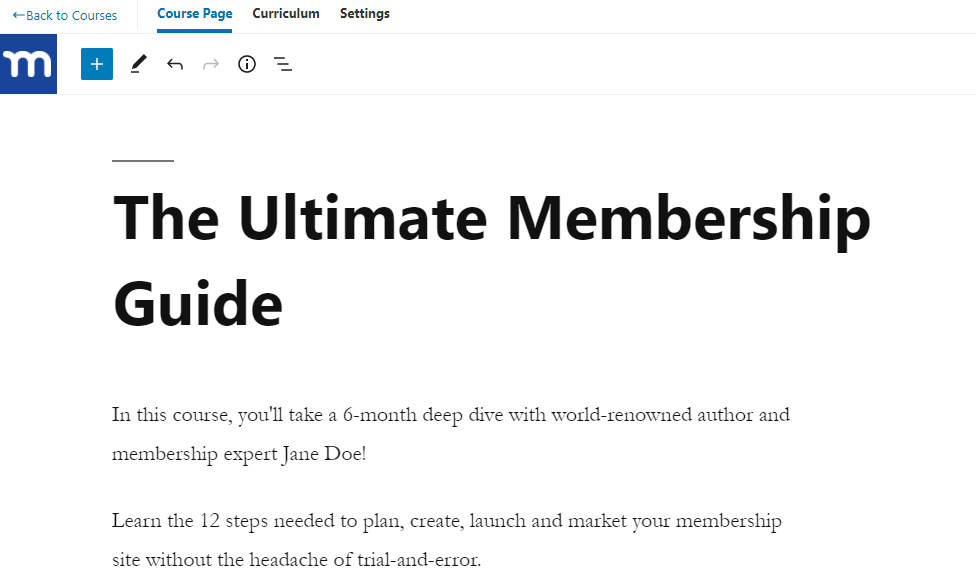
Give your Course a catchy title and some content below the title. This content will show up as the course overview/description on the front end. Please do not add your curriculum or course layout here; we'll do that in the next step below.
Adding a Course Image
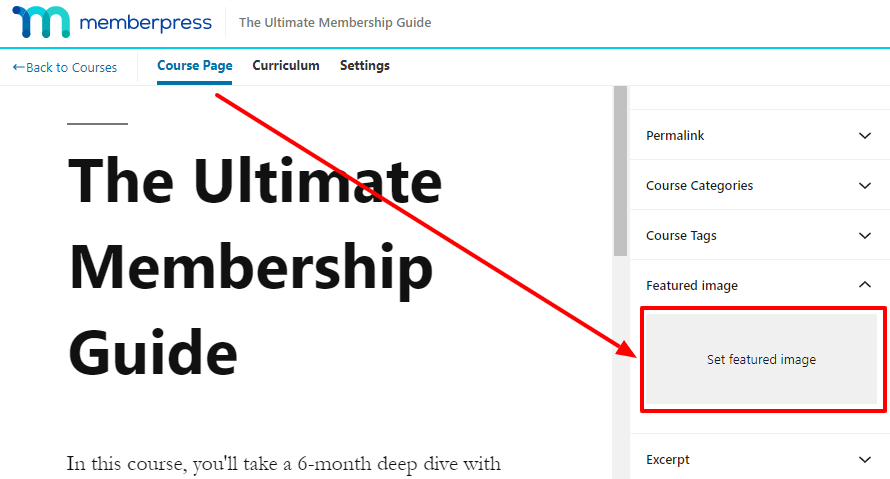
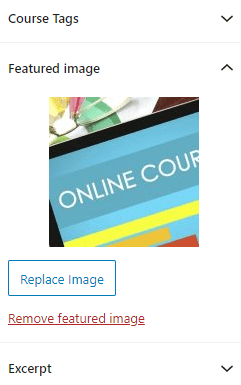
You'll want to add a Course Image to help make it stand out on your Course Listing page (more about that below).
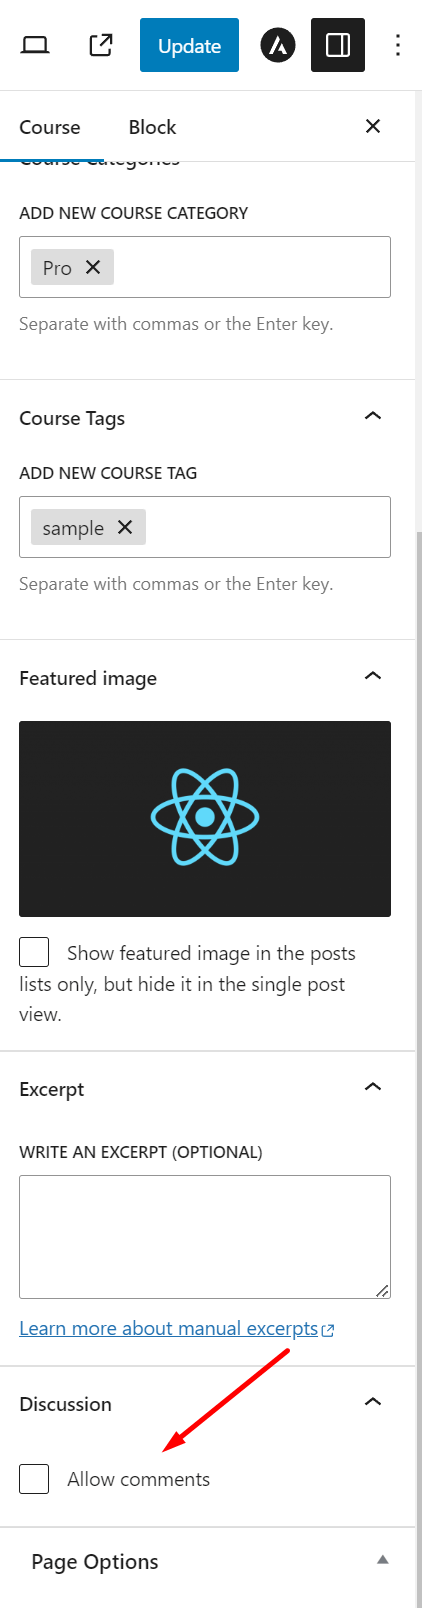
When editing your Course, click on the Course Page tab at the top. Then, in the right sidebar, look for the Featured Image option:
Curriculum
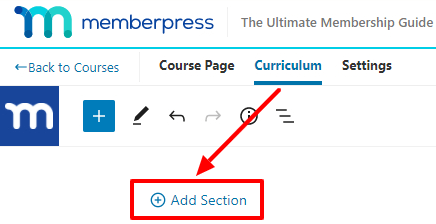
Once you've created your course title and description, click on the “Curriculum” tab at the top to add your Sections and Lessons.
The first thing you'll do here is to add a Section. Think of Sections as containers or modules that help you organize your Lessons into groups.
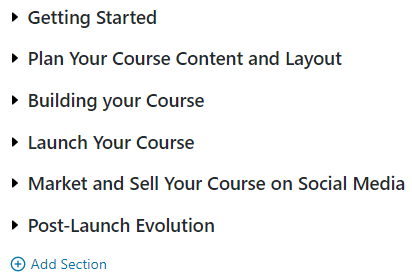
Below is a sample of how you might layout your Sections:
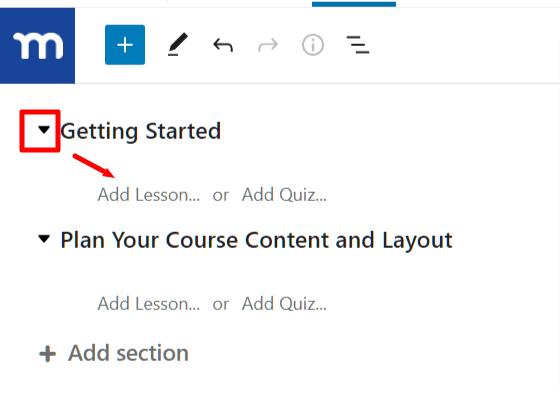
Expand each Section to add Lessons or a Quiz, as shown below:
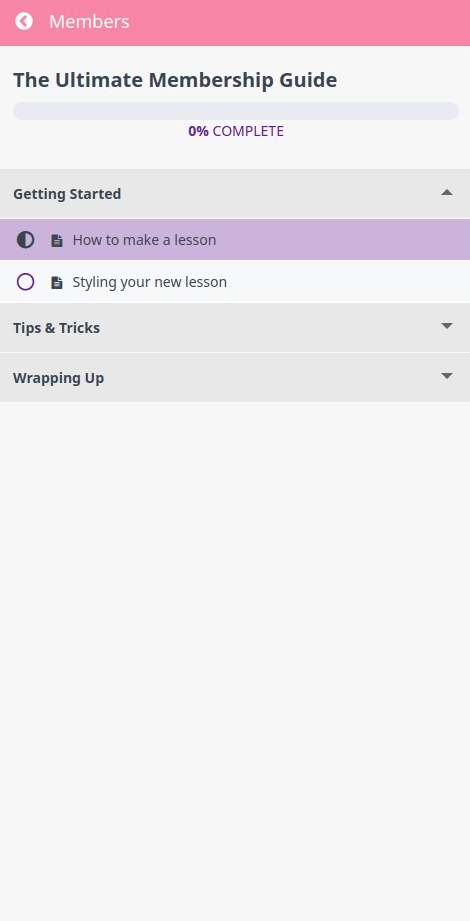
These sections will be displayed as an accordion in the sidebar of your lessons:
Once a Lesson or Quiz is created, it will show up in a list on the right side of the page:
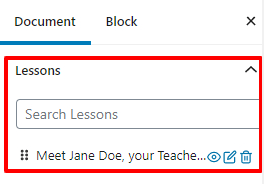
You can search for existing Lessons and use the grid icon on the left to drag them into a Section within your Course. If the Lesson already exists in another Course or Section, it will be moved to a new location.
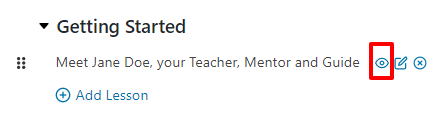
To Edit a Lesson or Quiz, click the edit icon next to it:

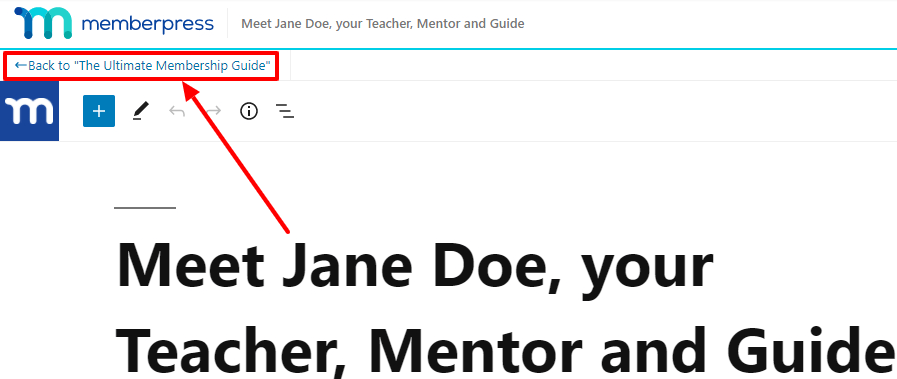
While editing a Lesson or Quiz, you can return to your Course by clicking the Back to link at the top of the editor:
To View a Lesson or Quiz, click the View button next to it. This will open the lesson for viewing on the front end in a new window or tab in your browser:
To remove a Lesson or Quiz from a Section, click the Remove icon next to it. This does not delete the item permanently; it just removes it from your course. You can still find your item in the list on the right side of the page.
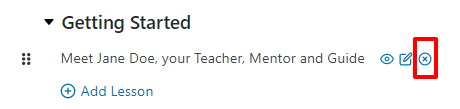
To fully delete a Lesson or Quiz, click the trash icon next to it (within the list on the right):

Once you've finished filling out your Curriculum, head to the Settings page to configure your Course Settings.
Course-Specific Settings
Course-specific settings can be found when editing a course and clicking the “Settings” tab.
The first setting you'll see is the option to Include in Course Listing. The Course Listing page is a page on the front end of your website where all of your Courses are displayed in a nice, searchable grid. Typically found at https://yoursite.com/courses/ – More on that below…
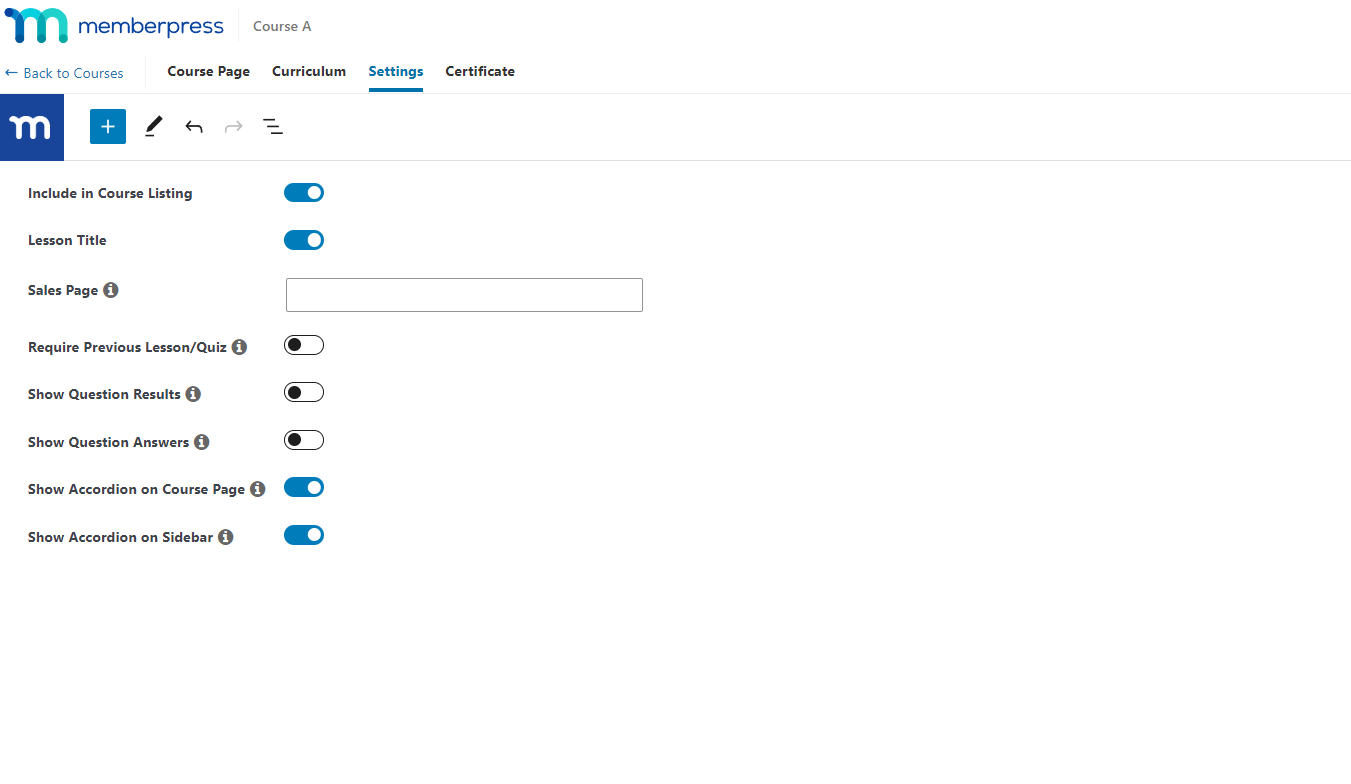
The second setting you'll see is the Lesson Title. This option controls whether the Lesson and Quiz titles are to be displayed on the front end. Titles will be enabled by default. On the other hand, you can hide these titles on all your lessons and quizzes by disabling this option.
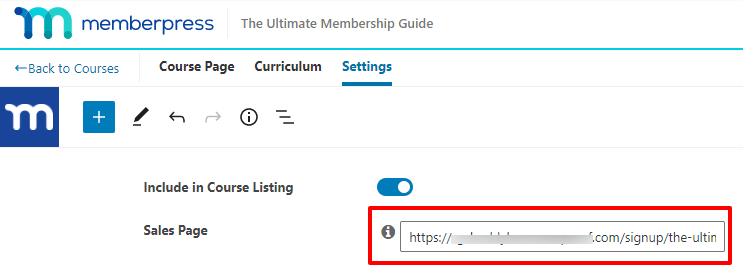
The third setting you'll see is the Sales Page URL setting. This should point to the URL of the MemberPress Membership registration page that provides access to your Course.
If you're unsure what your Membership Registration URL is, you can find it in the MemberPress menu > Memberships page. Copy the URL next to the Membership as shown below:

Then paste the URL into the Sales Page field as shown:
The fourth setting is Require Previous Lesson/Quiz. Enabling this option will require course participants to complete the previous lesson or quiz before proceeding to the next lesson or quiz.
The fifth setting is Show Question Results. With this option enabled, course participants will see whether the answer they provided on the quiz was correct:

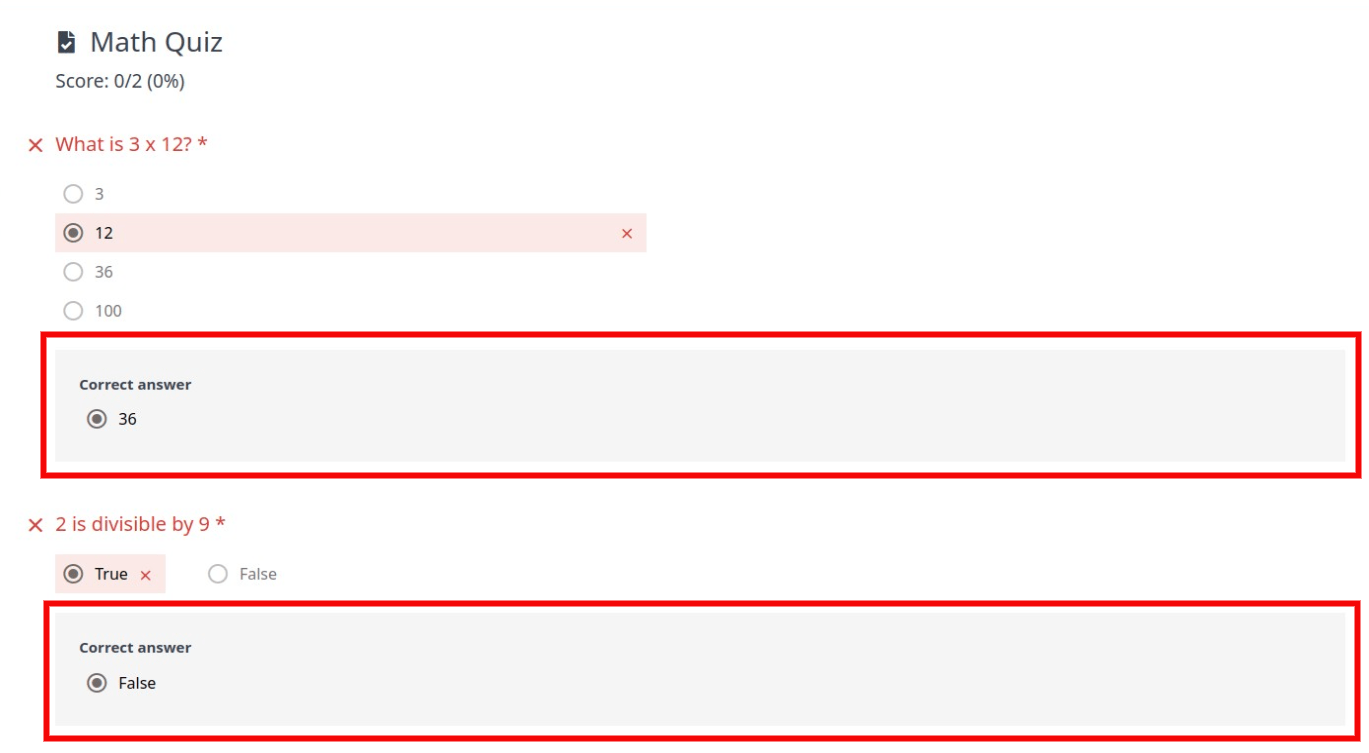
The sixth setting is Show Question Answers. With this option enabled, course participants will see the correct answers after they've completed their quiz:
The last two settings are the Use Accordion on Course Page and Use Accordion on Sidebar.
By default, the Course Curriculum will show all sections and all lessons as a list, on both the course page and in the sidebar on all lessons. Enabling the above-mentioned settings will display course sections as an accordion making the Course Curriculum shorter, which is especially useful for courses with a large number of lessons:
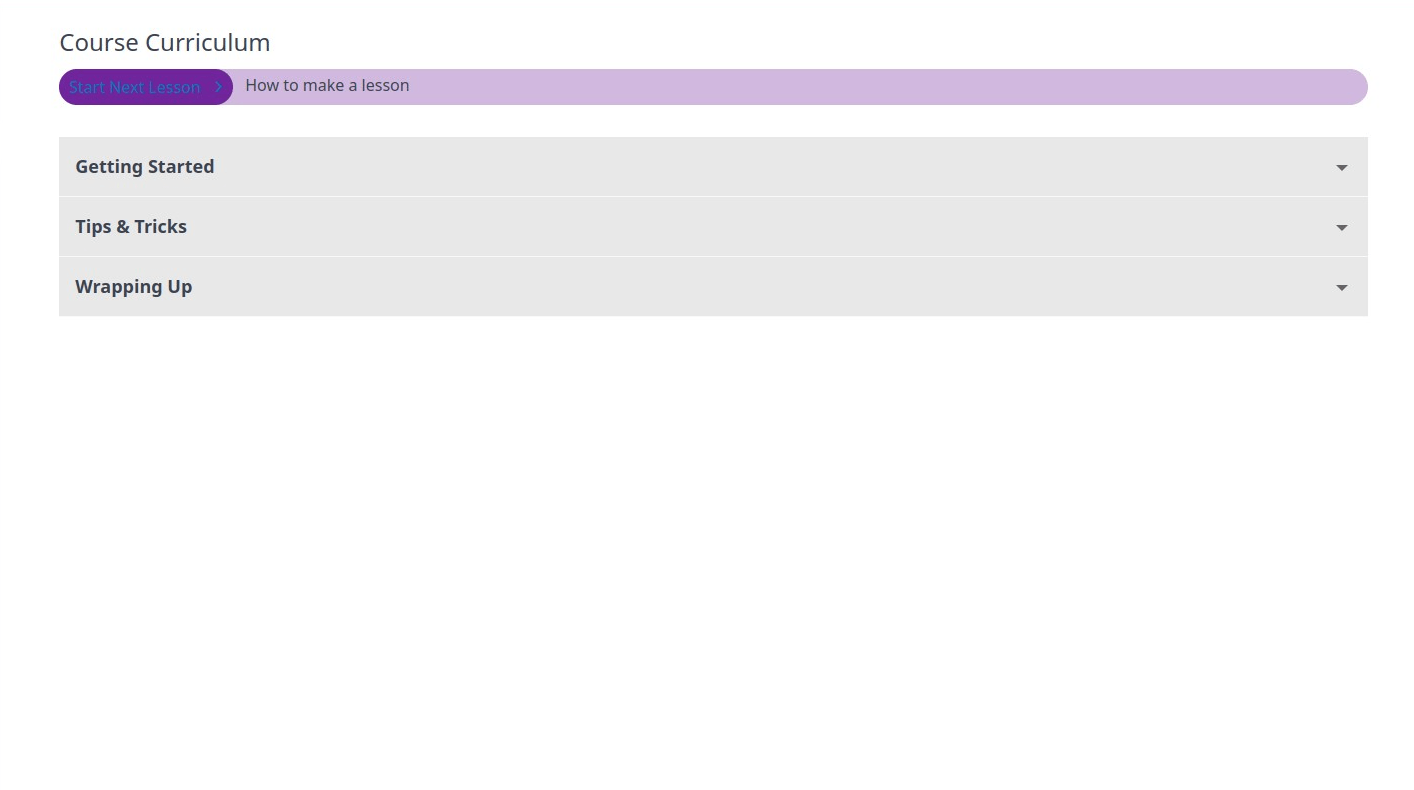
In this case, users will need to expand each section to see the related lessons. These two settings allow enabling the curriculum accordion separately on the course page (Use Accordion on Course Page) and in the lessons sidebar (Use Accordion on Sidebar).
Resources
You can use the Resources tab to add downloadable materials, links, or custom content to your courses:
- In your course editor, click on the Resources tab.

- Under Resources, you can add different types of resources:
- Downloads: you can add files (e.g. PDF, doc/docx, etc.) your students will be able to download directly from the course;
- Links: you can add links to online resources that your students can access by clicking the link on the Resouces pages;
- Custom: the editor will allow you to add any text or HTML to this area. Also, you can give this section a custom heading.
- Click Update to save changes.
Your students can access the course Resources through the course sidebar, under the Course Overview.

Tagging/Categorizing Your Courses
If you have multiple Courses, you might want to Categorize or Tag them to help you organize them. This will be particularly useful if you need to provide access to multiple Courses when a Member buys a Membership in MemberPress.
Back on the MemberPress > Courses page, you'll see buttons at the top for Categories and Tags.
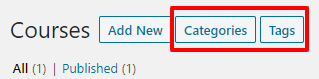
Click on either Categories or Tags to add your Categories and Tags. For the most part, you'll likely want to use just Categories unless you have a specific reason to use both Categories and Tags.
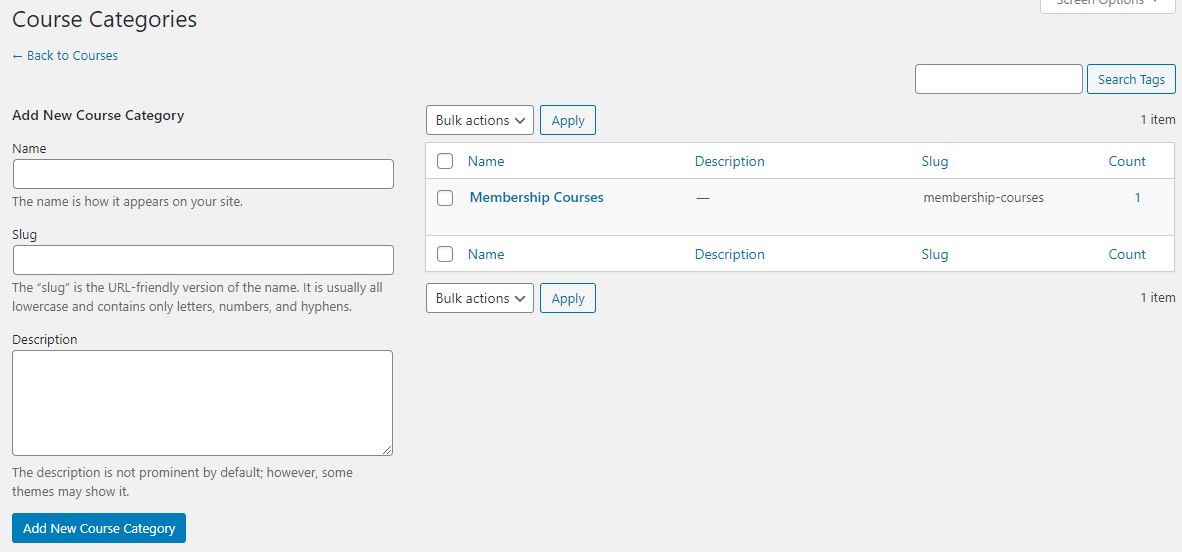
After clicking Categories, you'll be taken to a page where you can create new or edit existing Categories.
For the purposes of this tutorial, we'll create a new category called “Membership Courses”. We'll use this category to associate all of our Membership-related courses together. This will be important when we get to the Protection piece in the next step.
Allowing Comments On Courses and Lessons
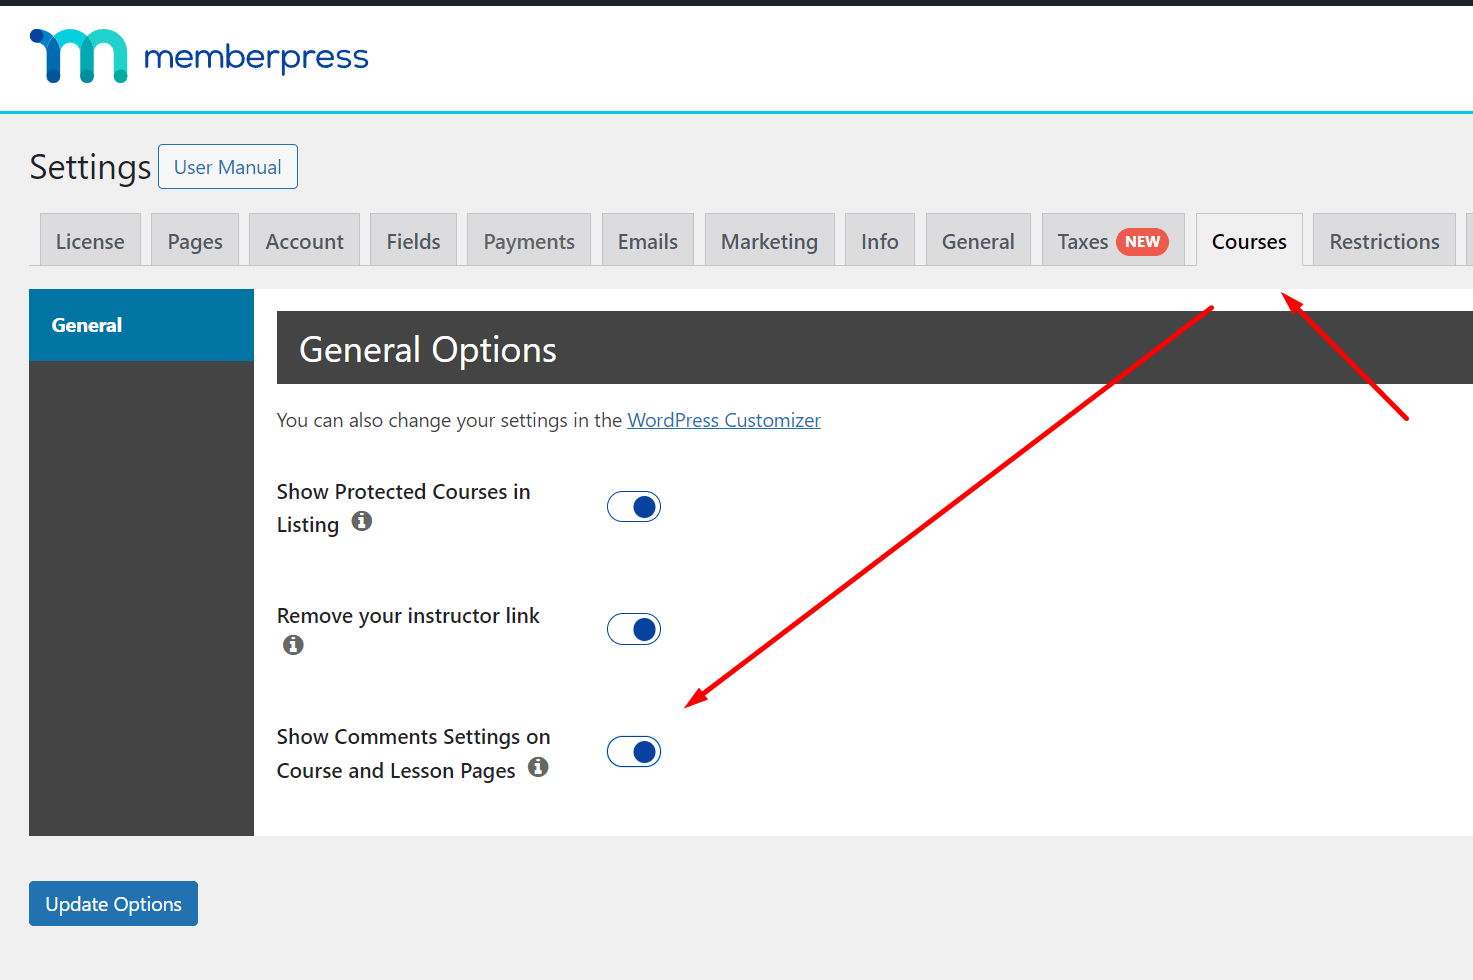
Comments are not displayed in courses and lessons by default but you can display them following these steps:
- Go to MemberPress > Settings page, click the Courses tab, check the “Show Comments Settings on Course and Lesson Pages” option and save it
- Once it's done each course and lesson will have a Discussion section with an “Allow comments” option
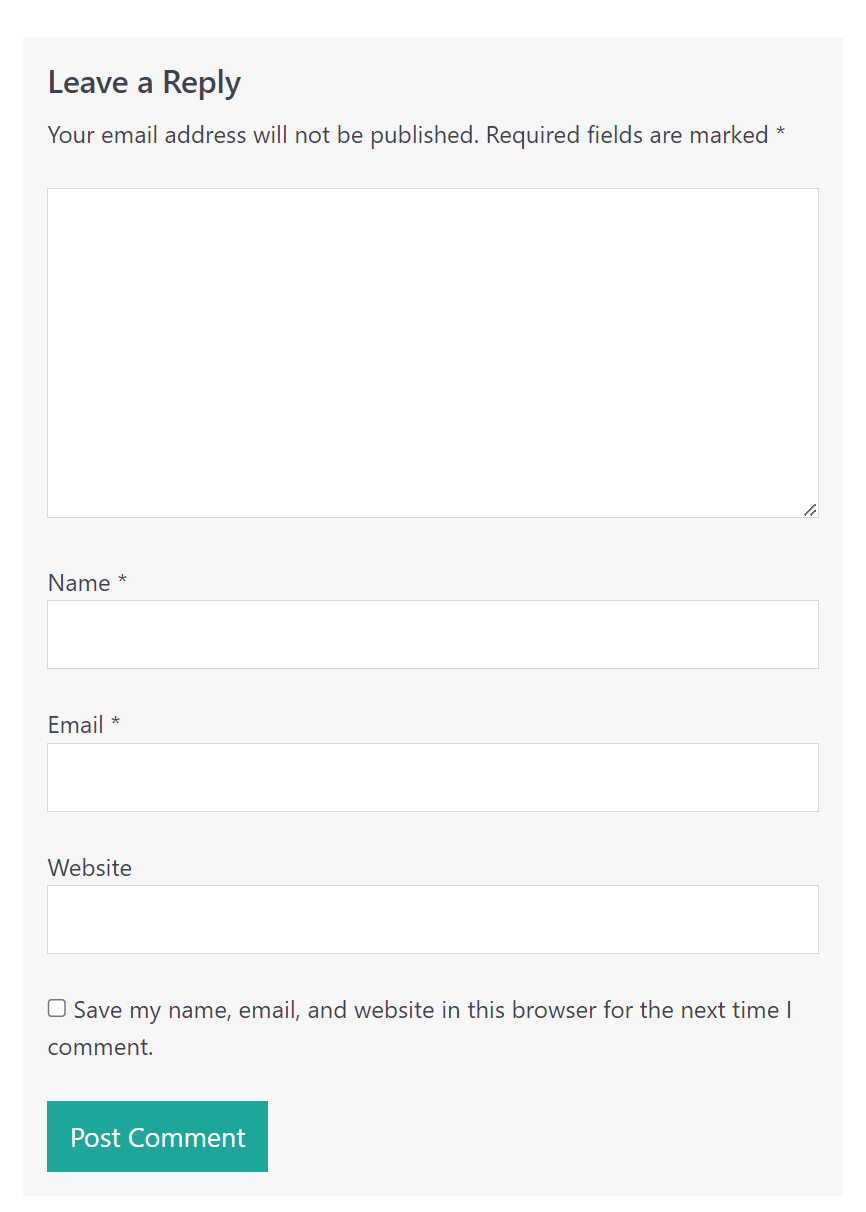
- To display comments on a specific course or lesson you will need to check the “Allow comments” checkbox and save the course/lesson. Here is the screenshot of what the comment form looks like:
To display comments on all lessons without the need to check the “Allow Comments” option manually for each lesson you could put the following code snippet to the WPCode plugin (please check this article for details: How to add custom code snippets in WPCode), or if you're using a child theme, then the functions.php file should work as well.
add_filter('comments_open', function($open, $post_id) {
  $post = get_post( $post_id );

  if('mpcs-lesson' == $post->post_type)
   $open = true;

  return $open;
}, 10, 2);
Enrolling Students
To enroll students in any course created in MemberPress, they should navigate to your Courses listing page. Here, they need to click on the course they wish to enroll in, to access the course page. The course curriculum will be available on the course page, and students can click on any listed lesson to start learning.
How Do Members Find My Courses?
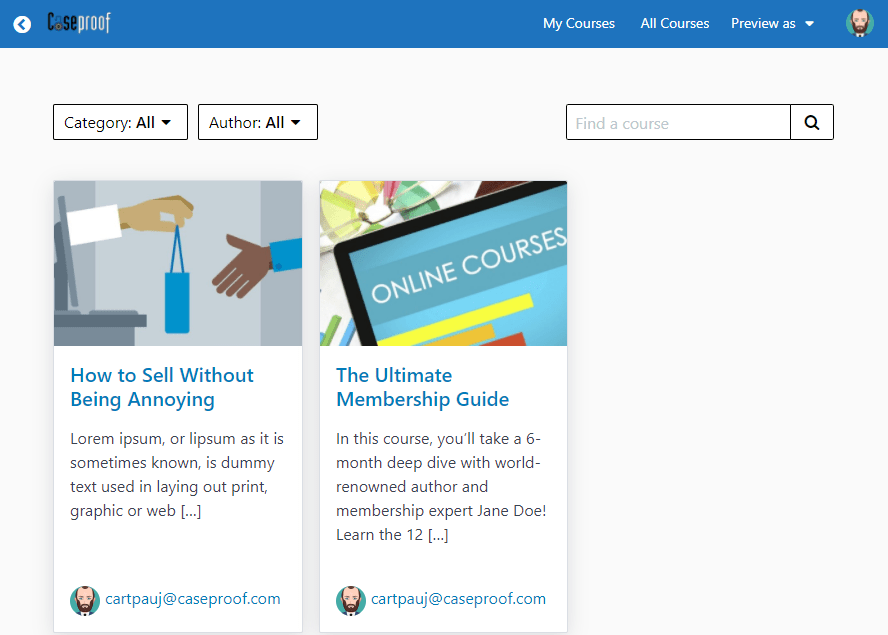
0122 As mentioned, your Members will find your courses on the Courses listing page on your site. For most sites, this will be https://yoursite.com/courses/.
We STRONGLY recommend enabling the ReadyLaunch™ templates setting in the MemberPress menu > Settings > ReadyLaunch™ tab for the best user experience and design.
Your Members and guests will see your available Courses there:
When a Member is logged in, they can click the My Courses link in the menu at the top to view only the Courses they have access to.
Clicking on one of the Courses will open the Course overview, which will look something like this:
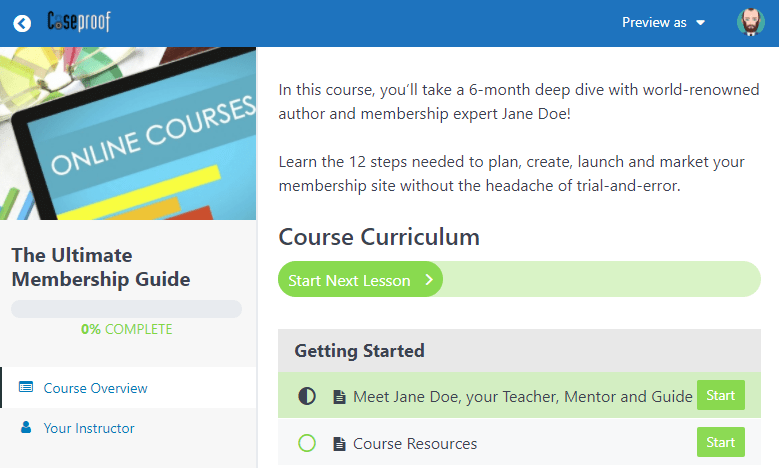
From here, your members can see the course overview, navigation, and instructor; they can also see their progress through the Course.
Still Have Questions?
We're happy to help! Please contact us, and we'll do our very best to help you out.


