Configuring SMTP plugin for sending Emails
SMTP (Simple Mail Transfer Protocol) is an industry standard for sending e-mails. Proper SMTP configuration helps to increase e-mail deliverability by using authentication. By default, WordPress uses the PHP mail function for sending e-mails; however, this feature isn’t the best approach for sending e-mails. Every now and then, e-mails sent from WordPress websites can get blocked or end up in the spam folder. To prevent this, it is highly recommended to utilize the SMTP protocol. It will increase e-mail deliverability rate and help you manage the overall e-mail traffic in the long run. We suggest using WP Mail SMTP plugin for configuring SMTP and ensuring e-mail deliverability.
How to configure WP Mail SMTP plugin
In the beginning, you should know that setting up the WP Mail SMTP plugin is very easy and straightforward. It reconfigures the wp_mail() function to either use proper SMTP host credentials or leverage a built-in SMTP mail provider. Now, when we learn what SMTP is, we could step forward to the installation process, so let's begin.
Step 1: Install and Activate WP Mail SMTP Plugin
The first step of the process is the installation of the WP Mail SMTP plugin. For this, log into the WordPress admin area of your site using the admin credentials.

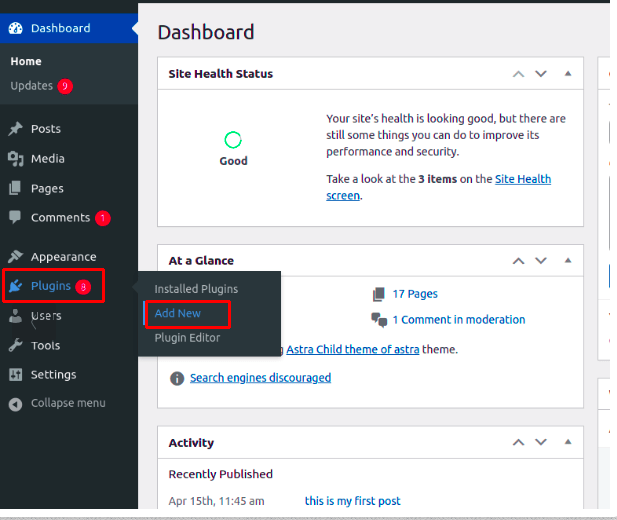
In the left admin menu, click on Plugins and then on Add New.
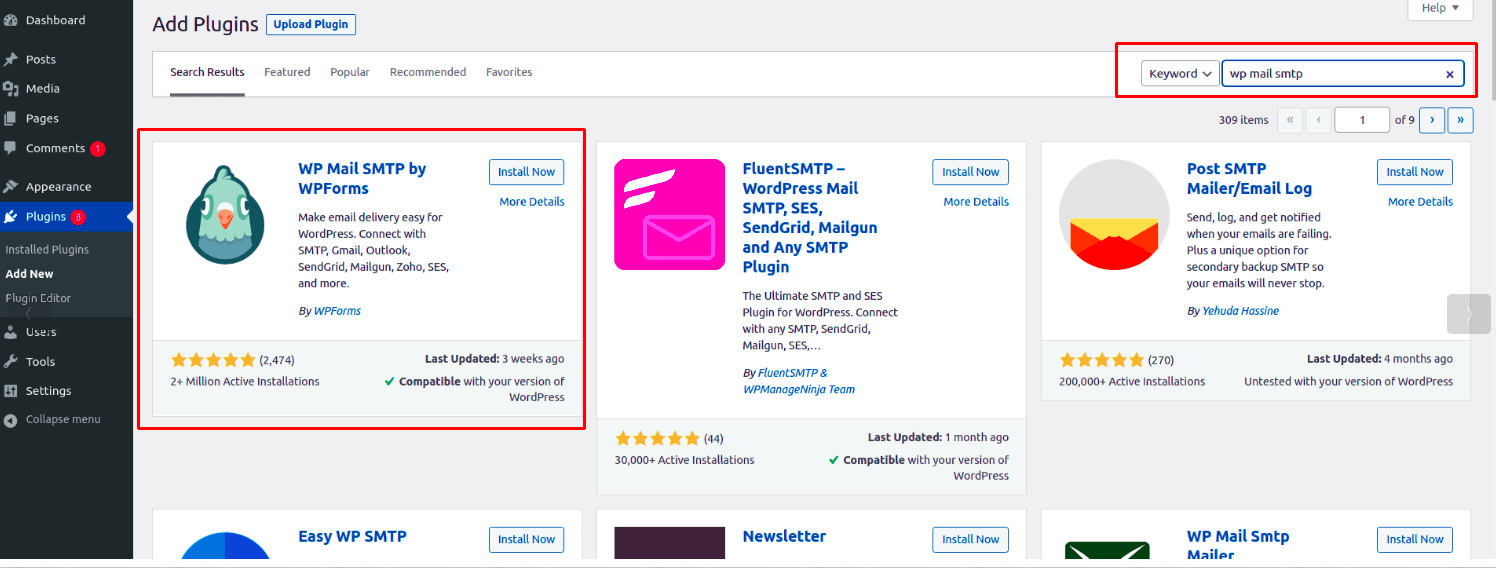
Locate the SMTP plugin via the search bar ( WP Mail SMTP by WPForms for the purpose of this KB). Next, click the Install Now button.
Once the installation finishes, click the Activate button.
Step 2: Configure Sender Name and Email Address
To start the configuration process, visit the Plugins section in the left admin menu and locate the SMTP plugin. Then, click Settings to start the configuration process.

You will see the following screen with three major options.
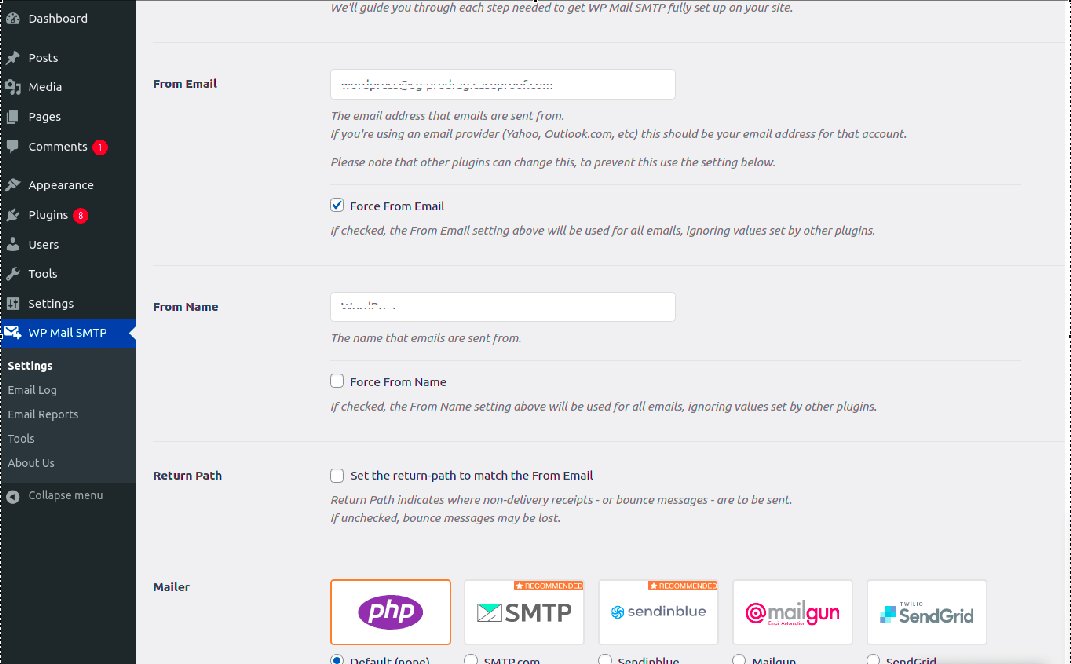
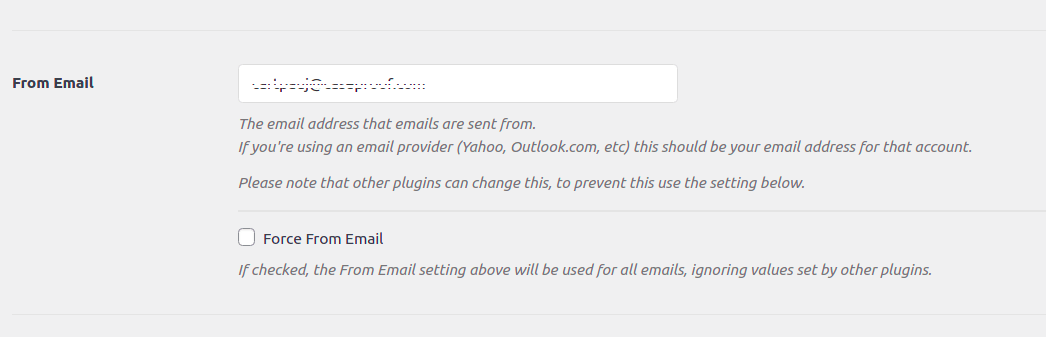
From Email field
In this field, you will need to enter an email address that you wish to set as the From Email. An e-mail address configured here will appear on all outgoing e-mails. Depending upon your requirements and the target audience, this e-mail could be no-reply@example.com or support@example.com.
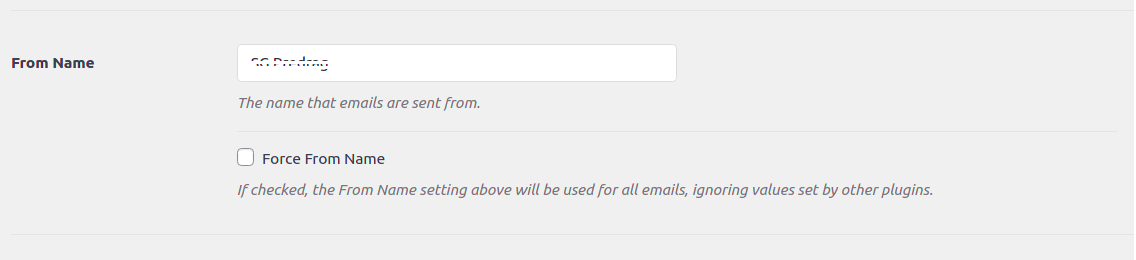
From Name field
In the From Name field, you will need to enter the name you wish to appear on your outgoing e-mails.
Step 3: Configure SMTP Service
Depending on your SMTP service, you will need to choose from the following available options.
If you have configured server-wide SMTP on your server where your application is hosted, you can simply select PHP as a Mailer.
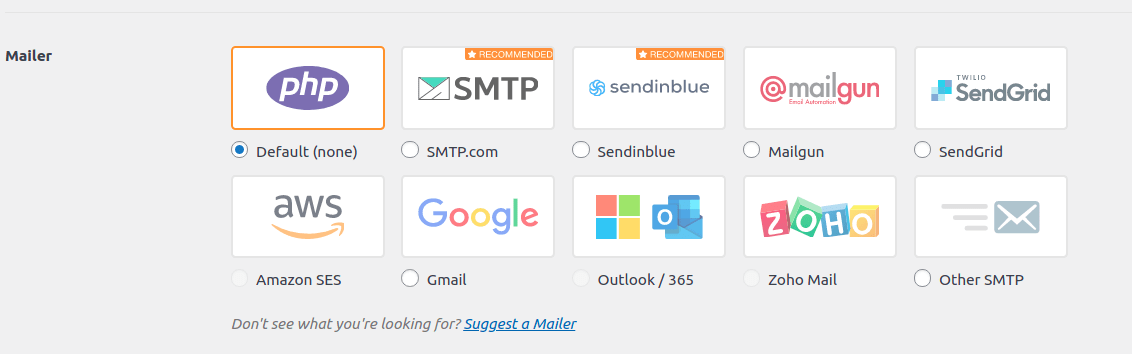
Depending on your hosting SMTP server settings, you will need to check the Other SMTP option and use the settings provided by your host, or you can follow the guide for some of the most used hosting companies and their settings as outlined in the following article different SMTP server settings per hosting company If you want to use third-party mailers, then you can follow this guide to send WordPress e-mails via Gmail SMTP. Additionally, you can check a similar guide for the Sendinblue SMTP setup.
Step 4: Verify SMTP Settings
Finally, when all the SMTP settings are configured, it is important to send a test e-mail to ensure that everything is working properly. For doing this, you will need to click the Email Test option at the top of the plugin screen.
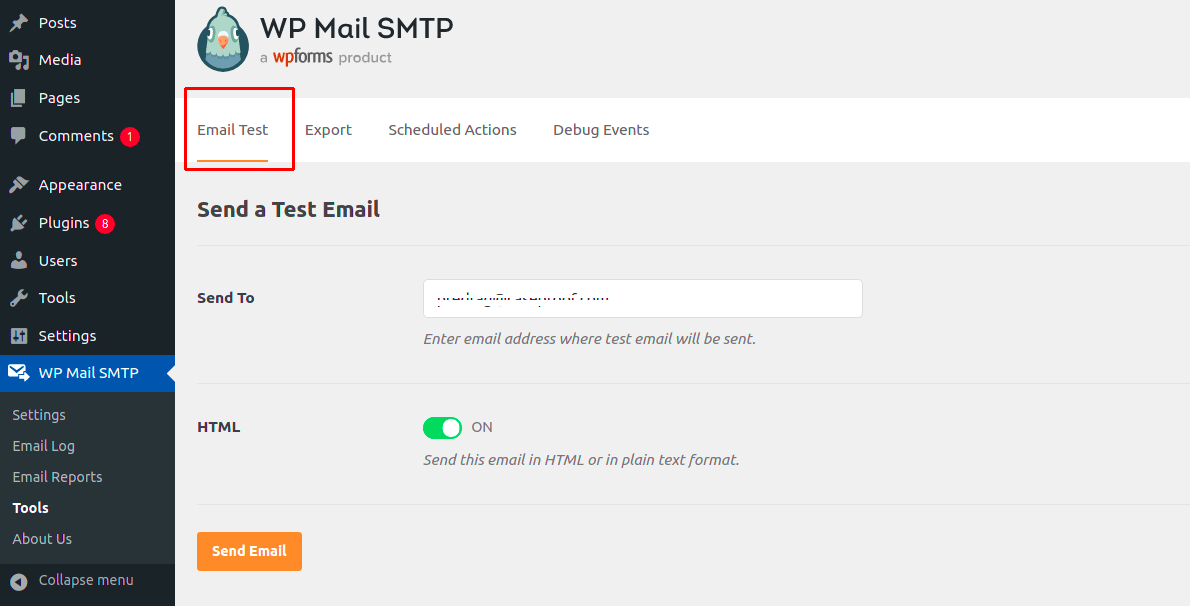
In the Send To field, enter a valid e-mail address (that you can access), and click on the Send Email button. If everything goes well, a success message will show on your screen. As a confirmation, please check your inbox folder to verify that you have received the test e-mail.
That’s it! You’ve successfully configured SMTP for your WordPress site. You’ll now start getting notifications from your WordPress forms.


