How to: Staging site with MemberPress
Every now and then, you can hit some issues with WordPress/MemberPress combo that would require thorough debugging.
In most cases, we won't know what the cause is without proper troubleshooting (disabling plugins and changing the current theme used, examining the template files, etc.) which could cause other issues in your live environment. Our support would need to have some testing site where we can safely make a plugin or theme update or any other changes without disturbing the live website.
In the past, it used to be difficult to set up a WordPress staging site, but now that has changed, so even a non-technical person can do it.
Please follow this article which will guide you on how to create a staging site and configure all the required settings for making your live site still work correctly.
We are going to show you how to create staging and configure payment gateways.
Additionally, we will go over emails, reminders, and Cron and what should be done on the staging site so this wouldn't cause any issues in the future.
Creating a Staging Site with MemberPress
For creating a Staging site, most hosting companies have this option included in their basic package. I highly recommend checking this first.
Another option would be to create it with a plugin like Duplicator or create it manually from your server end where all of your site's files are located.
If you are not familiar with this process, you can check how to create a staging site with a plugin or how to create a staging site manually.
Once you have created your staging site, please follow these steps to ensure there are no conflicts with your live site:
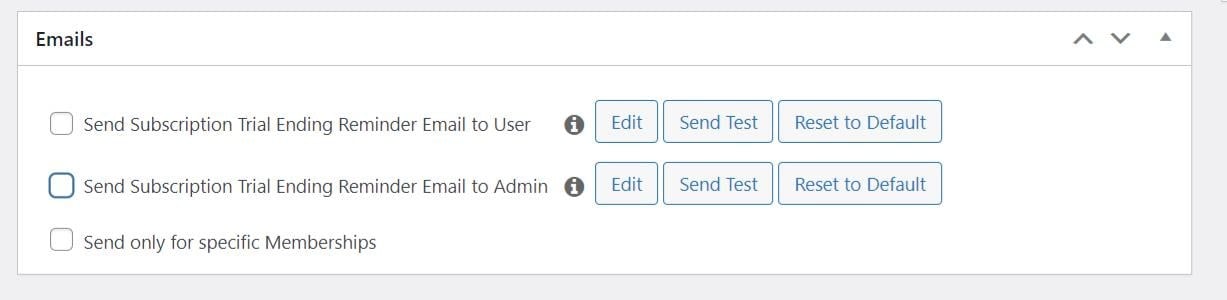
- Go to MemberPress->Reminders and disable all reminders. You can either trash the reminders, or you can disable both “Send…” options:
- Disable the following MemberPress Add-Ons on your staging site:
- Developer Tools
- ActiveCampaign (Lists)
- ActiveCampaign (Tags)
- AWeber
- Constant Contact
- ConvertKit
- Drip – Tags Version
- GetResponse
- MailChimp 3.0
- MailPoet
- Mailster
Once this is done, follow the directions below to configure your specific payment gateway to work properly on the staging site.
Stripe
If you are using Stripe as your payment method, to avoid any negative impact on your payments, you will need to follow these steps:
Pull (Live -> Staging):
After pulling the site data from your Live (production) site to your Staging site, please follow these steps:
- On your Live Site:
- Disconnect your Stripe Payment Gateway
- Visit the URI: https://[live.domain.com]/wp-admin/?mp-clear-connection-data=true to clear your connection data. (Replace [live.domain.com] with your actual live domain.
- On your Staging Site:
- Disconnect your Stripe Payment Gateway
- DO NOT Delete the Payment Gateway
- Visit the URI: https://[staging.domain.com]/wp-admin/?mp-clear-connection-data=true to clear your connection data. (Replace [staging.domain.com] with your actual staging domain.
- Back on your Live Site:
- Reconnect your Stripe Payment Gateway to your live account.
- Back on your Staging Site:
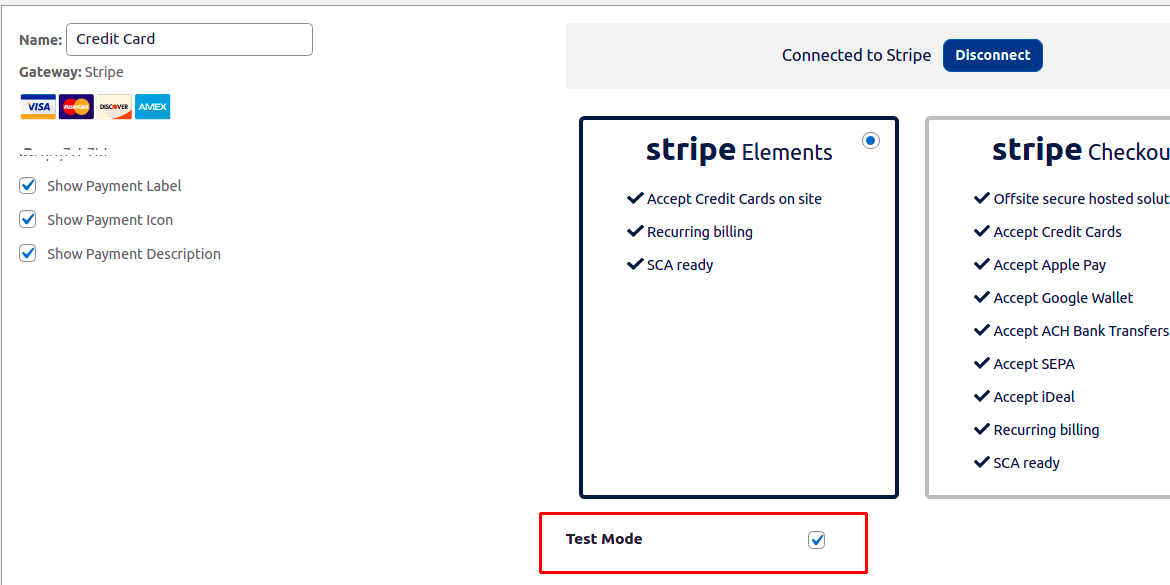
- Connect your Stripe Payment Gateway
- Check the “Test Mode” box on the Stripe Payment Gateway settings
- Click the “Update” button at the bottom of the page to save the settings
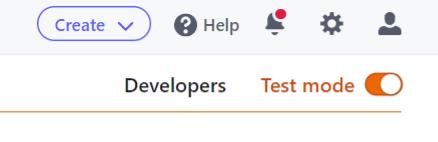
You are all set. Live payments will still process and work properly. Any payments you make on your staging site will be in Stripe test mode. You can see these transactions by going to your Stripe dashboard, and enabling the “Test Mode” toggle in the top right:
Push (Staging -> Live):
- Before pushing Live: Disconnect but DO NOT Delete the Stripe payment gateway on the staging site.
- Then push to live.
- After pushing to live, visit the URI https://live.domain.com/wp-admin/?mp-clear-connection-data=true on the live site to clear your connection data.
- Reconnect your live Stripe gateway.
- Uncheck the “Test Mode” box in the Stripe Payment Gateway Settings
- Click the “Update” button to save the options.
PayPal
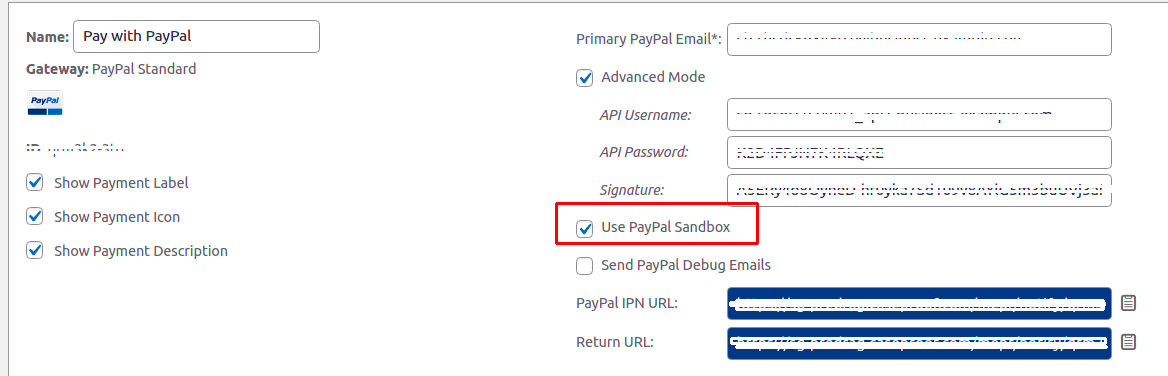
We also recommend using “PayPal Sandbox” mode on your staging site. For this, you will need to create a sandbox account for using the PayPal payment method.
The other option is to add a new PayPal payment gateway using a testing account. It is best to leave your live PayPal payment gateway enabled. Be sure to delete any test payment gateways you create before pushing back to live.
If you find this still too complicated, you can simply make some test payments with Stripe on your live site by putting Stripe in test mode.
Authorize.net
If you are using Authorize.Net, you'll need to update the Silent Post and Webhook URLs.
If you find this still too complicated, you can simply make some test payments with Stripe on your live site by putting Stripe in test mode.
Stop Emails on Staging
If you have disabled all MemberPress Reminders and deactivated our marketing integrations, you should not have any issues with emails being sent to live customers from your Staging site. But if you want to be sure, here are instructions on how to stop emails from sending on your staging site.
Please note that this will stop all emails, not just MemberPress ones.


