This documentation goes over how to install, activate, and set up the Account Nav Tabs add-on for MemberPress. The Account Nav Tabs Add-on allows you to add custom tabs on the Account page and either add the content or enter the link that will open in the same or a new window.
Video Tutorial
Installing the Account Navs Add-On
To install this add-on, navigate to your Dashboard > MemberPress > Add-ons to find the add-on and click the “Install Add-on” button. This will automatically download and install the add-on.
Alternatively, you can also download and install the Account Nav Tabs add-on with the download link on this page.
Adding new tab
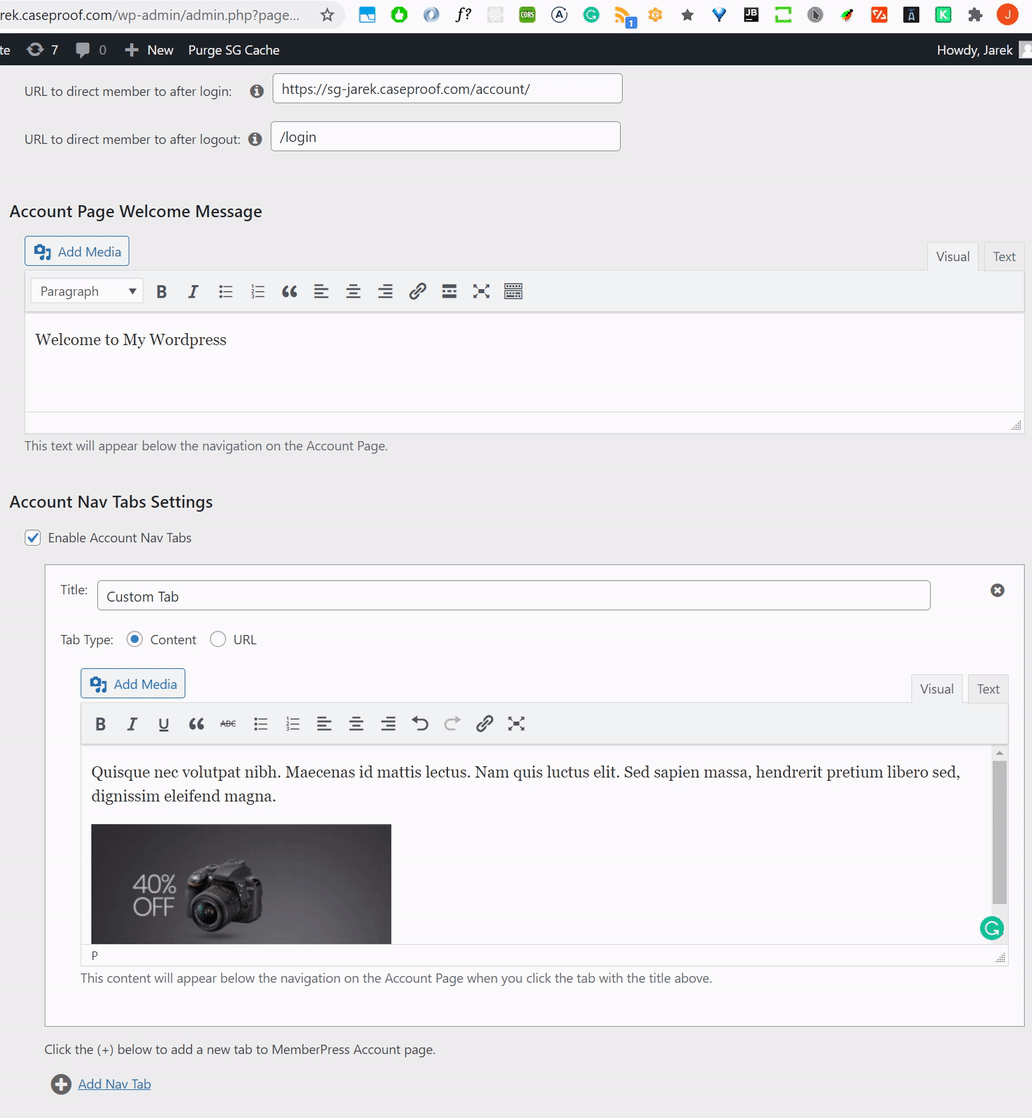
The first step to add Account Nav Tabs is to go to MemberPress > Settings > Account and scroll down to the Account Nav Tabs Settings section. Next, click the Enable Account Nav Tabs option.
Once you do that, you will see a new section where you can add the title of the new tab and a WordPress content editor where you can add the content, including images, videos, audio, shortcodes, and any content that you can use in a regular WordPress editor.
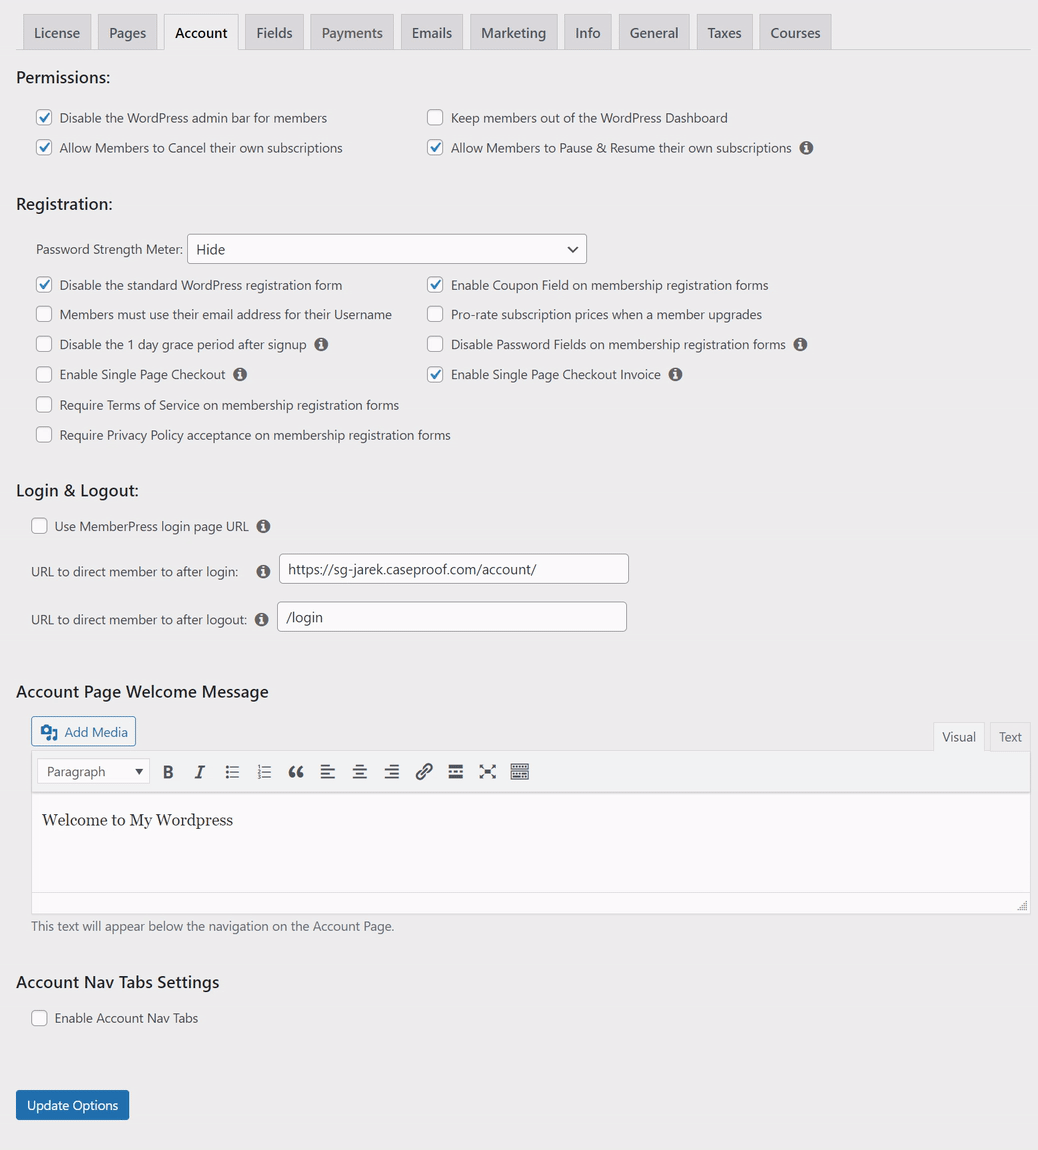
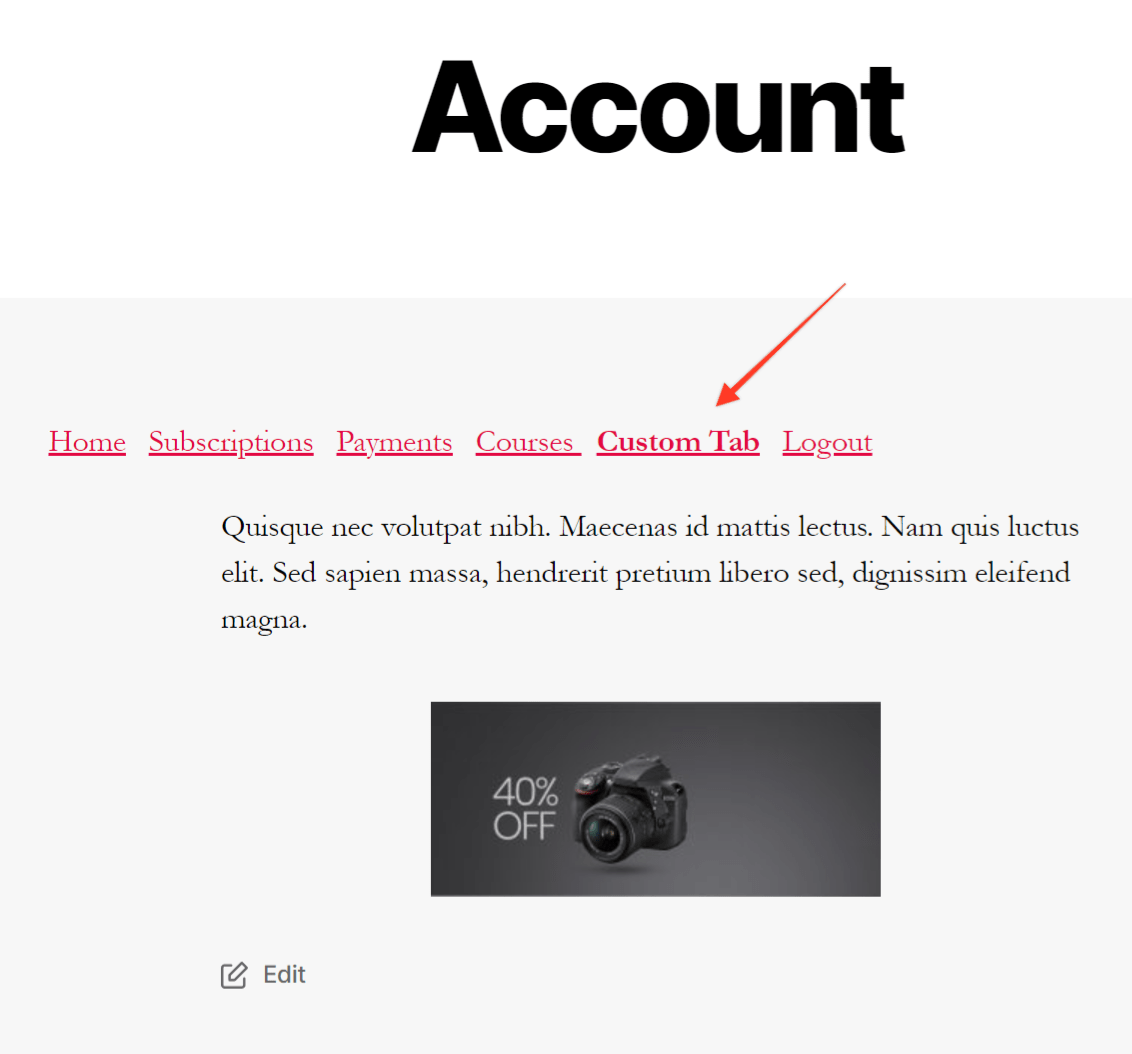
The title will become a new tab on the Account page. Once this tab is clicked, the content you have just added will be displayed.
If you want to add another tab, you need to click the Add New Tab button. You will see another section where you can add the title and content of a new tab.
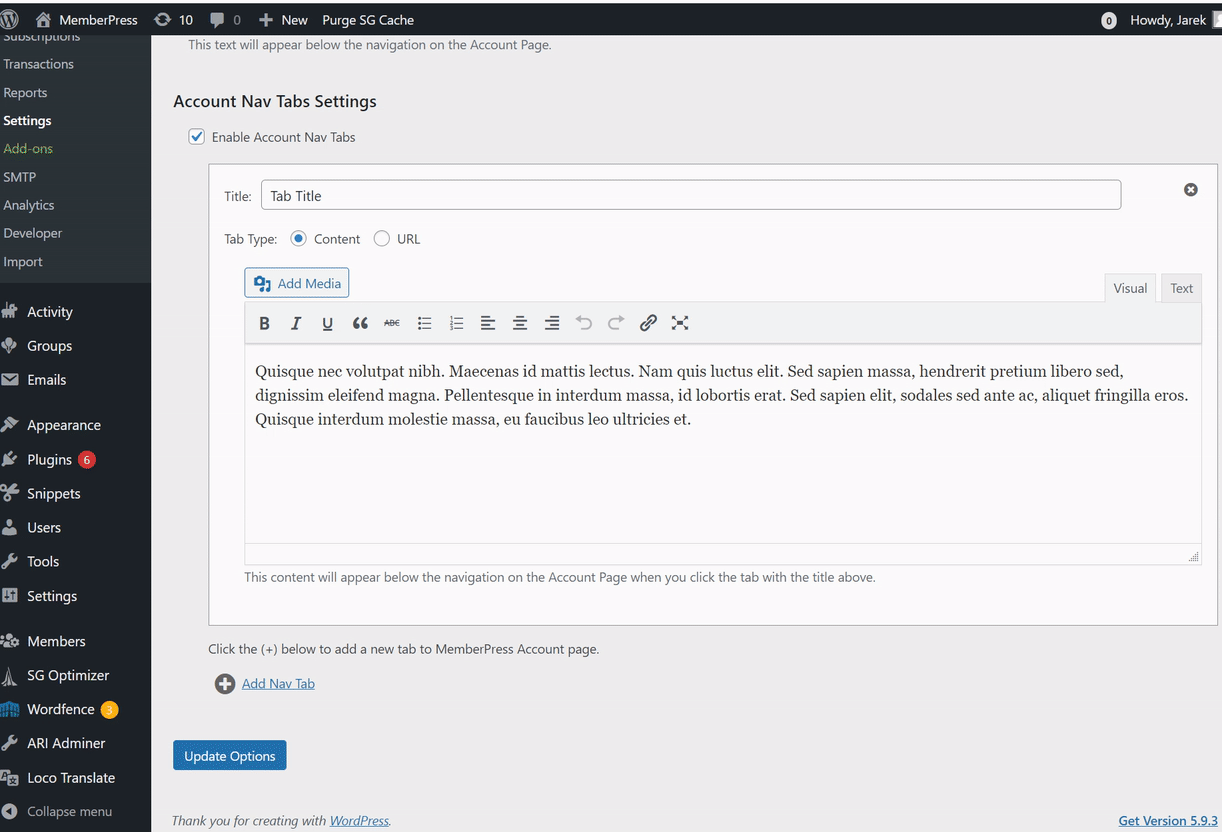
Keep in mind that the first time you click the Add New Tab button, the content editor will be just textarea. It will be replaced by a regular WordPress content editor as soon as you click “Update Options” and save changes.
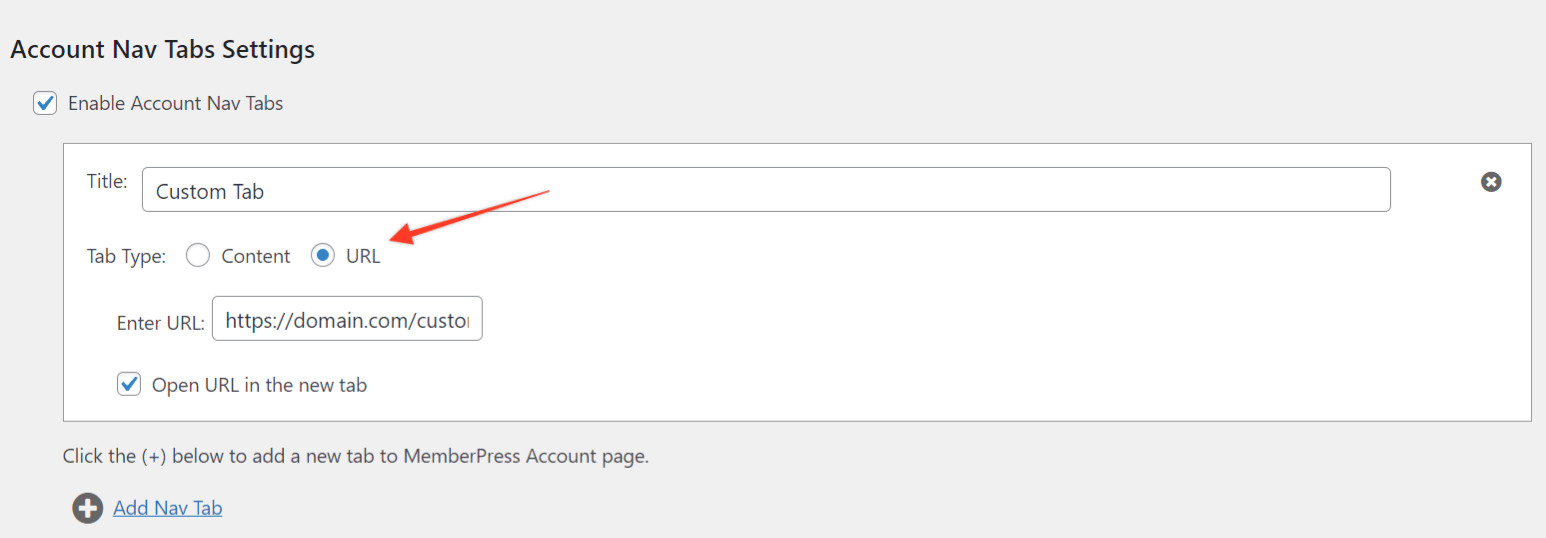
Adding tab as URL
Account Nav Tabs provides two tab types. The default tab type is the Content tab with the content editor, but you can click the URL tab type option where you can enter the URL. Instead of displaying content when you click the tab title, you can open the URL to another page.
Protecting Tabs
Video Tutorial:
By protecting tabs, you can make each of your custom tabs visible only to specific members. Tabs can be protected using Account Nav Tab rules.
You would need to create a separate rule for each account tab you wish to protect. If you are creating multiple rules for the same tab, make sure to avoid causing any conflicts between these rules.
When creating a rule, you can protect an account tab based on the member's membership, user role, or capability. Also, you can allow access only to the specific user.
To protect any of your tabs, follow these steps:
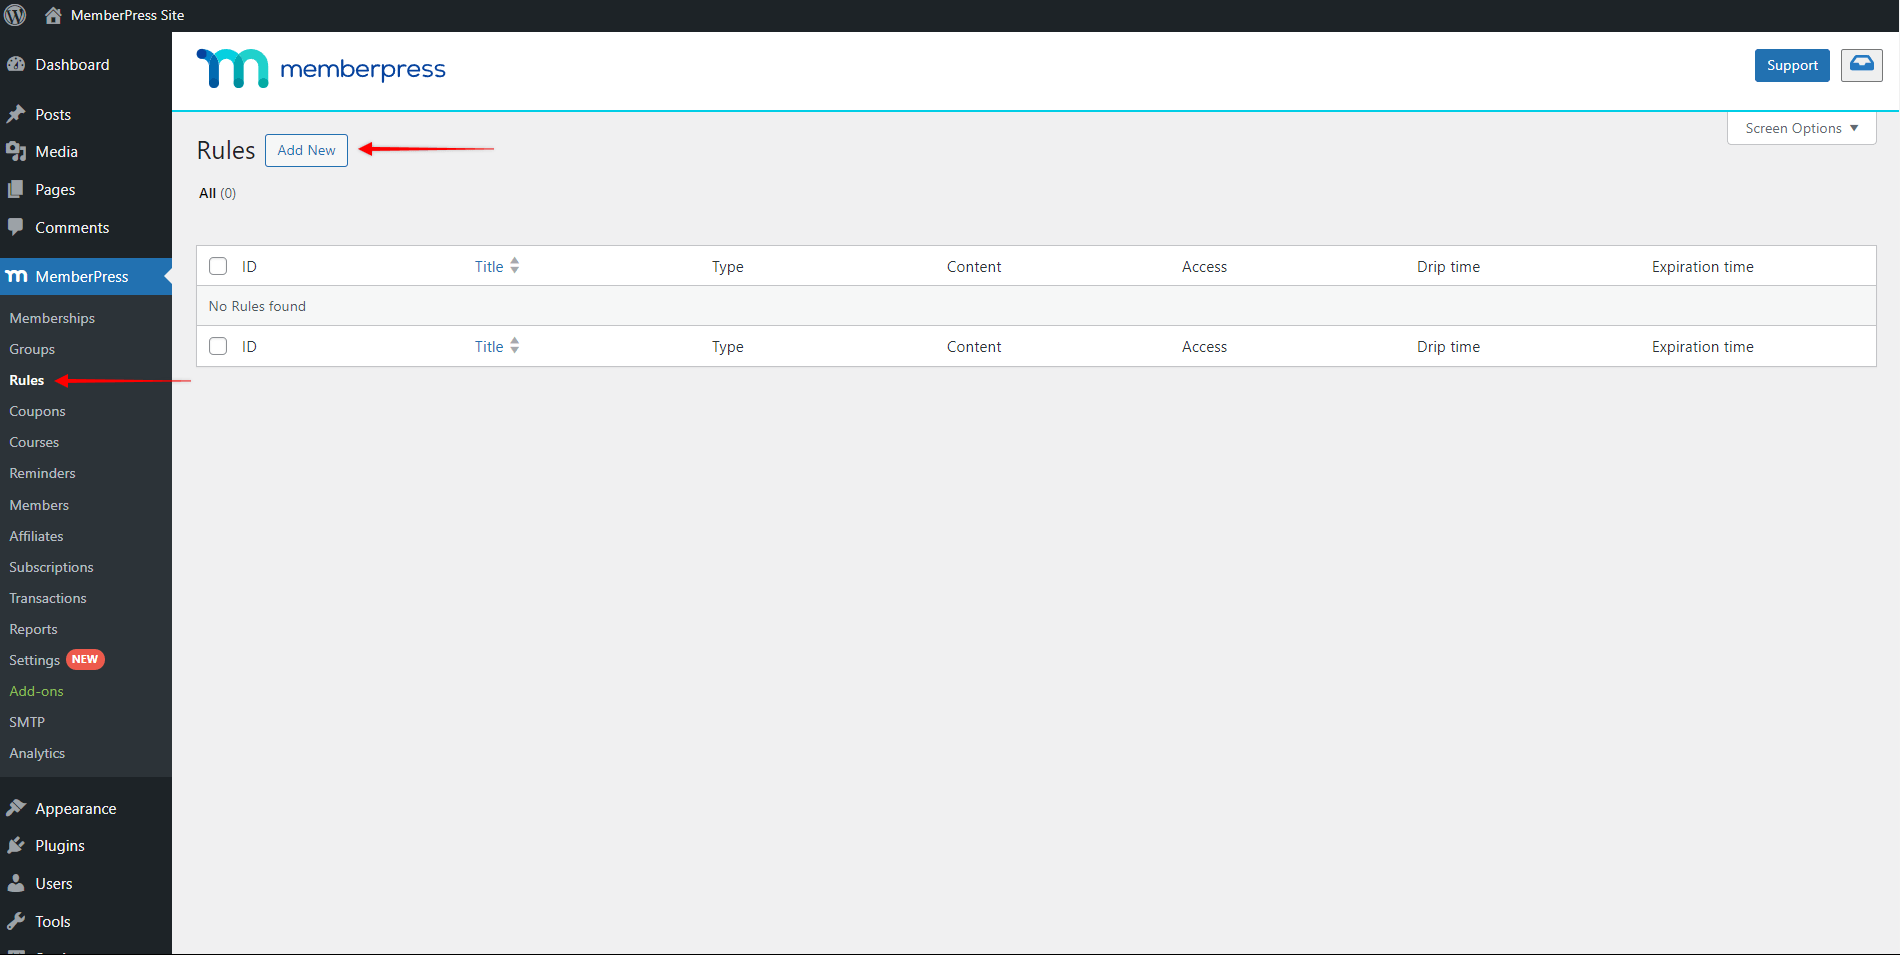
- Navigate to the Dashboard > MemberPress > Rules. Click on the Add New button to open an editor for your new rule.
- Under the Protected Content section, click on the dropdown and select the Account Nav Tab rule type.
- Selecting this rule type will open a search field to specify the tab you want to protect with this rule. Start typing the name of your tab and select the tab from the results list.
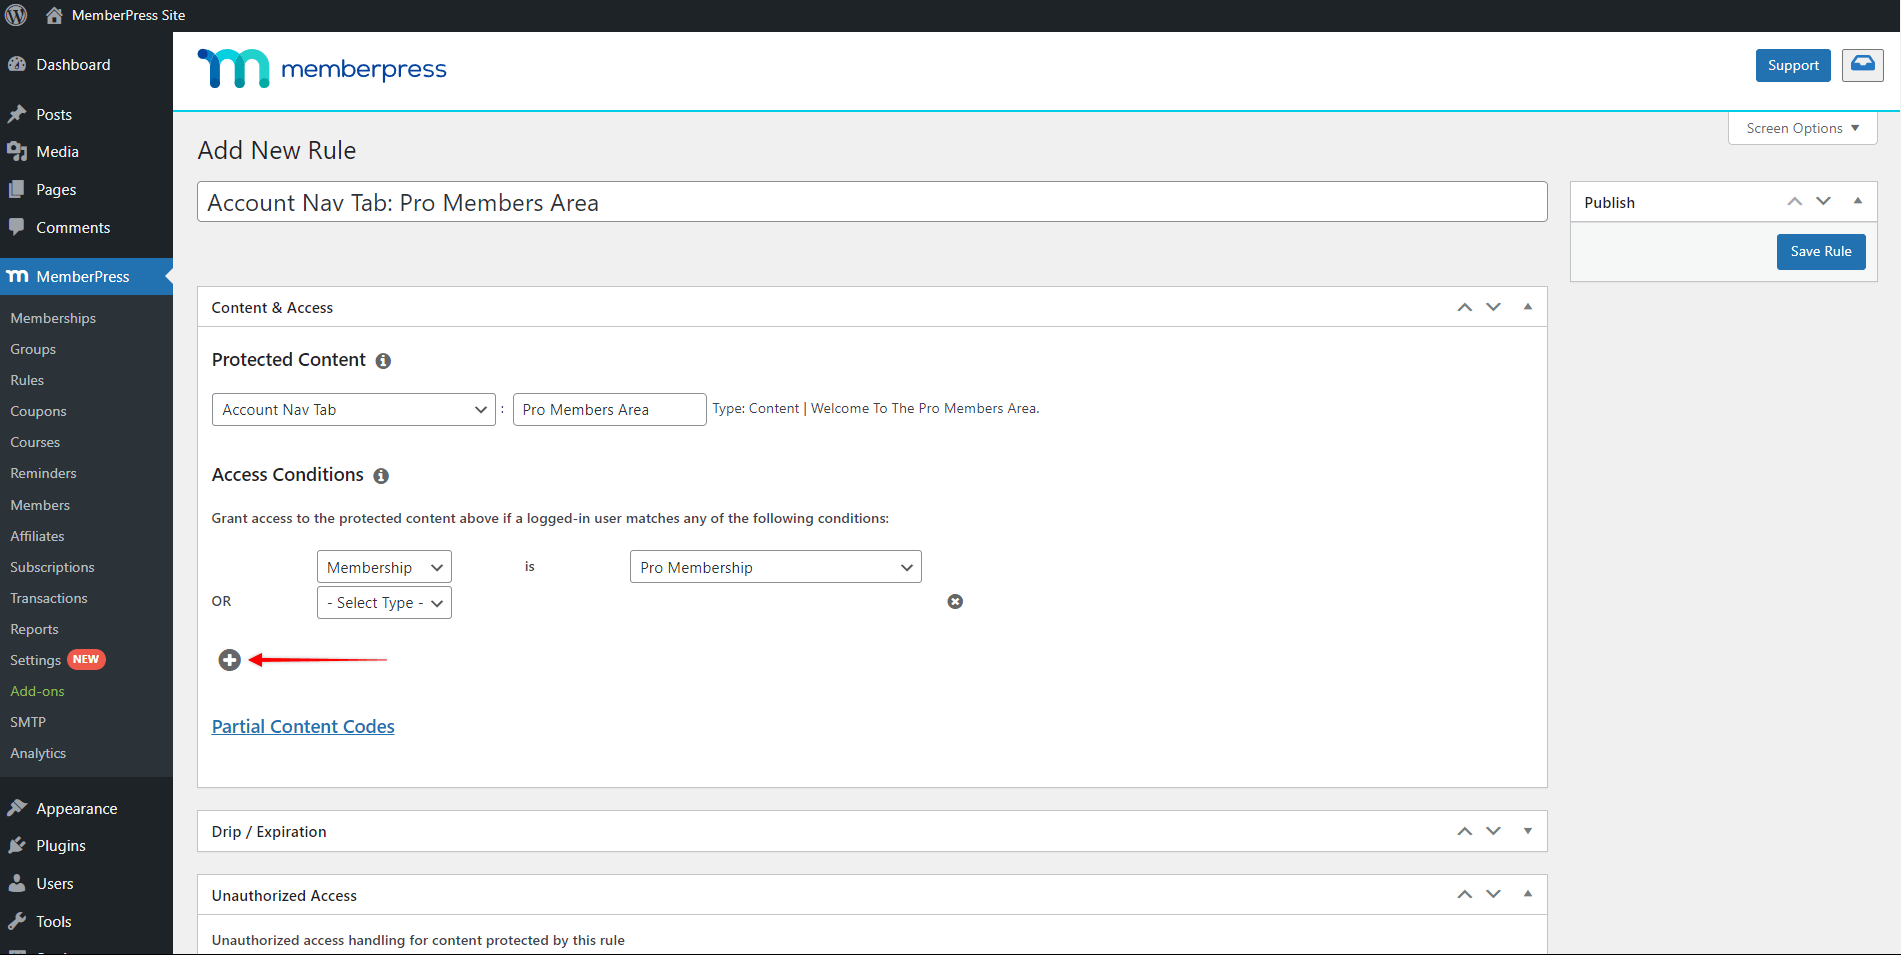
- Under Access Conditions, select one or more access conditions. To add the first condition, click the Select Type dropdown and choose the type of condition:
- Membership: for this condition type, you need to specify the membership required to access this tab. Only members with an active subscription to that membership will be able to access the protected tab;
- Member: with this condition type, you can provide access to the tab only for the specific user on your website.
- Role: this condition will allow access to all users with the specific user role assigned to their WordPress user. You will need to specify which user role is required to access the protected tab;
- Capability: you can also allow access to the tab to any user with a specified capability assigned to their WordPress user.
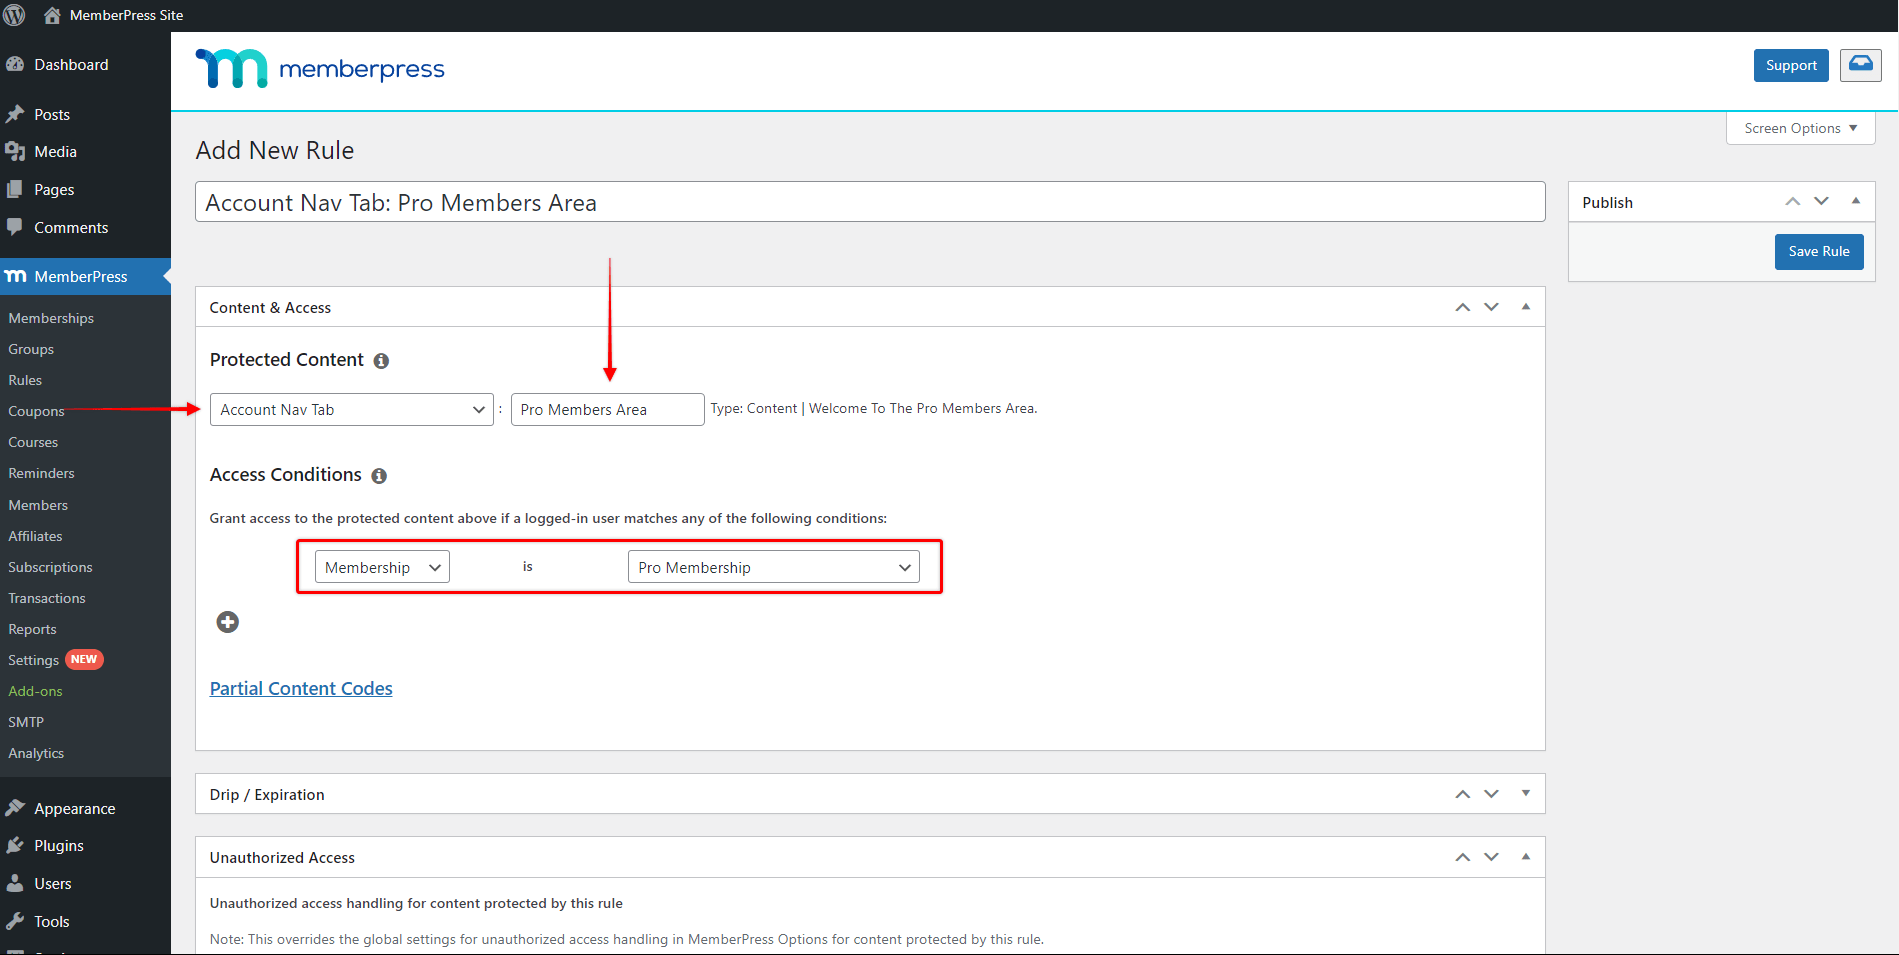
- You can add more conditions by clicking the plus icon (+) and repeat the previous step.
- Click Save Rule to save changes and apply protection to the chosen tab.
Your users will always see default and publicly available (unprotected) custom tabs. At the same time, they will see only those protected tabs for which they are authorized (any access condition fulfilled).
Removing tab
To remove the tab, click the small icon on the top right side of the tab section. Once you do that, you will be prompted to confirm that they want to delete the tab. After confirming it, the tab will be deleted. Make sure to click the Update Options button to save changes.
That's it. You should now be able to add custom tabs to the Account page!


