WordPress 5.8 introduced the first support for full site editing, a collection of WordPress features that focus on styling blocks and using blocks for all parts of a website, not only the content area. This tutorial is not an in-depth tutorial about full-site editing but an introduction to how to use full-site editing to build a membership page. If you want to learn more about full-site editing, you can check this document:
https://developer.wordpress.org/block-editor/getting-started/full-site-editing/.
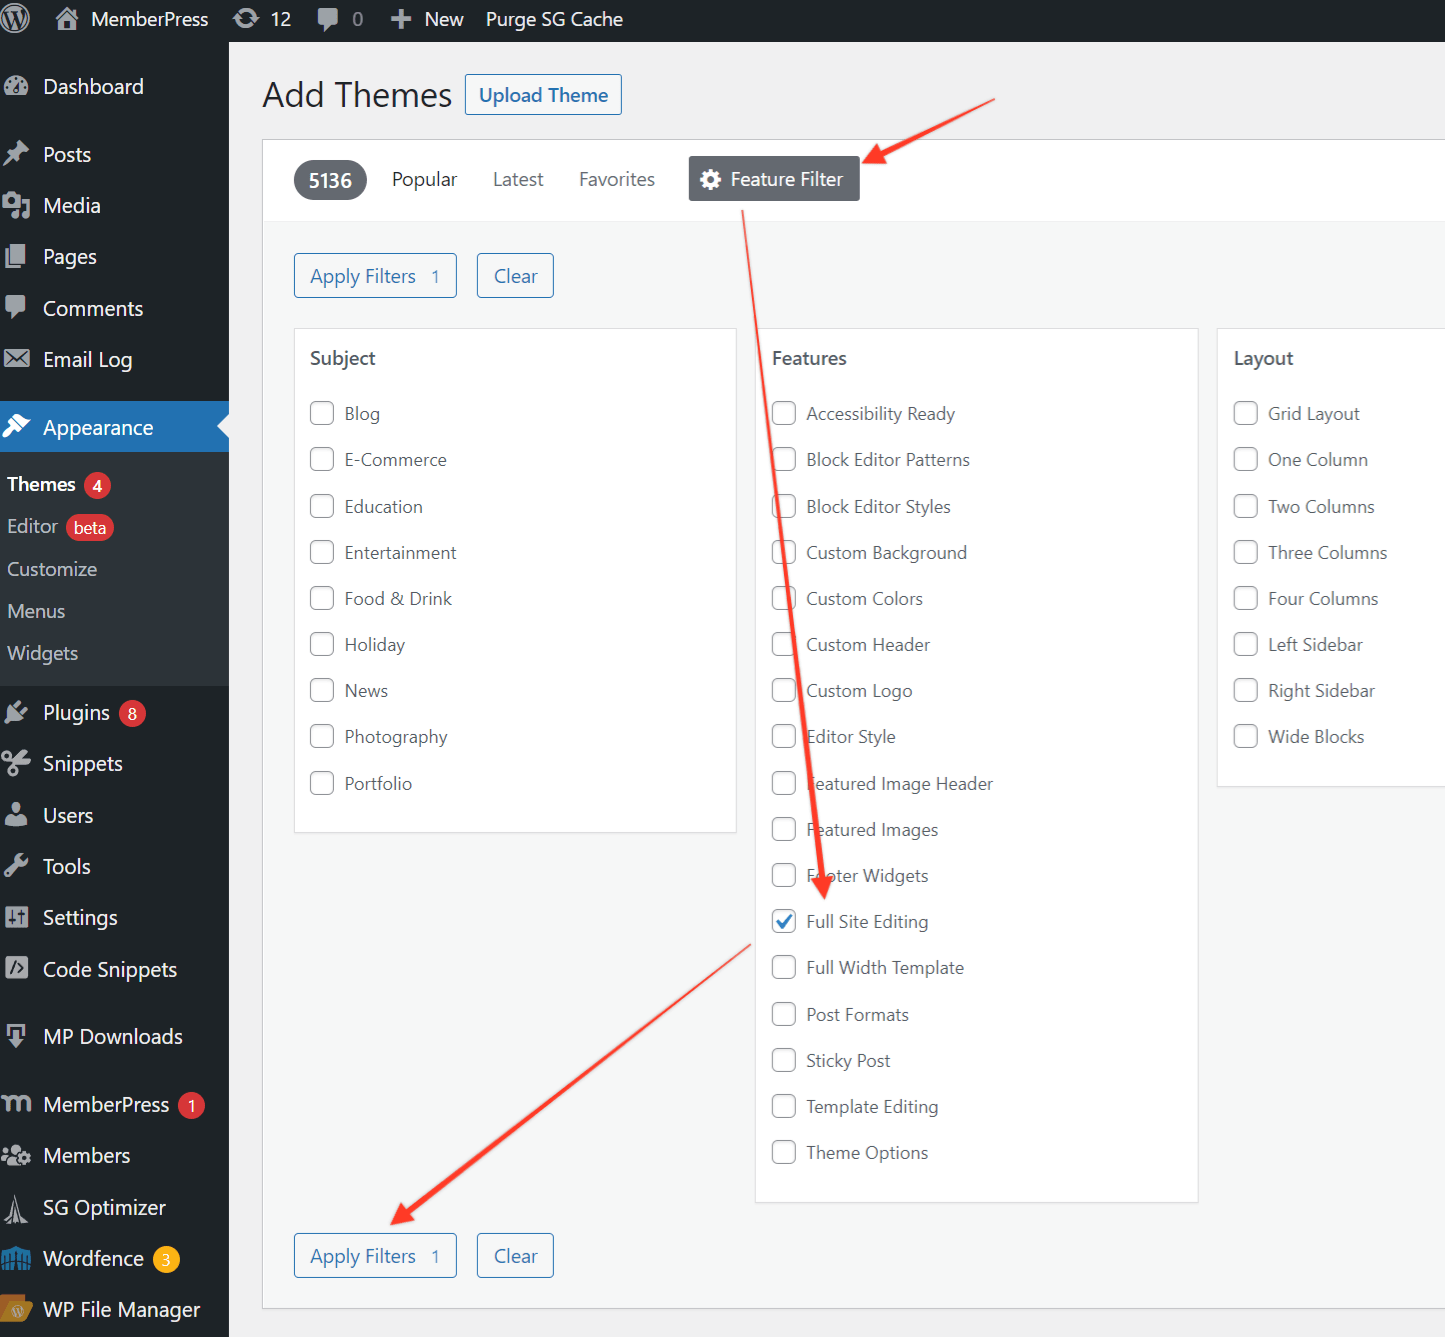
To use full site editing, you need to install a theme that supports it. To find themes in WordPress repositories that support this feature, navigate to
Appearance > Themes, click Add New button at the top, Feature Filter tab, and check the Full Site Editing option. Then, click Apply Filters button, and you will see all themes that provide full site editing.
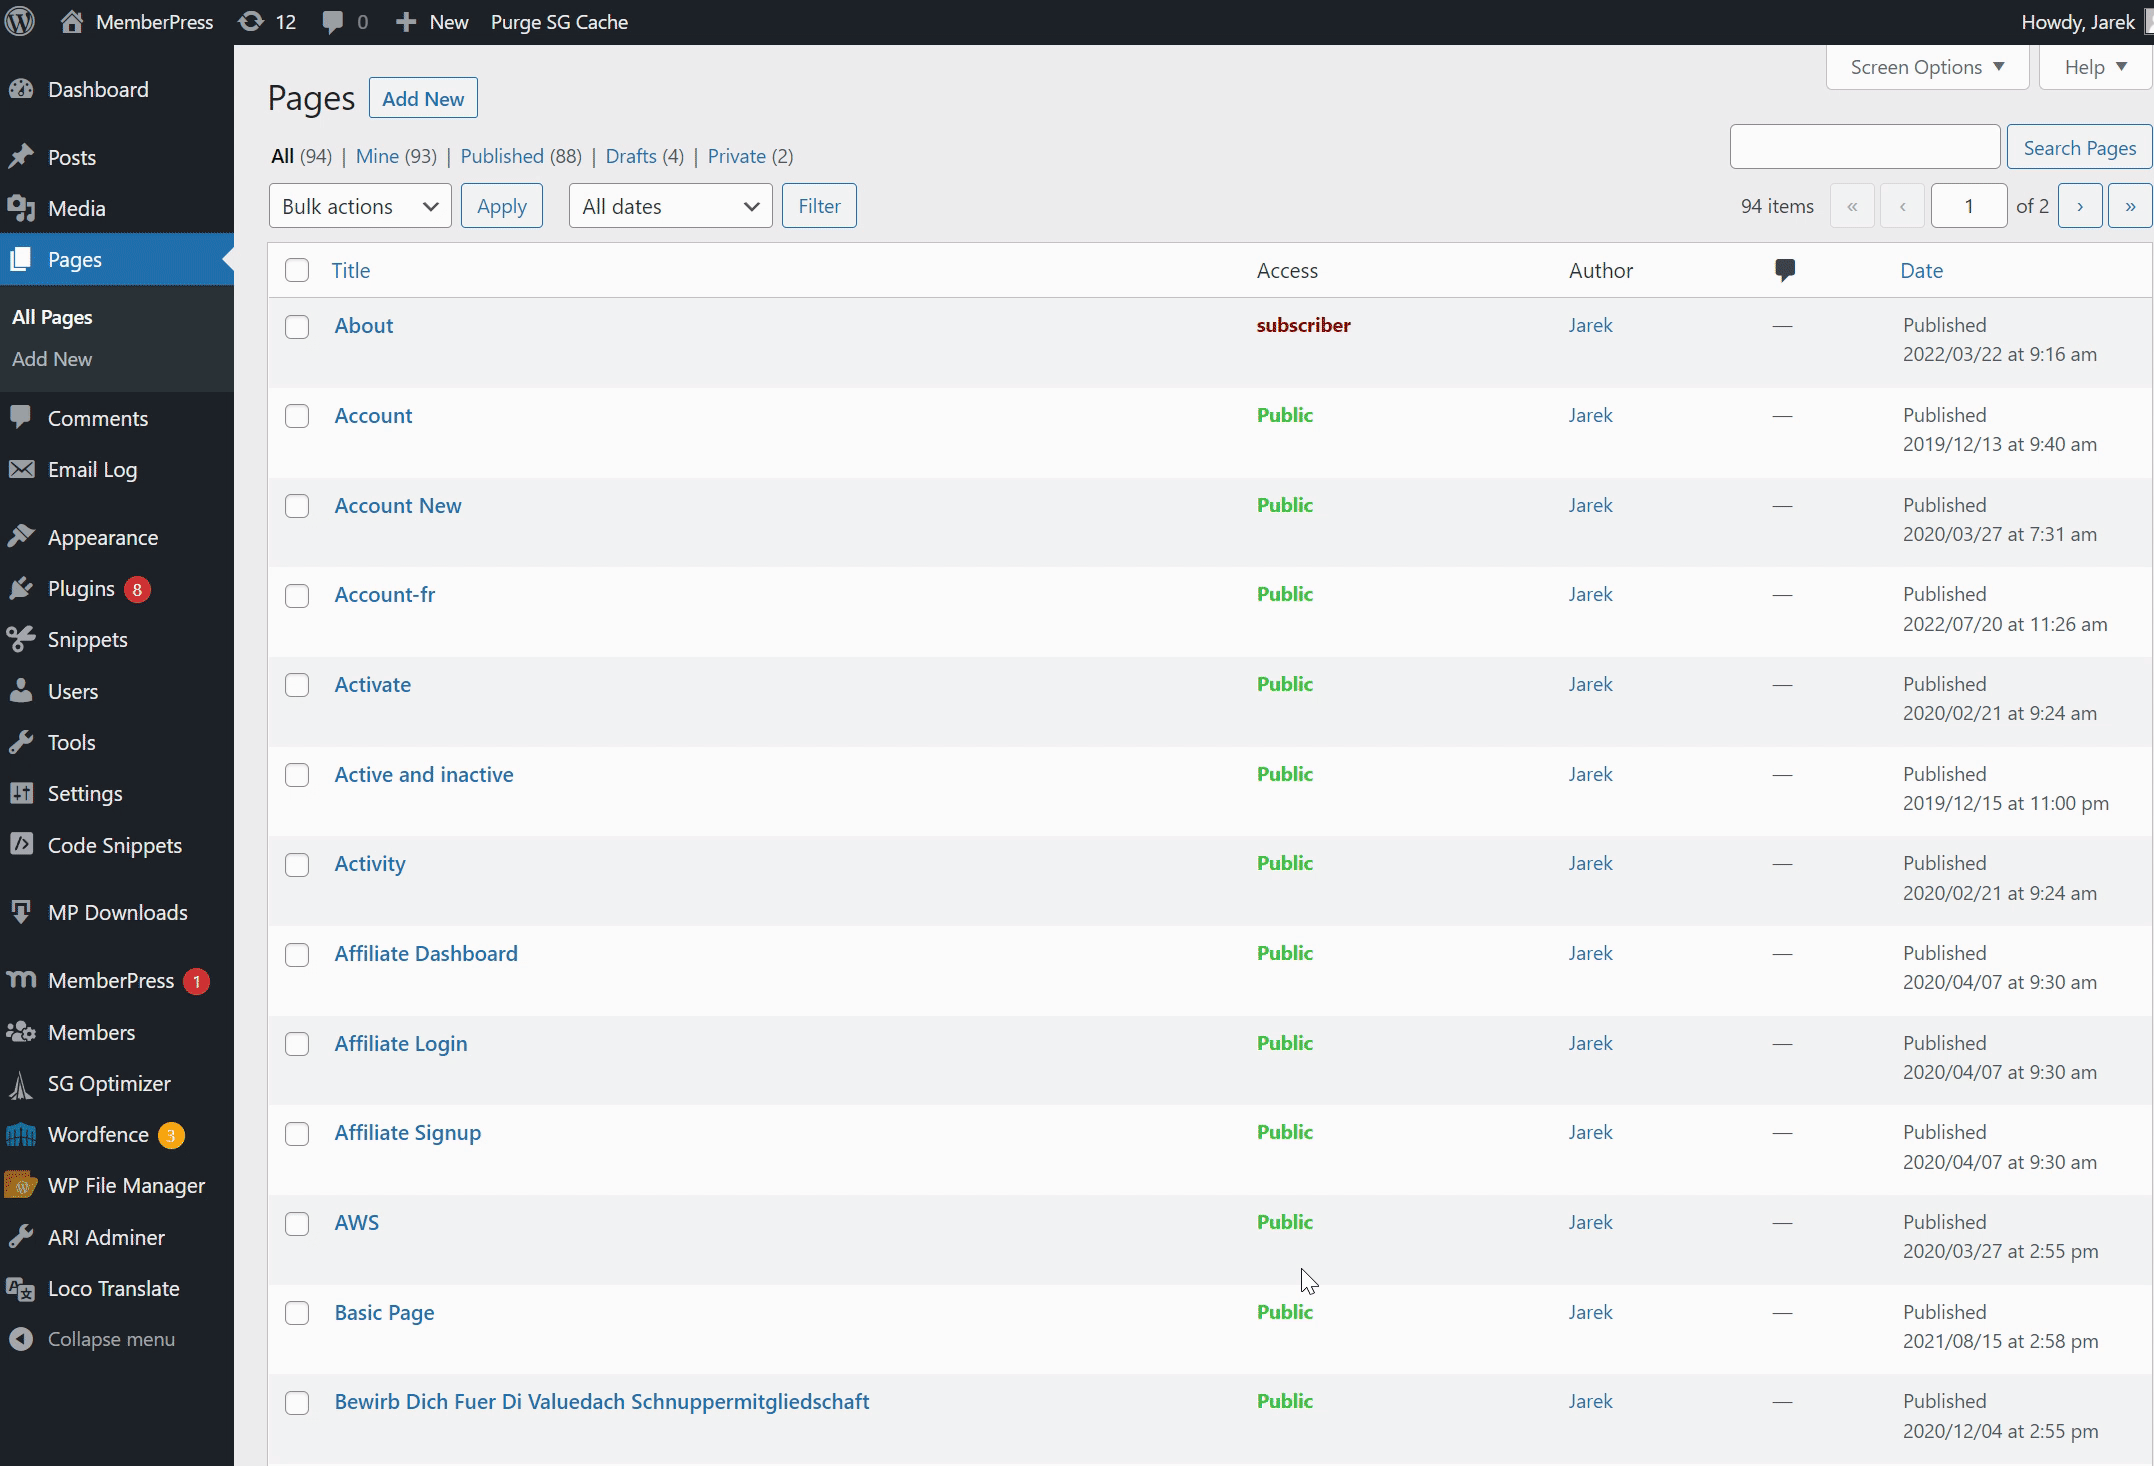
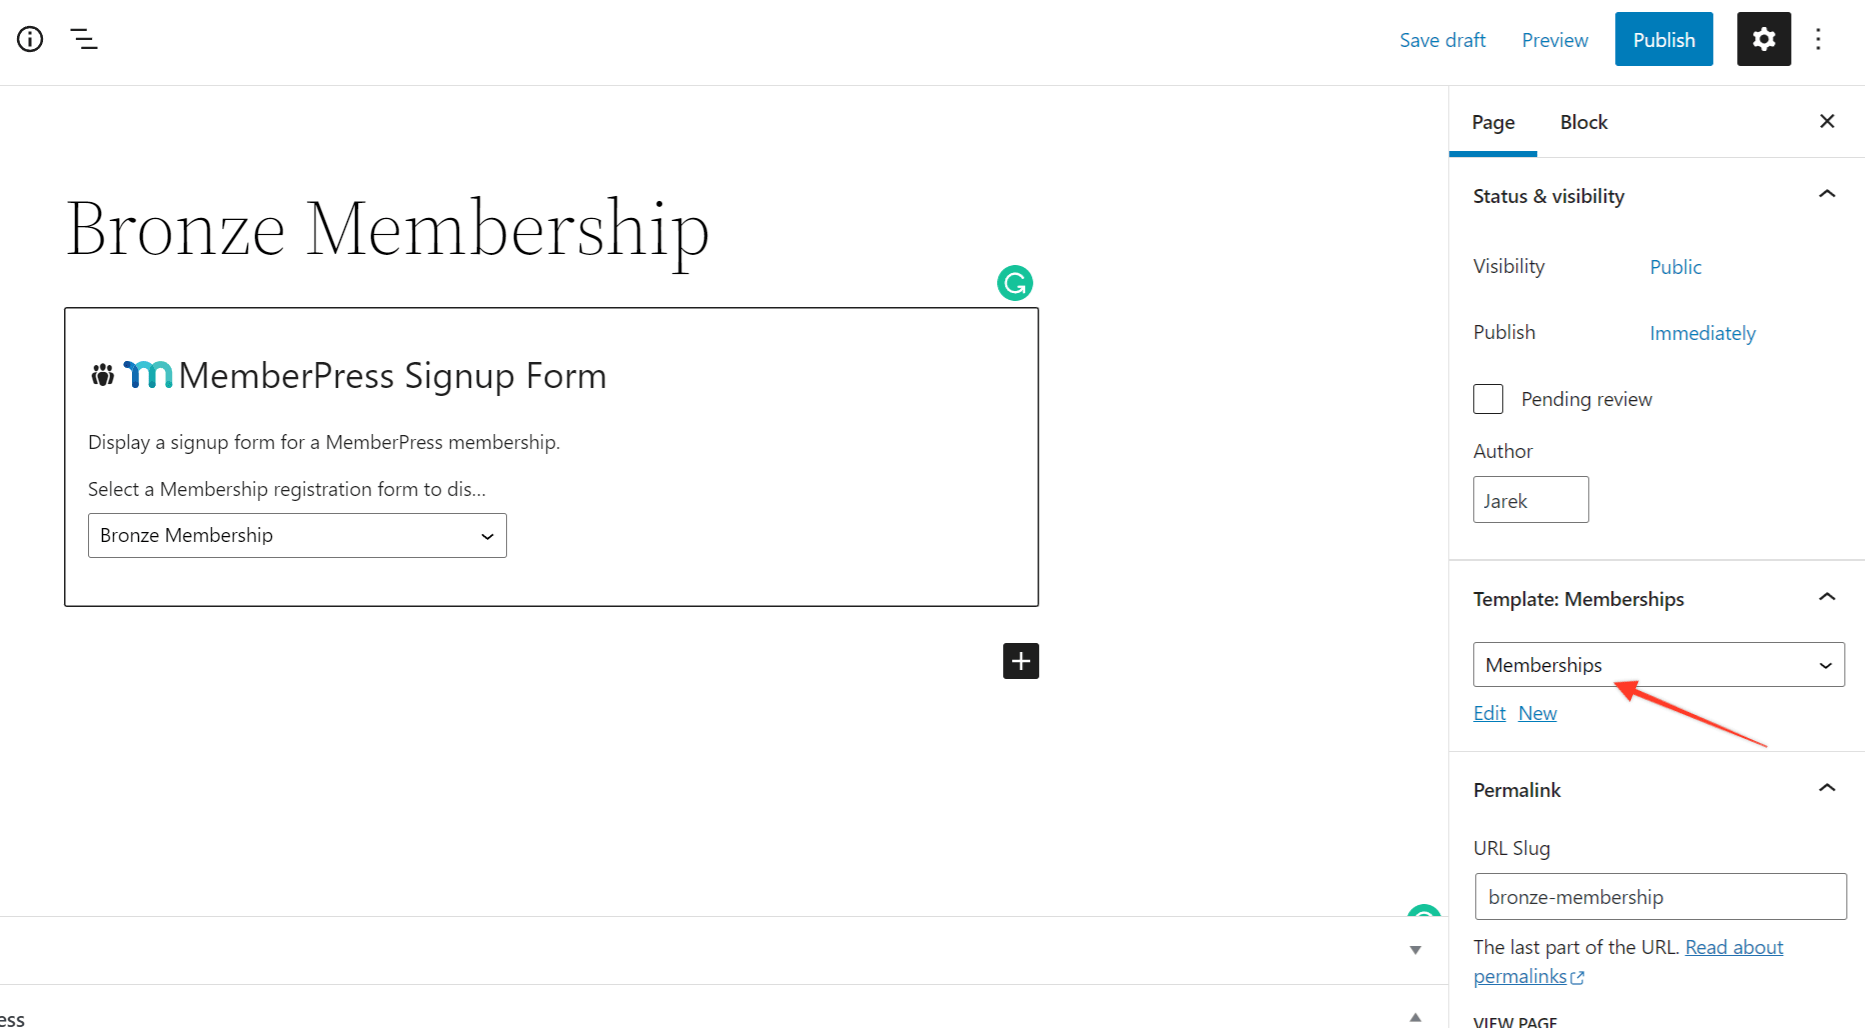
1. Create a new page in Pages section.
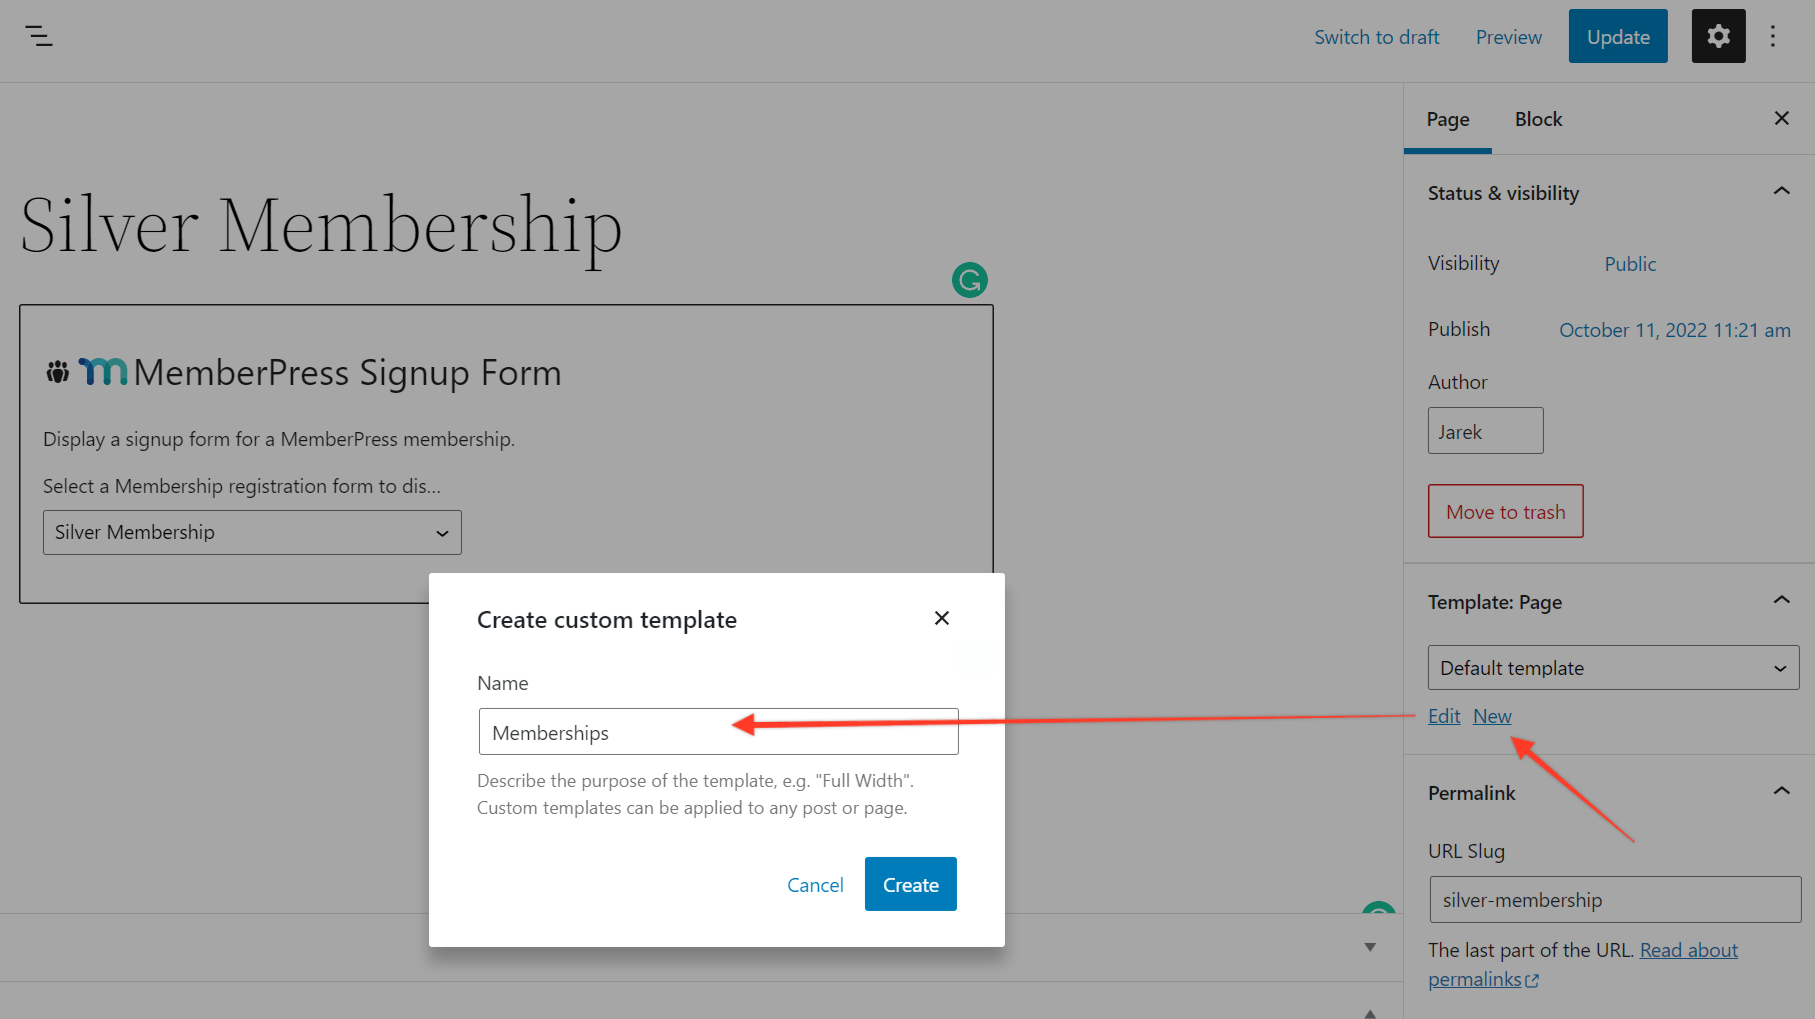
Add New Page button and add the page title. Then, in the content, add the
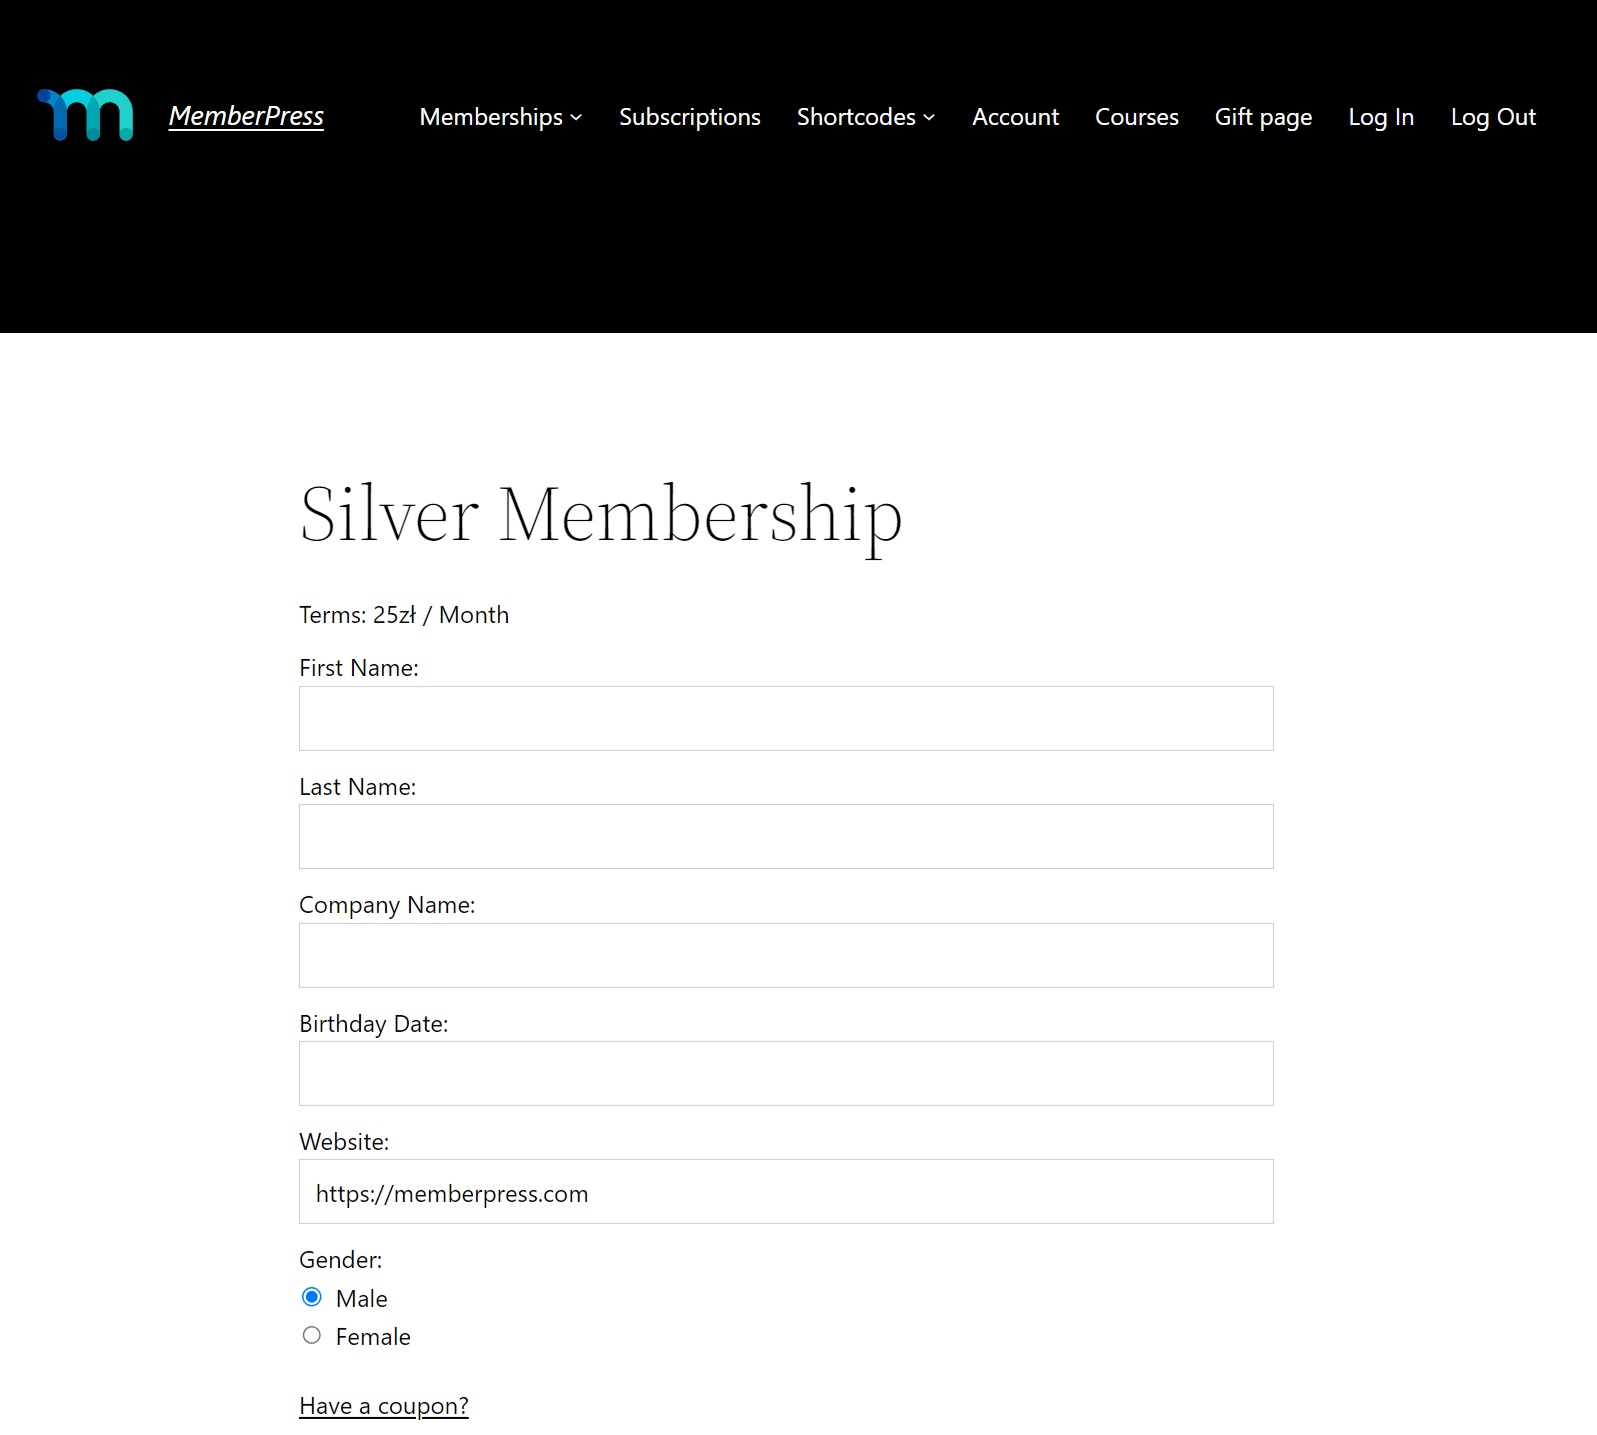
Registration block, and in MemberPress Signup Form, select the membership registration form you would like to display on that page.
2. Create a custom template for your memberships.
New link in the Template section in the sidebar. Then, add the template title in the popup window and hit
Create button.
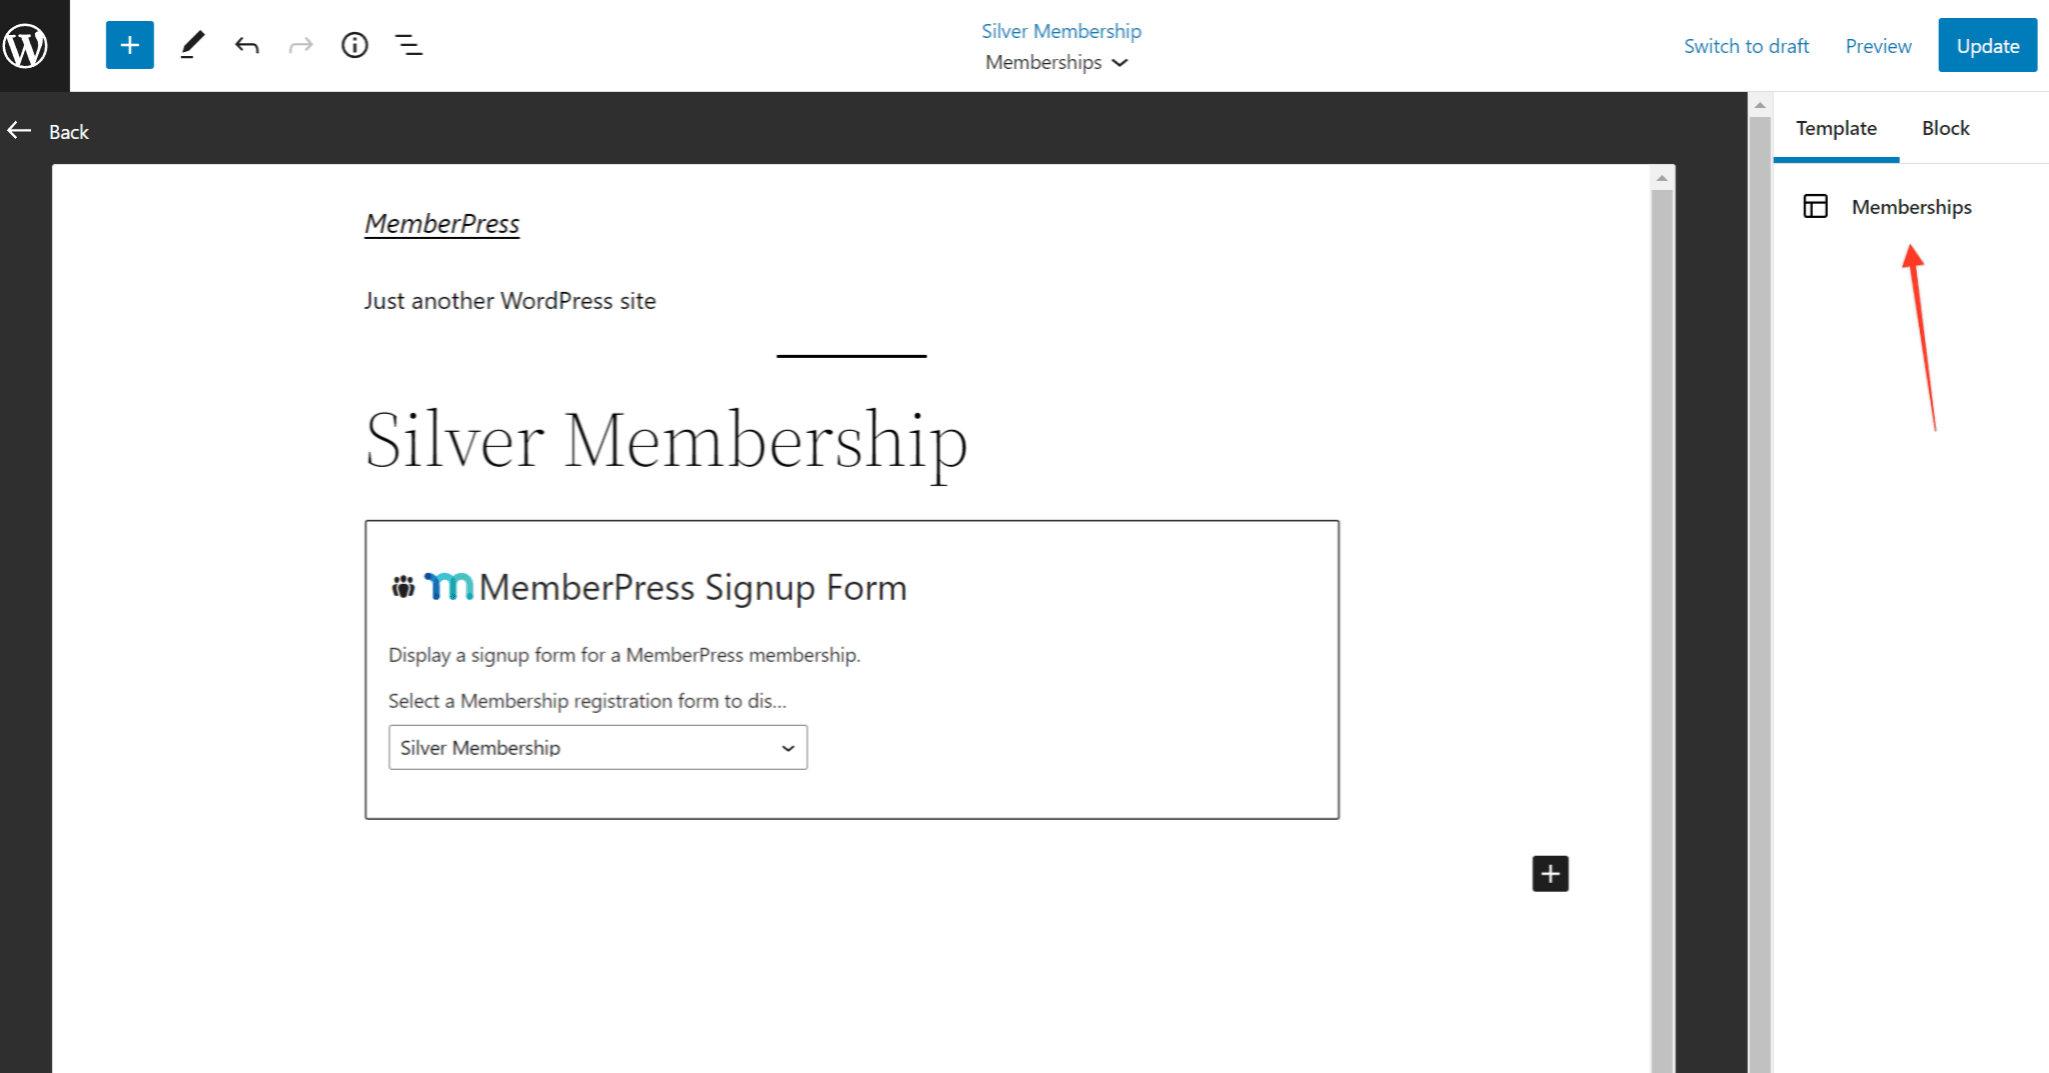
You will be redirected to the Full Site editing window, where you can edit your template.
3. Create new membership header
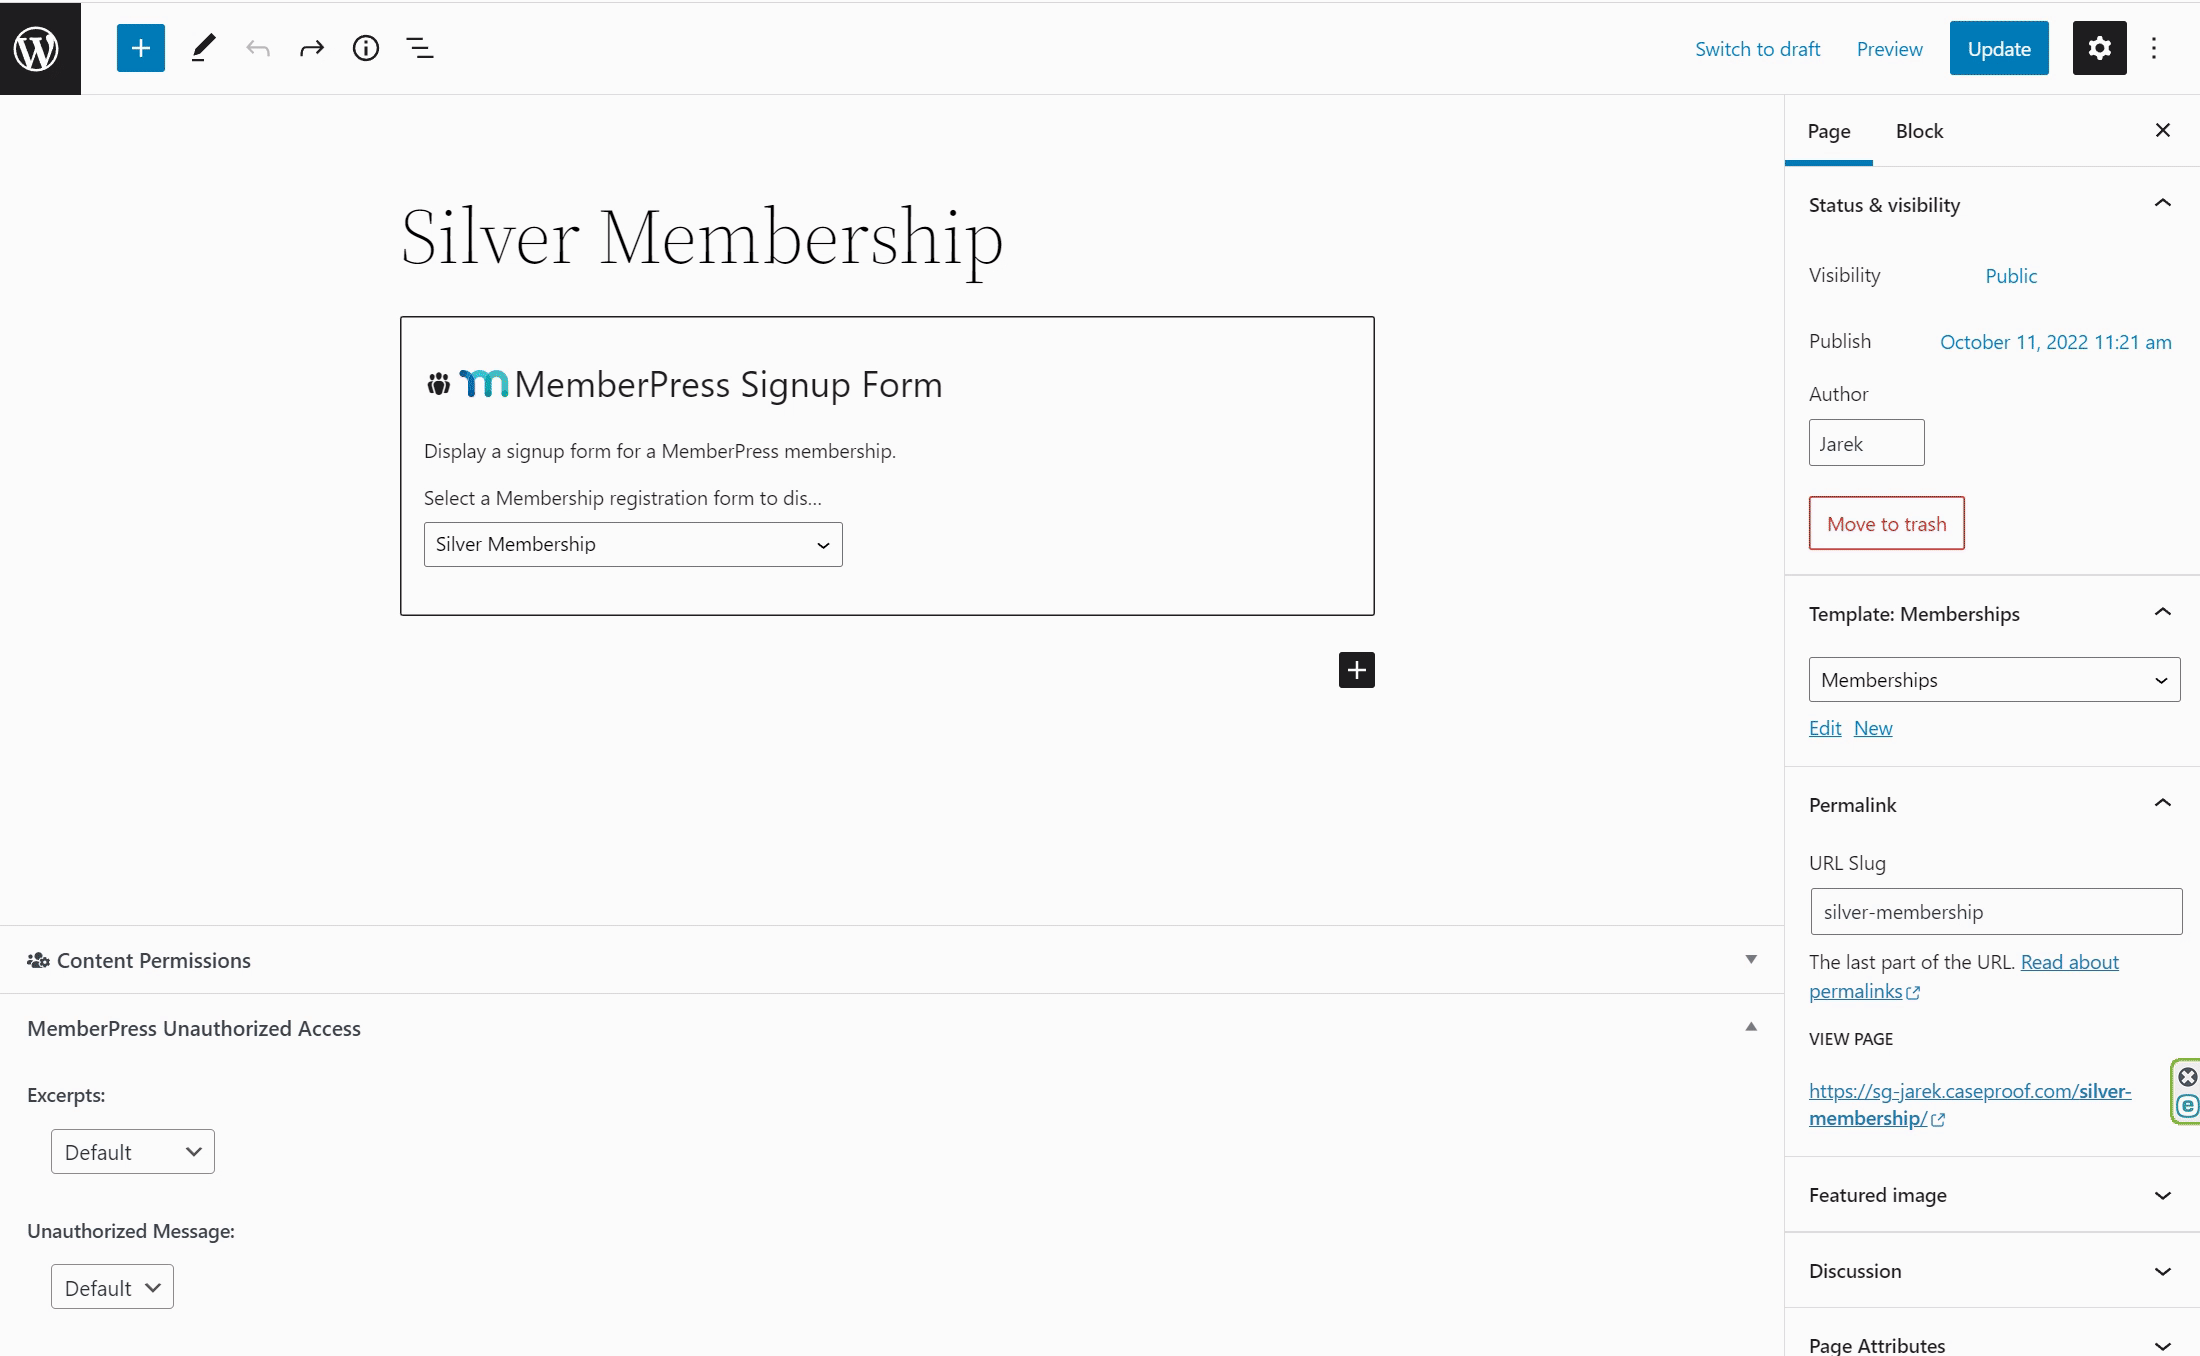
4. Create pages for other memberships and select a new template for them.
That’s it. You can play with all templates provided by your theme and create custom templates for your memberships and Account page.


