See a list of related articles at the bottom of the page.
Once you've installed and activated the MemberPress Courses add-on, you'll be able to add Certificates to any of your existing or new courses. To learn how to install Courses, visit Getting Started with MemberPress Courses.
How to Enable Certificates On a Course
Certificates can be enabled for each of your courses individually. To enable certificates for any of your courses, please follow these steps:
- Navigate to your Dashboard > MemberPress > Courses;
- Click on the Edit link under the name of the course to which you'd like to enable certificates;
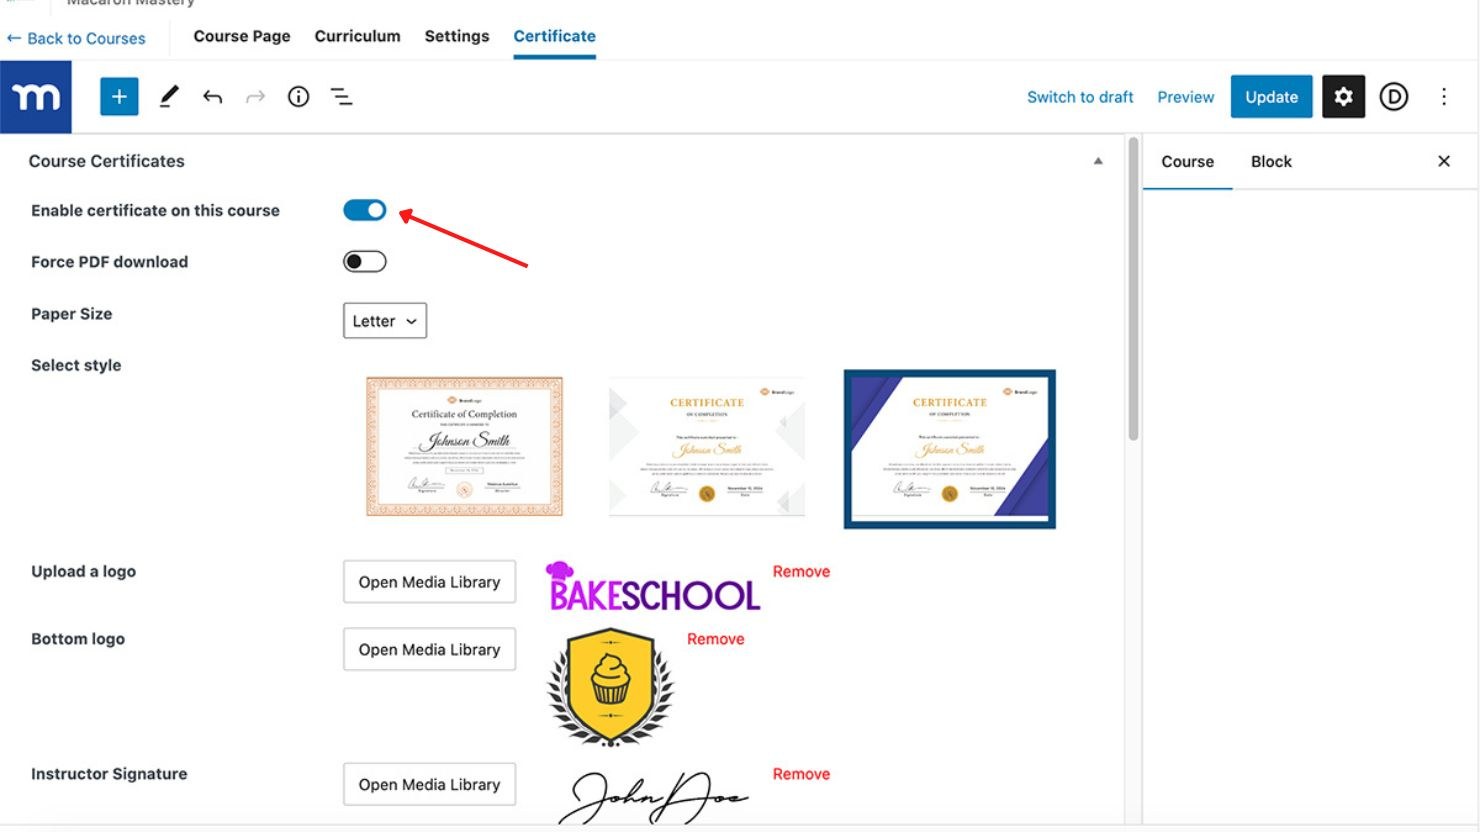
- Next, click on the Certificate tab at the top of the screen;

- Toggle on the Enable certificate on this course option;
- Set up your certificate, and add the customizations you need;
- Click the “Update” button on the top of the page to save changes.
Certificate Settings
You can customize the way the course certificate looks, add branding, show the completion date, and the expiry date, and provide your students with a shareable certificate link.
The Force PDF Download Option
If you add a certificate to a course, your students will be able to access the certificate once they complete the course by clicking on “Certificate” in the left menu.
The Force PDF download toggle, which is just under the enable toggle (see image above), determines how students receive the Certificate. Here's how it works:
- Toggled ON: Certificate PDF is downloaded to the student's desktop automatically.
- Toggled OFF: Certificate populates in a new window and can be downloaded from there.
Customization Settings
It's easy to customize the size, style, and text of your certificate. First, choose your desired paper size, either Letter (USA) or A4 (International), by selecting from the dropdown menu:

Next, you can choose from three styles. Right-click and choose “open image in new tab” to see a preview of what each certificate design will look like in full-size:

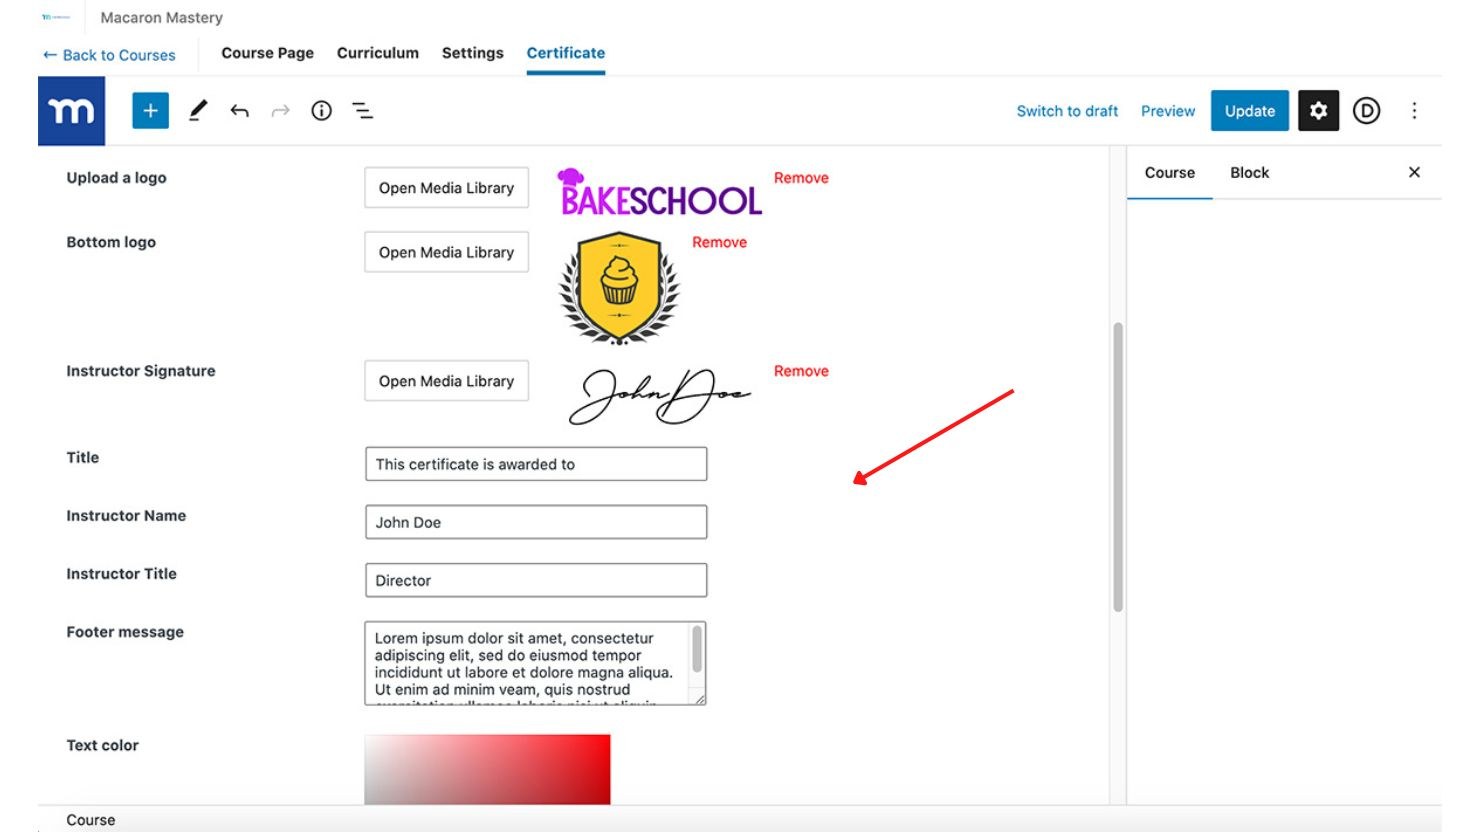
You can also add a course logo (for consistency with your brand), a bottom logo or seal, and an instructor's signature. To do this, simply upload these images to the WordPress media library, then click on Open Media Library next to each element in the certificate settings, and select your images:

Next, you'll want to customize the text on your certificate. You can add a unique certificate title, footer message, instructor name, and instructor title.
To do this, simply type the desired text into the Title, Instructor Name, Instructor Title, and Footer message fields:
The image below shows where each element in the customization settings will appear on your completed certificate:

The Logo should be no more than 100px in height and 700px wide.
The Signature should be no more than 60px in height and 200px wide.
The Seal should be no more than 100px square.
The Footer Text is limited to 55 words in length. Longer text will be automatically trimmed down with an ellipsis (…) shown at the end.
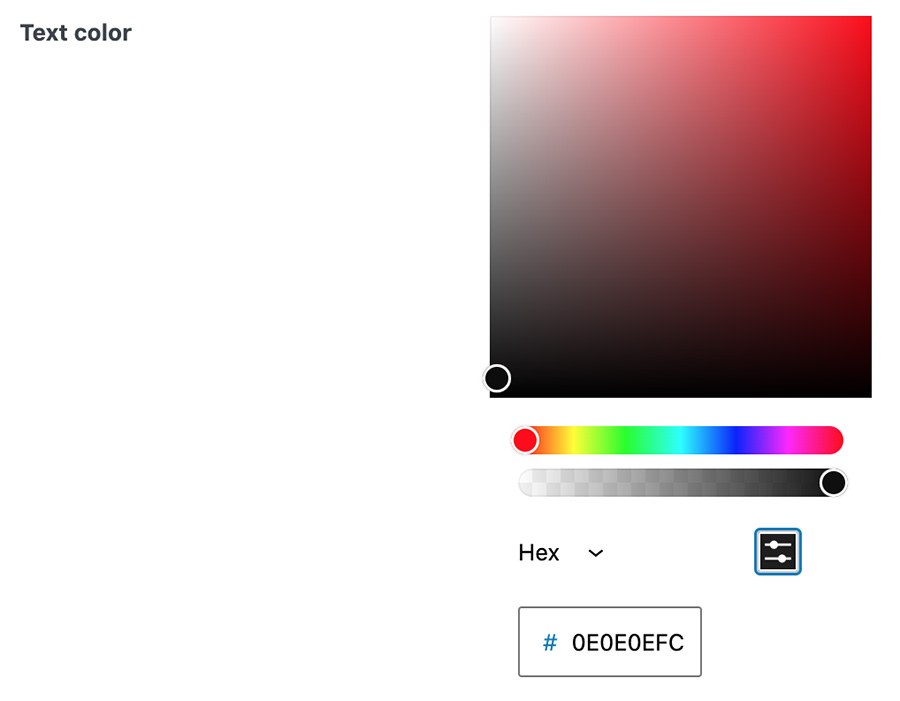
If you like, you can customize the font color and opacity for consistency with your brand (the color is black and fully opaque by default). Use the opacity slider to choose that setting. For the color, you've got a handful of options:
- Select the color from the color matrix
- Enter a Hex, RGB, or HSL value
Completion And Expiration Dates
You can easily add the date when the student completed the course by toggling on the “Completion Date” option.
Also, if needed, you can limit the validity of the certificate by enabling the “Expiration Date” and setting the period after which the certificate should expire. You can specify the validity period in days, weeks, months, or years.
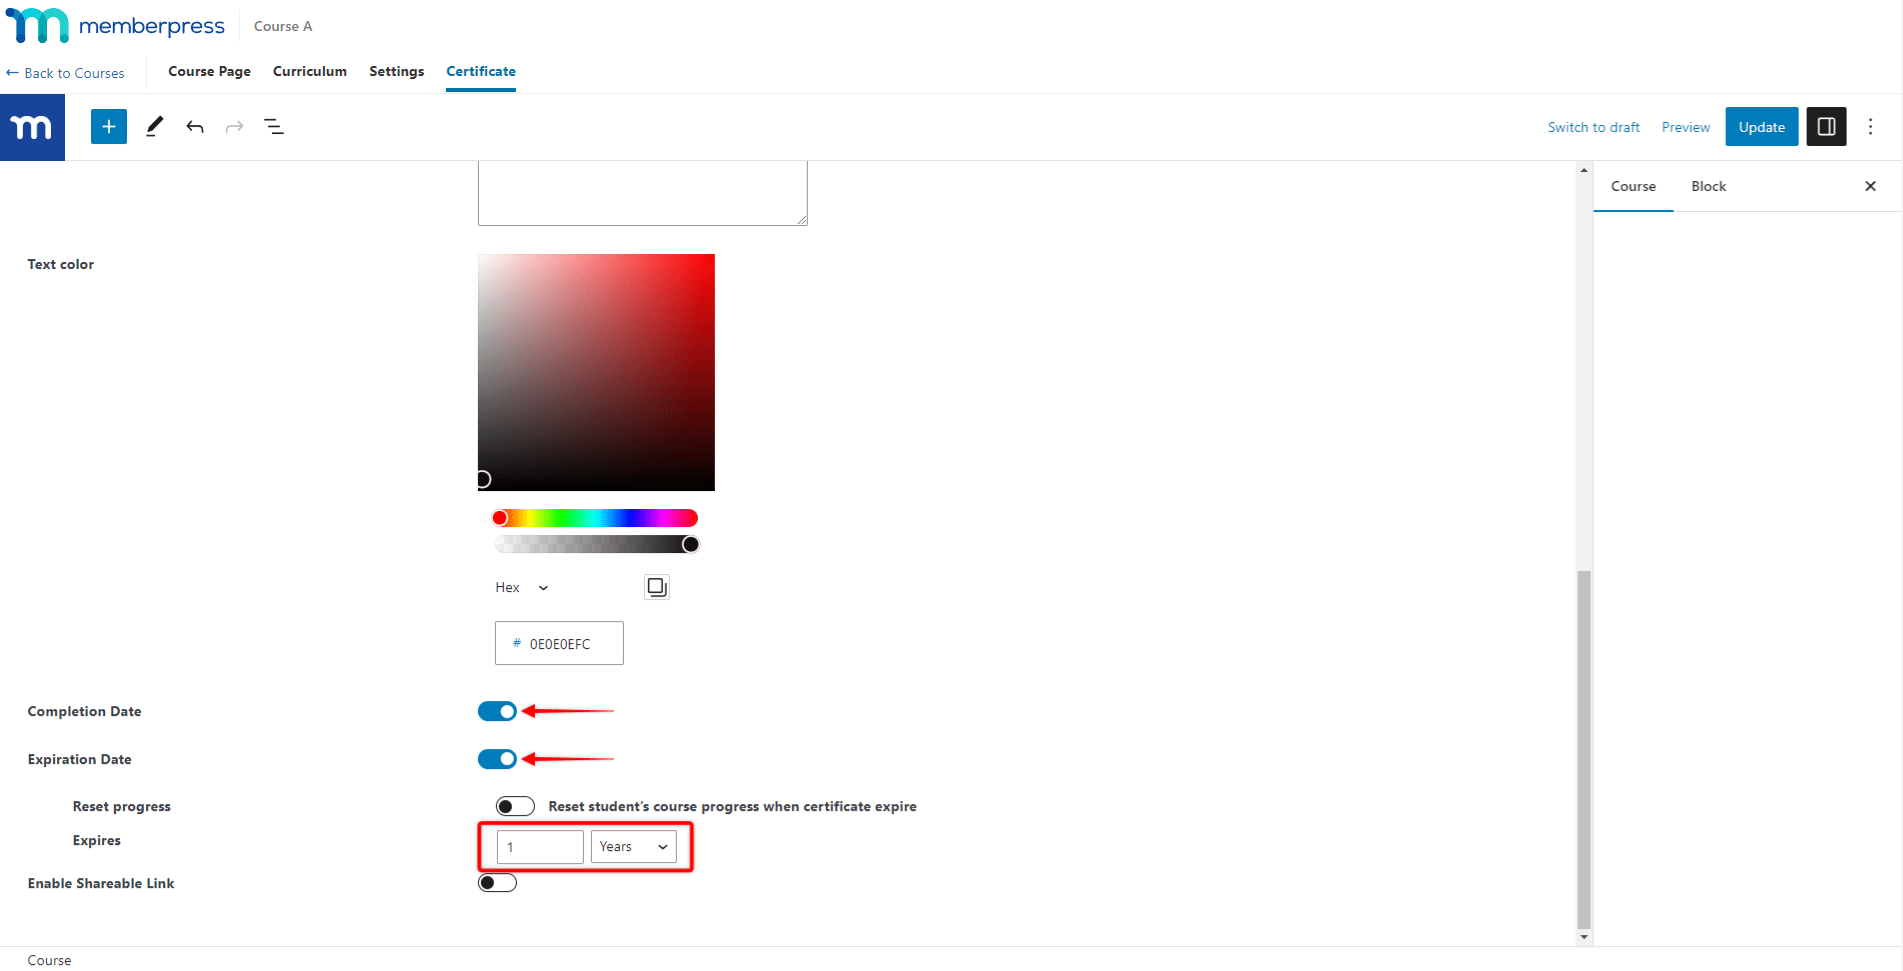
If you require students to retake the course after their certificate expires, enabling the “Reset student’s course progress when certificate expire” option will automatically reset the course progress for this user.
This data will be visible on the user's certificate like this:

Video Tutorial: How to Add a Completion and Expiration Date on a MemberPress Course Certificate
Shareable Link
If you want to make it easy for your users to add your certificates to their resume, LinkedIn profiles, etc. you can toggle on “Enable Shareable Link“. This will add a link icon to your student's certificates which they can copy and use.
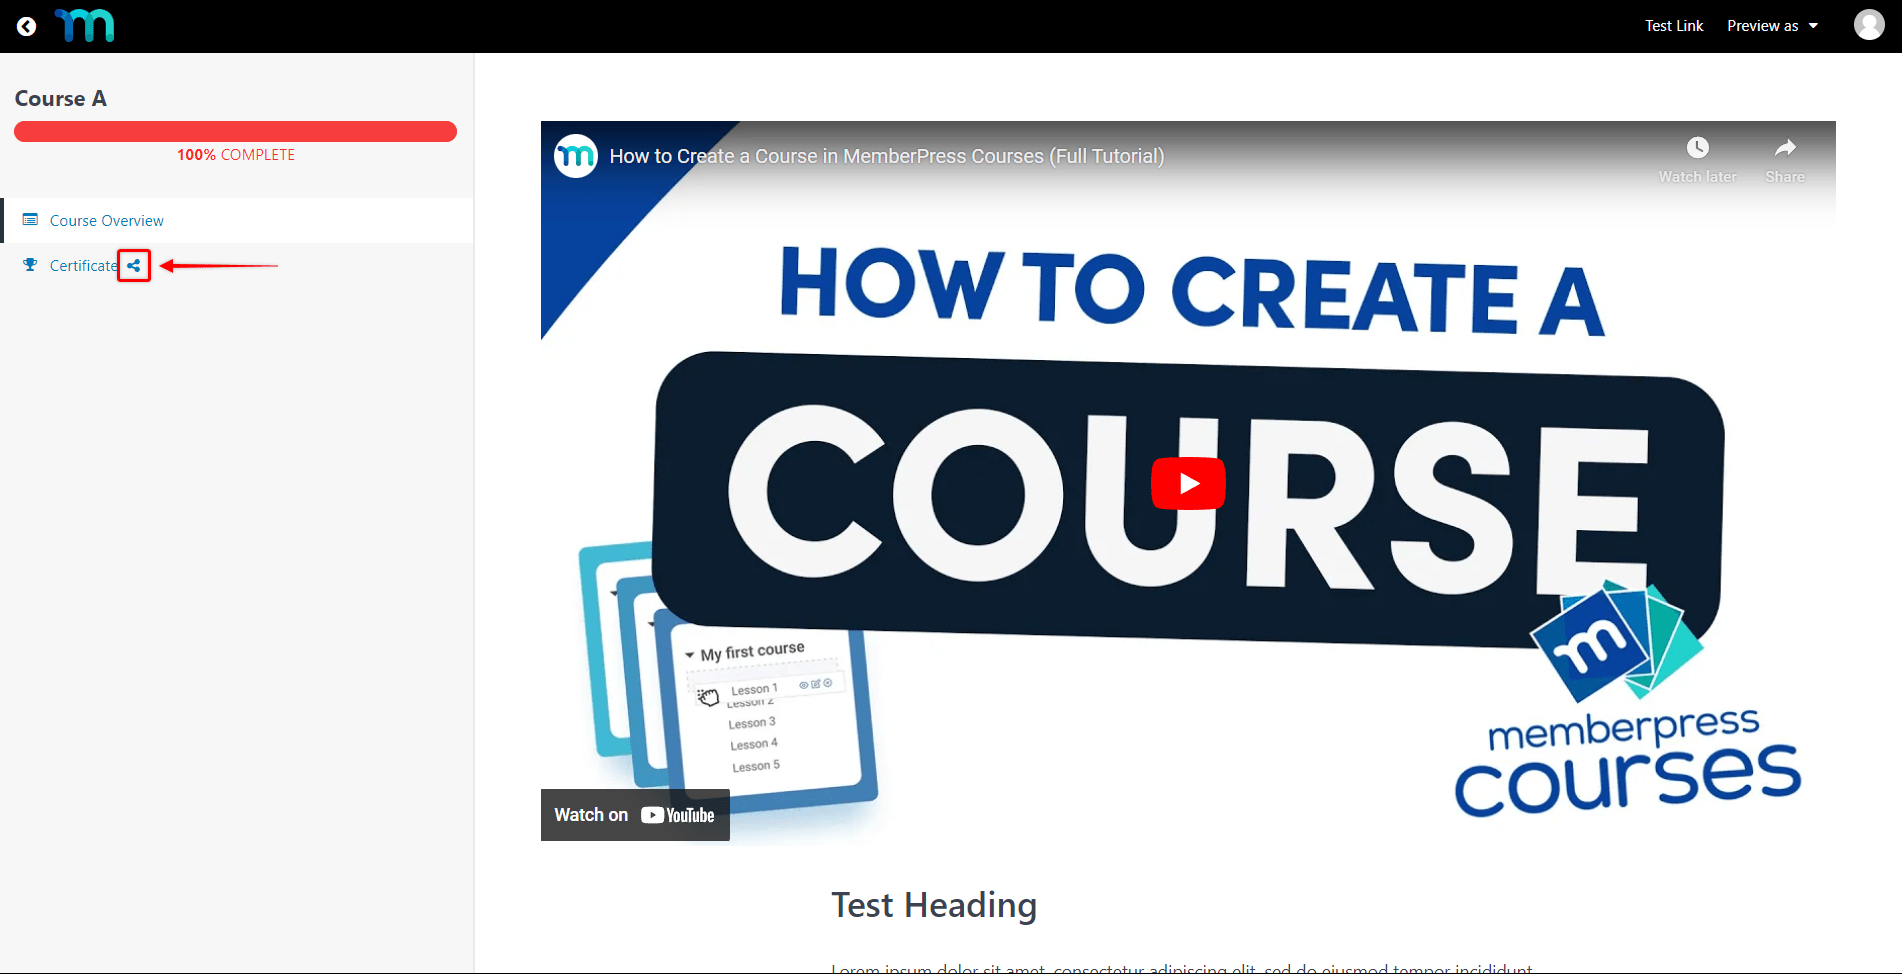
The shareable link will allow anybody to access the student's certificate on your site without the need for them to log in.
Once everything's set, don't forget to click “Update” at the upper right to save your design.
How to Preview Your Certificate
Now you'll want to see how your new certificate will look to students. To do this, open an incognito window and access your course from the front end logged in as a test user who has access to this course. Click through quickly to complete the course, then click on Certificate in the left menu:

Depending on your Force PDF download setting, the certificate will either download to your desktop or populate in a new window in your browser. And there you have it!
Helpful Blog Posts
To learn more about MemberPress Courses, you might find the following articles helpful:
How to Create a Certification Program with WordPress


