The CoachKit™ add-on allows you to turn your membership site into a fully functioning coaching site. Once you activate and set up CoachKit™, and add your coaching programs, you’ll be ready to enroll your first clients.
This document gives you more details on working with programs, coaches, and clients, and gives you some helpful tips on running a coaching site with MemberPress CoachKit™.
How To Enroll Clients With CoachKit™
To make a program available to your clients, you need to assign the program to at least one membership. Clients need to subscribe to this membership to enroll in the program.
Once subscribed, the client is automatically enrolled and added to one of the cohorts randomly.
Depending on the cohort type, clients begin the program immediately, or on the specific date you set as the cohort’s start date.
CoachKit™ Clients Dashboard
Like every MemberPress member, your clients can access their membership data on the account page. Here, they can check their account details, subscriptions, and payments.
CoachKit™ adds a new Coaching option to the member’s account page. When clients click on the Coaching option, it takes them to the Clients Dashboard.
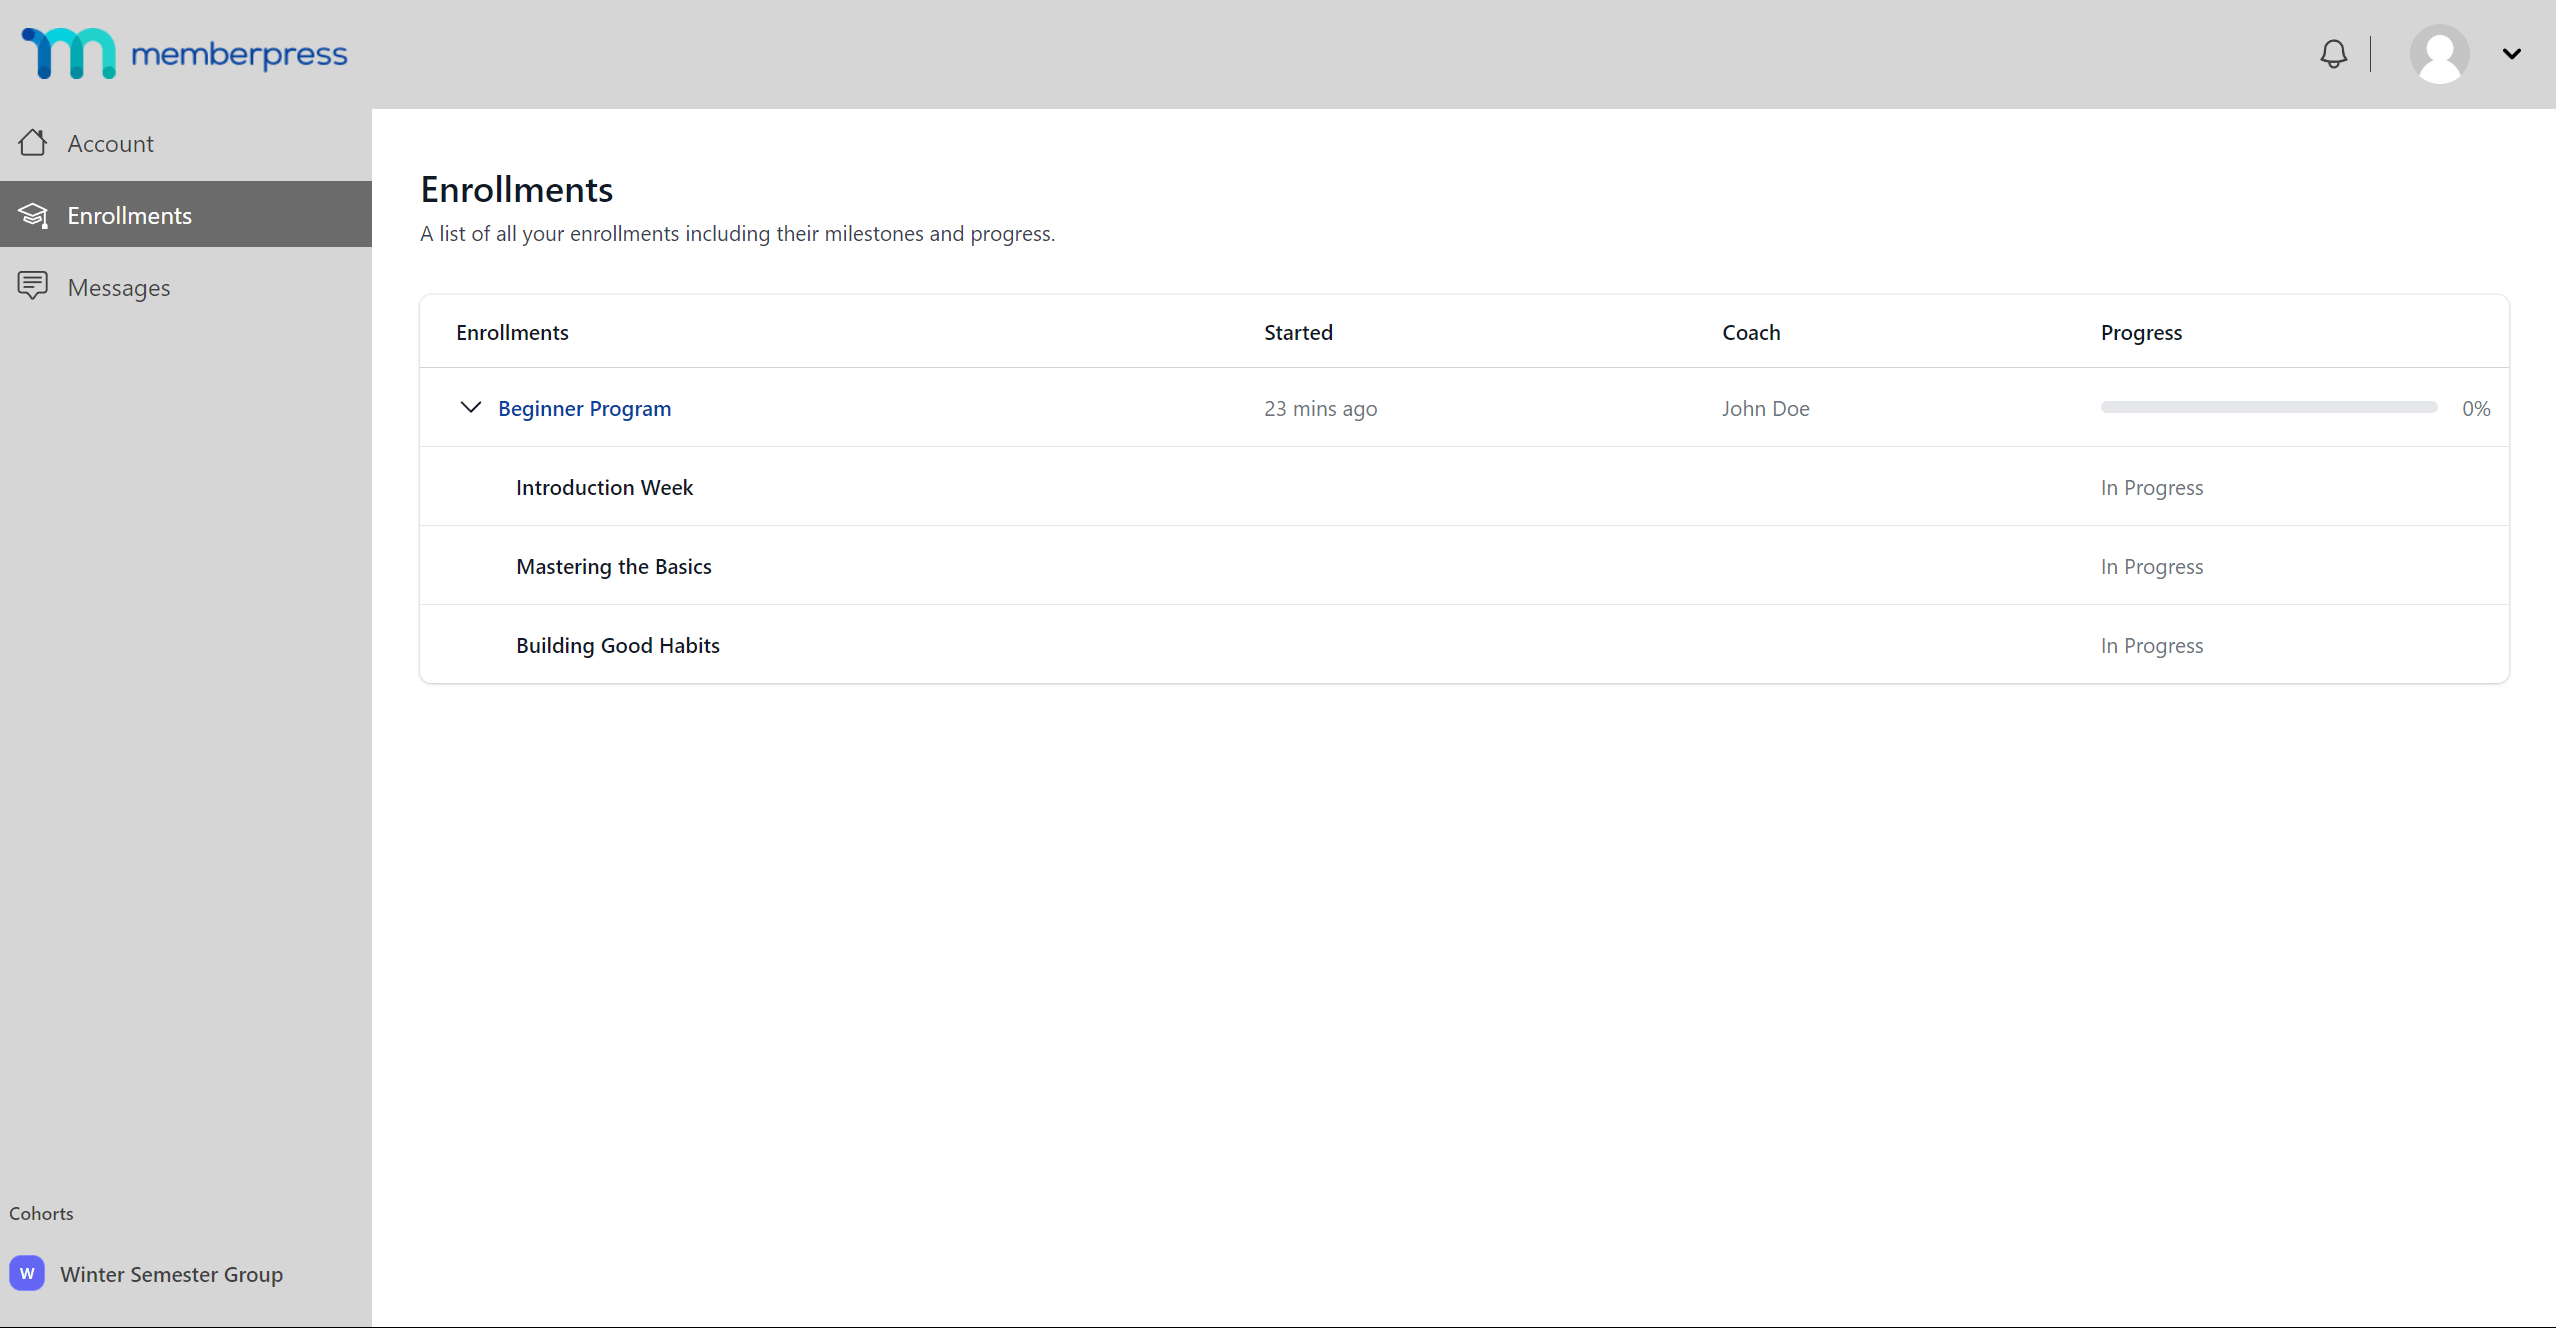
Within the Dashboard, there is a menu with an Enrollments option. The Enrollments page shows the list of all programs the client is enrolled in, with some basic details (i.e. start date, coach, client progress). Expanding a program will show a list of completed milestones and those still in progress.
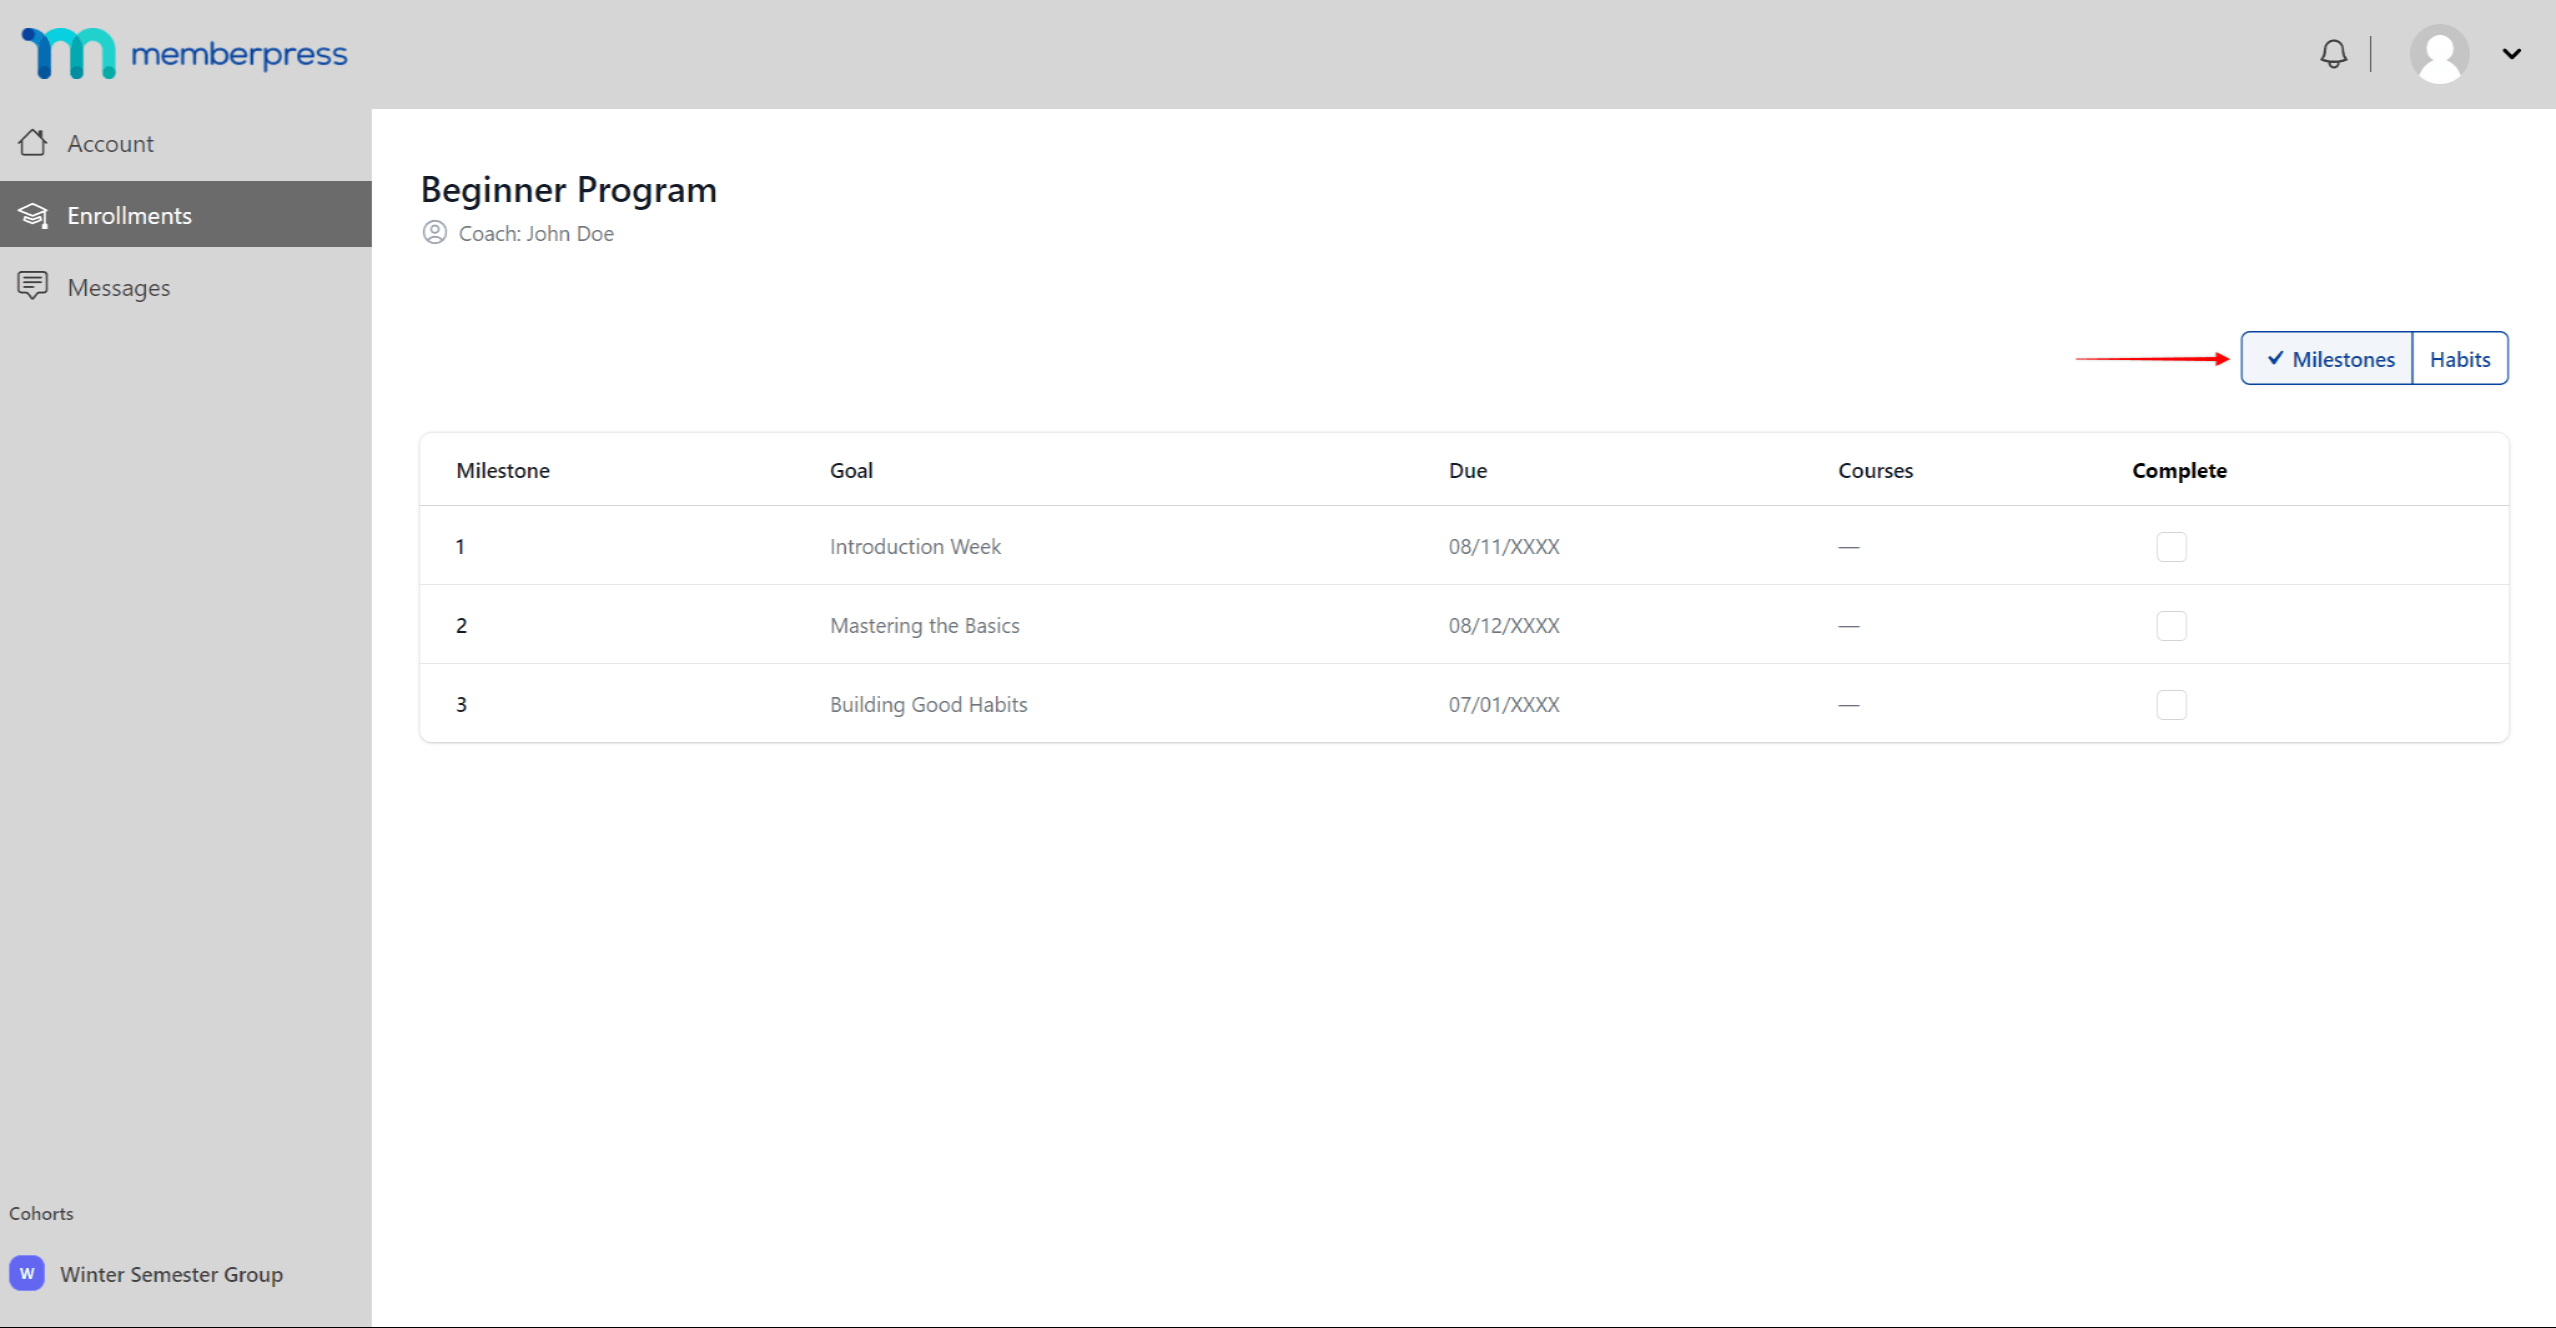
Clients can also click on the program name to access the program details. Here, they can see all milestones and habits.
The Milestones page shows all the milestones within the program, along with their due dates. Once finished, clients can check the box for each Milestone to mark it complete.
On the Habits page, clients will see all the habits added to the program. For each habit, there is a series of checkboxes, one for each date the habit should be completed. Clients should click on the corresponding box to indicate they've completed that habit on that day.

If a habit is not marked complete on time, it will be marked as Off Track. A client is off track if the last 3 due dates for a habit have been missed consecutively. The client will be able to complete these overdue tasks at a later date.
Messages
If Messaging is enabled in your CoachKit™ settings, and the feature is enabled for your clients, the Clients Dashboard menu will display the Messages option.
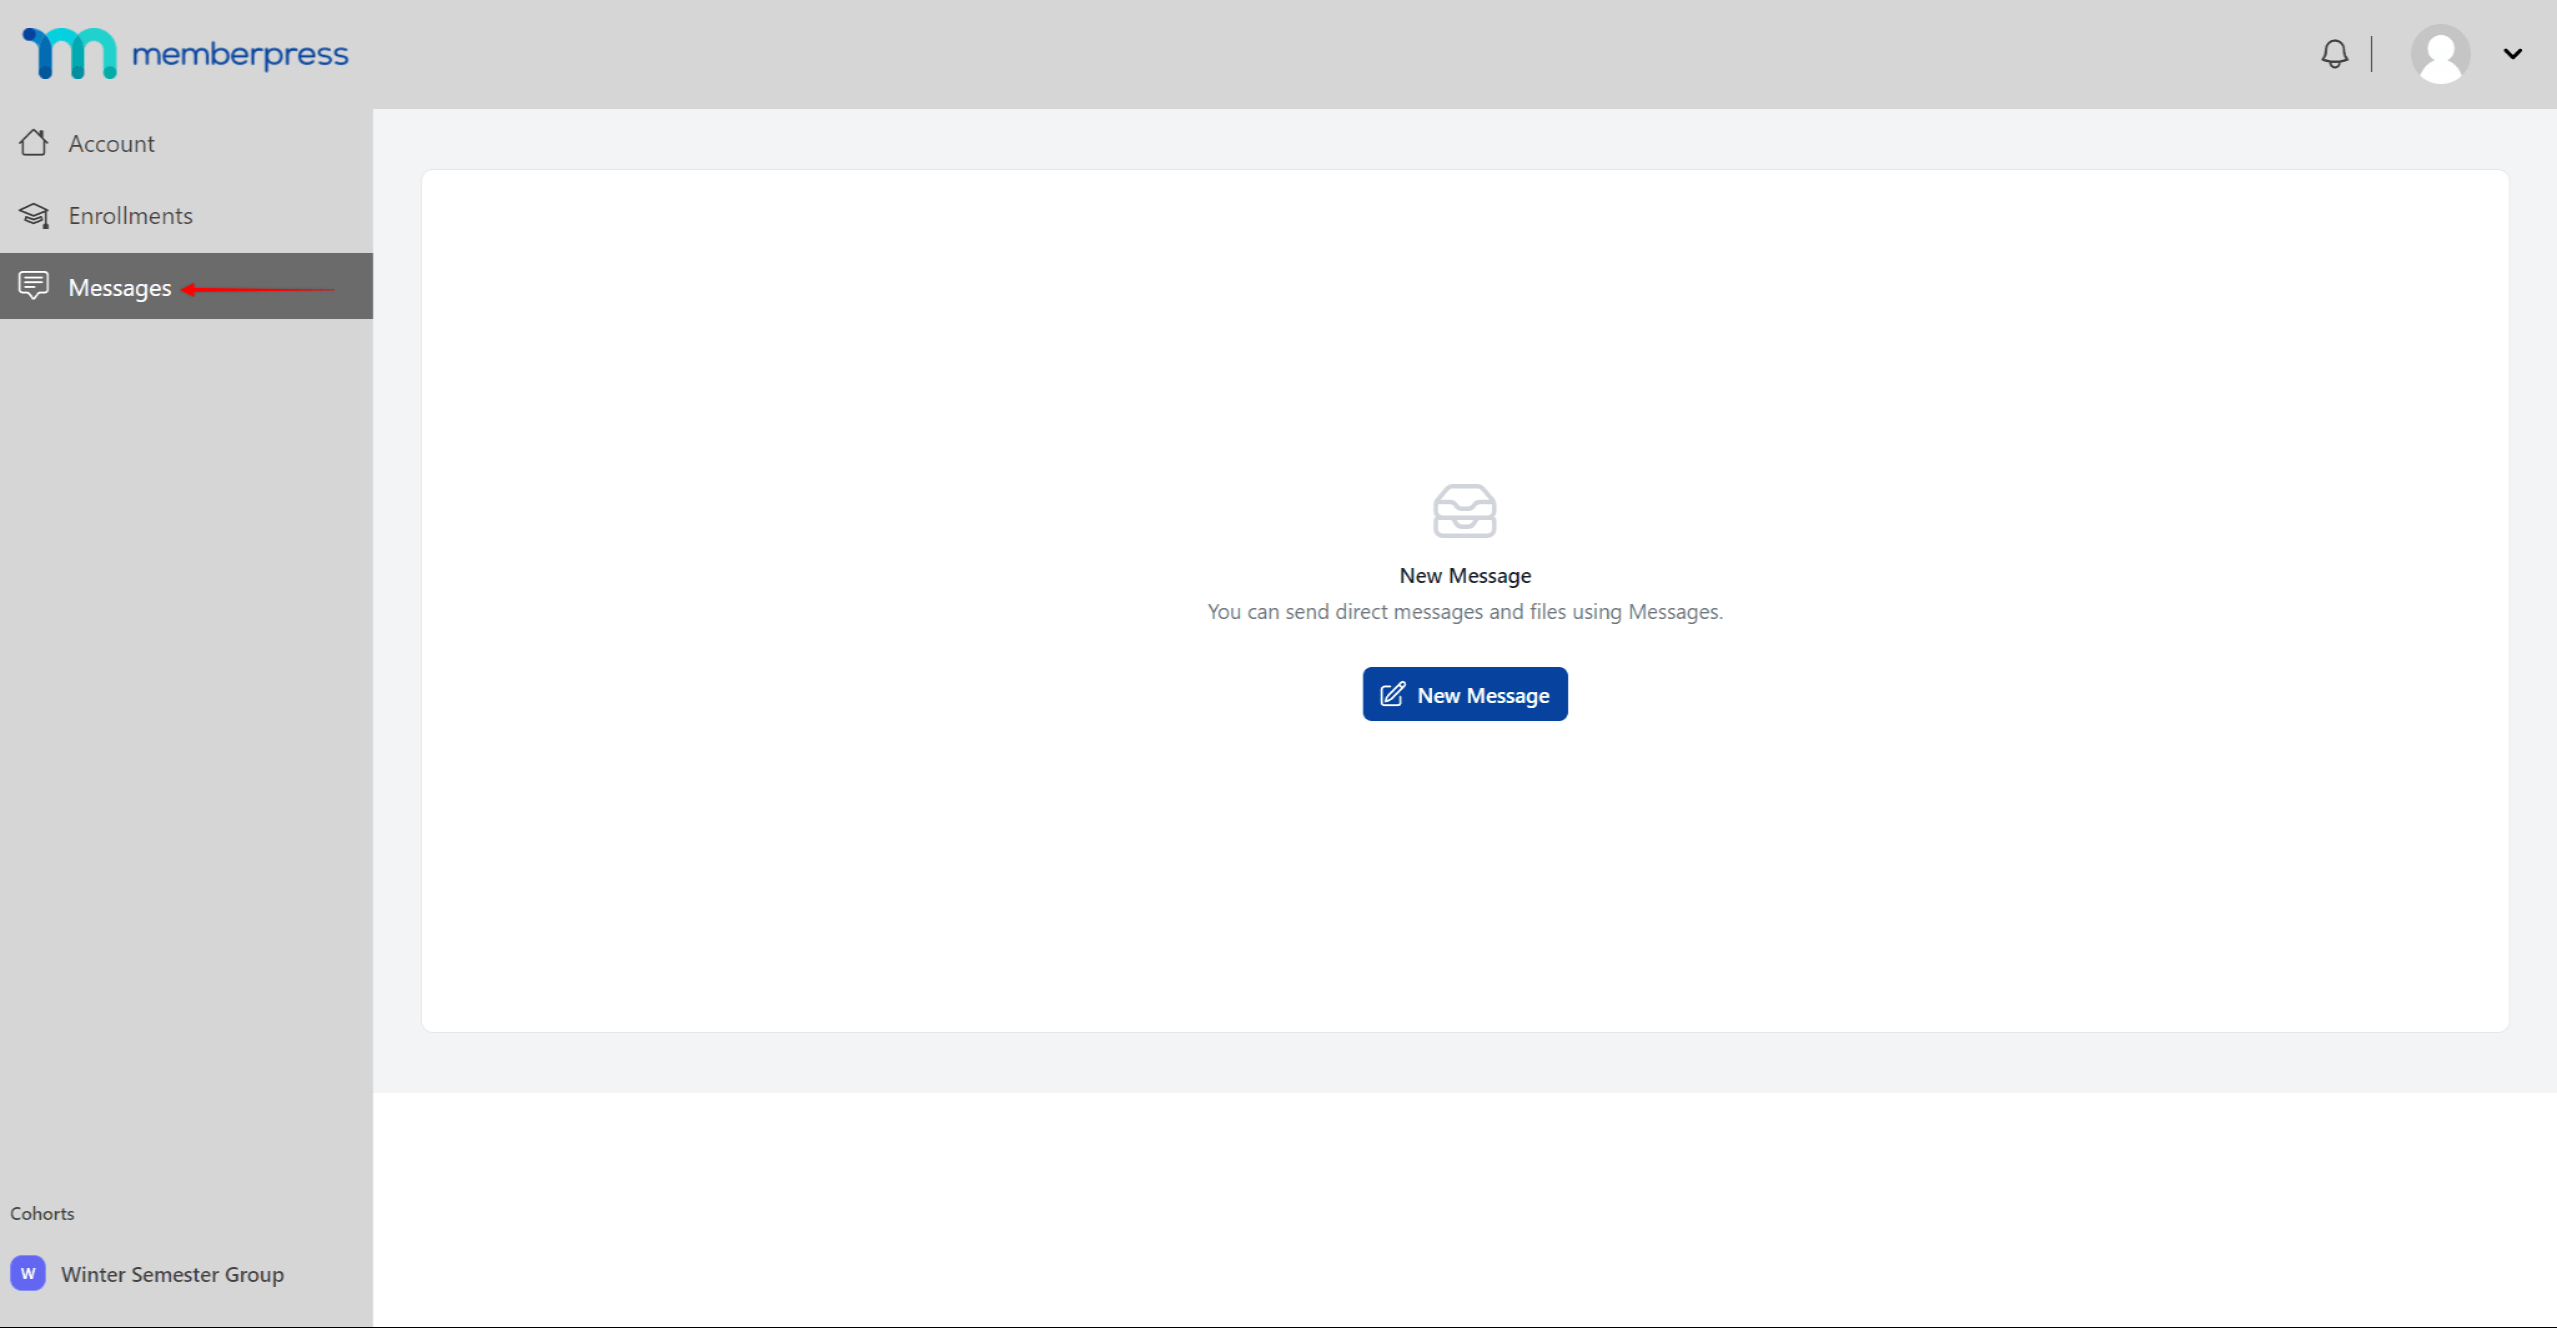
Here, clients can exchange messages with the coaches of the programs they are enrolled in, or other enrolled clients.
To start a conversation, clients need to click the New Message button. Here, they can select the coach or the client they wish to message. This page also displays any recent conversations a client had.

Appointments
Clients can also schedule appointments with coaches. To schedule an appointment, they must click the Schedule Appointment button on the Enrollments page, next to the coach’s name.
They will be then redirected to the scheduling page URL. On this page, they can choose one of the available time slots for the appointment.
This icon will be visible if appointments are allowed and set for the client's cohort.
Administration and Coaching
As an administrator, you can create and manage programs, add and remove coaches, and access all the program and client data in general.
Managing Coaches and Clients as an Administrator
You can manage your coaching platform by navigating to Dashboard > CoachKit™ and choosing one of the four available options, discussed below.
Activity
This option allows you to track the activity over your entire coaching platform. Client Progress shows the progress of all of the clients on your site. You can filter clients by coach or program, or search for a specific client.

The Activity page also displays all activities on your coaching platform. You can filter the activities by activity type (e.g. Program Started) and recent activities.
Programs
Under the Programs option, you can create your coaching programs. Here you can also update or remove programs.
Keep in mind that you will not be able to edit content on programs with clients already enrolled, but you can add new cohorts to these programs to allow new enrollments.
Coaches
The Coaches page contains the Coach Listing with all of your assigned coaches. You can also add new coaches here:
- Click the Add New button to open a popup;

- Search for an existing WordPress user on your site in the list, or click Add New Coach to create a new user;

- Click Add to add the user to your Coach listing.
In the Coach listing, click on the coach's name to see the details about that coach (cohorts taught and top active clients). Here, you can also edit the user profile or assign additional cohorts to that coach.

Clients
Similar to the Coaches page, the Clients option allows you to see the Client Listing or add new clients manually.

Clicking on any client's name shows you all the data related to that client. On this page, you can also edit the client's WordPress user (Edit User) or manually add this client to a cohort belonging to any program (Assign to Cohort).

In addition, on this page, you can also Unenroll this client from any program they are enrolled in:
- Under the Enrollments section, hover over the program name to show additional options.
- Click on the Unenroll option to remove this client from the program.

Enabling Appointments in CoachKit™ as Administrator
Often, coaches use appointment tools to schedule one-on-one or small group meetings with their clients. With the CoachKit™ Appointment Scheduling feature, you can add a link to your appointment scheduling page on the client’s coaching page.
You can use any appointment tool you are comfortable with. CoachKit™ only requires you to add the URL of the appointment scheduling page from the tool of your choice. Also, CoachKit™ integrates seamlessly with two top-level WordPress scheduling plugins, Simply Schedule Appointments (SSA) and Calendly. You'll just need to install one of these two plugins to get started, and then follow the prompts.
Appointment scheduling needs to be set for each cohort independently. To do this, please follow these steps:
- Navigate to the coaching program (Dashboard > CoachKit™ > Programs), and click the Edit link under the program name.
- On the right side, under the Cohorts section, click on the New Cohort button and add a cohort to the program. If you already have existing cohorts in this program, simply click on the Edit button of the cohort.
- Check the Allow Client Appointments option.

- This will open an additional Appointment URL field. Add the appointment scheduling page URL to this field.
- Click the Save button.
When this feature is set for a cohort, students will see the Schedule Appointment button on their Enrollments page.
Please keep in mind that each cohort is run by a single coach. If you’re running a coaching website with multiple coaches, this means that each coach will have an appointment calendar. Depending on the appointment tool used, coaches may also have unique appointment page URLs. Thus, you need to make sure each cohort is assigned the appropriate scheduling page link. Alternatively, in this case, you can have coaches set this feature themselves.


